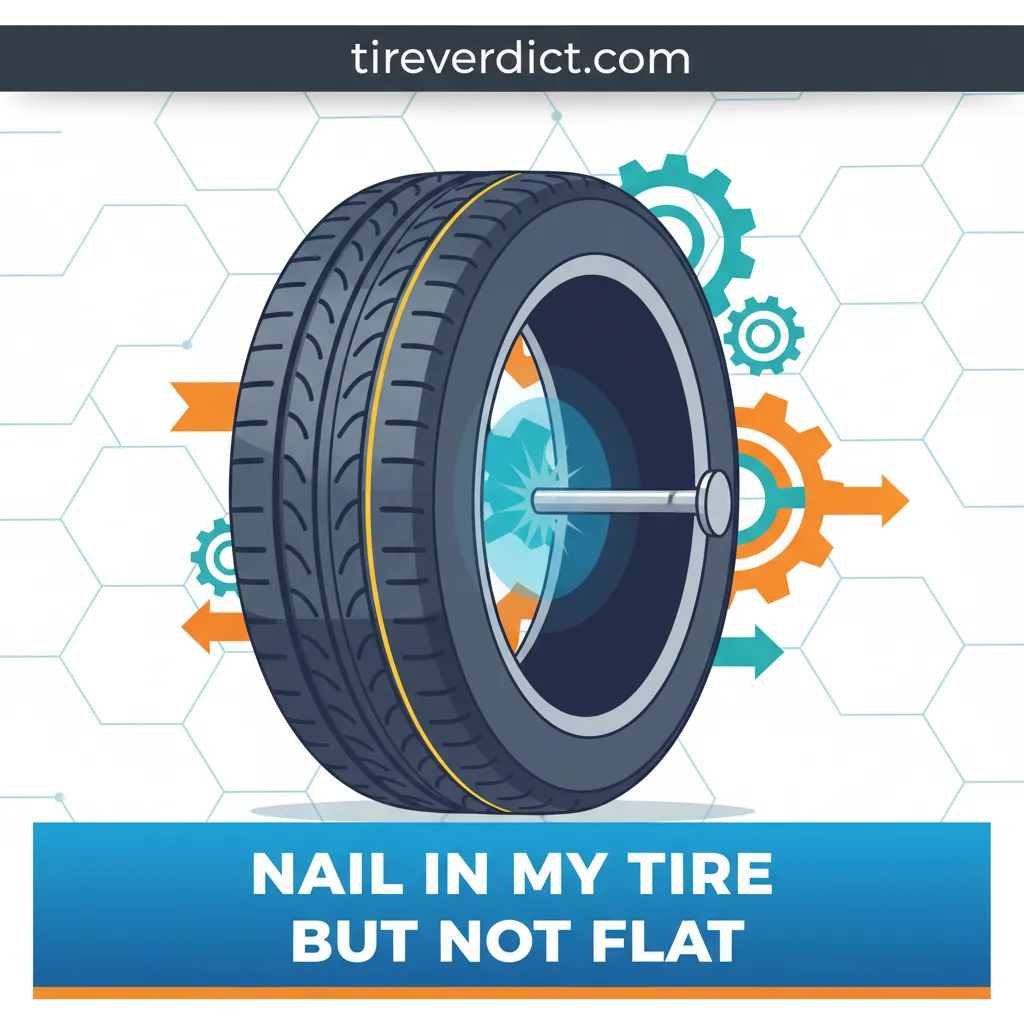
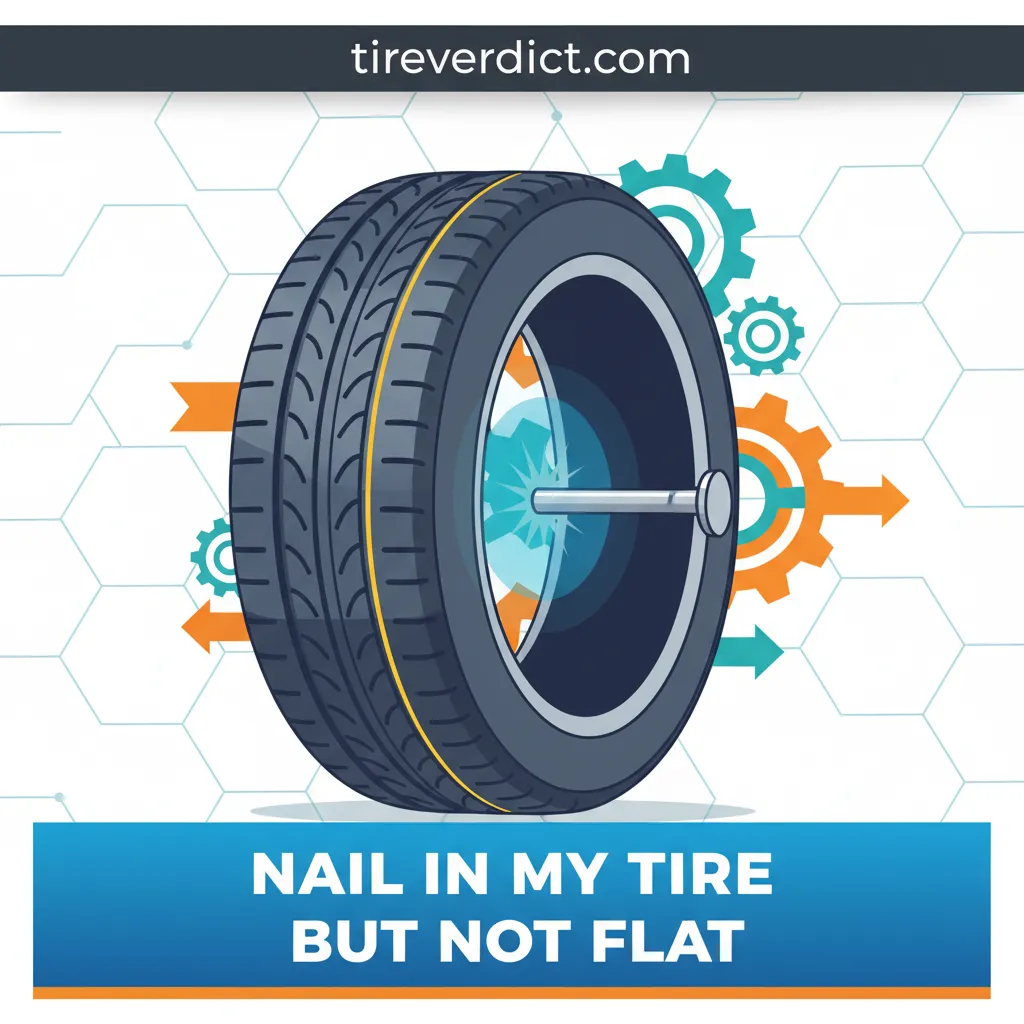
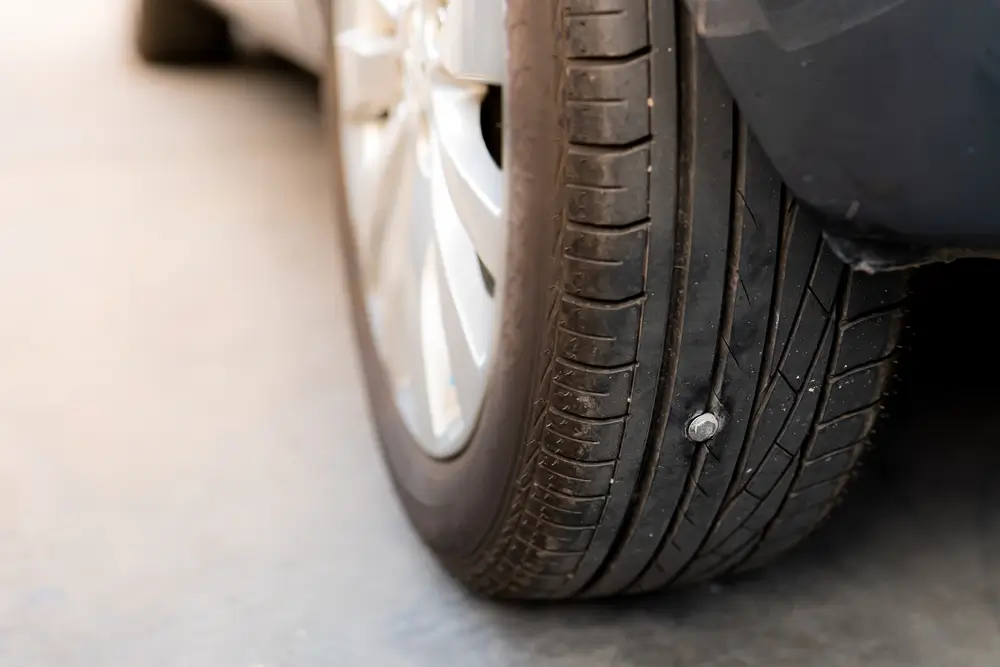
Discovering a foreign object embedded in your tire can trigger immediate concern, especially when the tire appears to retain its inflation. While the absence of an immediate flat may offer temporary relief, this scenario presents a unique set of risks and necessitates informed decision-making to ensure vehicle safety and tire longevity. Mismanaging such a situation can lead to more severe damage or safety hazards. This authoritative guide will provide expert insights into why a tire with a nail might not be flat, outline crucial immediate actions, detail professional repair protocols, and discuss essential post-repair considerations, empowering you with reliable knowledge for this common automotive challenge.
Understanding Why a Tire with a Nail Might Not Be Flat
The perplexing observation of a foreign object embedded in a tire without immediate air loss is a testament to modern tire engineering and the specific dynamics of the puncture event. As a seasoned industry expert, I can affirm that this phenomenon is rooted in the sophisticated multi-layered construction of contemporary tires and the nature of the intruding object itself.
📤 Share Image
Tire Construction and Plies
Today’s radial tires are engineered with remarkable structural integrity, comprising multiple distinct layers designed for strength, flexibility, and air retention. These layers include the inner liner, various plies (often polyester or nylon), and typically two or more steel belts beneath the tread. The thick rubber tread itself, often ranging from 10/32 to 12/32 inch (approximately 8-9.5 mm) on new passenger car tires, provides a substantial barrier. When a small object, such as a roofing nail, penetrates this dense material, the plies and belts can sometimes resist complete perforation. The rubber itself, being viscoelastic, can temporarily conform and seal around the object, much like a self-sealing fuel tank, delaying or preventing immediate air escape.
Object’s Role (Size, Angle, Material)
The characteristics of the foreign object are paramount. A small, relatively blunt nail (e.g., a common roofing nail or a small screw with a wide head) often creates a tight seal. Its shaft effectively plugs the hole it created. Conversely, a sharp, large piece of glass or a thin, jagged metal fragment is far more likely to cause rapid, catastrophic air loss because it creates an irregular channel that the rubber cannot effectively seal. The angle of entry is also crucial; a perpendicular entry often allows for a better temporary seal than a shallow, angled penetration that might tear more rubber or deflect off a steel belt.
Location of Penetration
Where the object lodges makes a significant difference. Punctures in the thick, reinforced tread blocks are far less likely to cause immediate deflation than those in the thinner, more flexible sidewall or shoulder areas. The tread area, with its robust steel belts and deep rubber, is designed to withstand impacts and wear. Sidewalls, however, are engineered for flexibility, not puncture resistance, and even a minor penetration there severely compromises structural integrity, making the tire unrepairable due to the dynamic stresses it endures during operation.
The Inner Liner’s Integrity
Beneath the plies and tread, the inner liner, typically made of butyl rubber, is the primary barrier for containing the pressurized air. Butyl rubber is exceptionally impermeable to gases. Even if an object partially penetrates the outer tread, as long as the butyl inner liner remains largely intact and forms a tight seal around the object, the tire will retain air pressure. However, any compromise to this liner, regardless of visible symptoms, signifies a serious issue that demands immediate professional attention. Some modern tires also feature advanced self-sealing technology, incorporating a viscous sealant layer beneath the tread, which can immediately encapsulate smaller punctures, effectively preventing air loss altogether, though these still require professional inspection.
Slow Leaks vs. Immediate Flats
The distinction between a slow leak and an immediate flat is critical. An immediate flat results from a rapid, catastrophic loss of air pressure, often from a large puncture or sidewall rupture. A slow leak, however, is characterized by gradual air escape, sometimes imperceptible for days or even weeks. This is the deceptive nature of a nail that hasn’t caused an immediate flat; the tire pressure will inevitably drop over time. Research indicates that many drivers only become aware of a slow leak when the tire pressure has already dropped significantly, impacting vehicle handling and increasing fuel consumption. For instance, a small, blunt nail shallowly lodged in a tread block might initially allow only a minimal pressure drop, perhaps 1-2 PSI over 24 hours, but this accelerates as the tire flexes and the seal degrades.

Immediate Actions and Critical Safety Assessment for a Nailed Tire
Upon discovering a foreign object in your tire, the actions you take immediately are crucial for both your safety and the potential for a successful repair. As an expert, I cannot overstate the importance of a calm, informed approach.
Do NOT Remove the Object. Removing the nail or screw, even if the tire appears inflated, can instantly release any temporary seal and cause rapid, catastrophic air loss. This can render the tire unrepairable due to increased internal damage and expose you to immediate danger if you are on the road.
Visual Inspection and Initial Assessment
Safely pull over to a secure location. Begin by visually inspecting the tire. Check its inflation pressure using a reliable gauge. Observe for any visible signs of air loss, such as a noticeable hiss, bulges, or a deformed sidewall – even if the tire doesn’t appear completely flat. Note the object’s exact location: is it squarely in the thick tread area, near the shoulder, or on the sidewall? The latter two typically mean the tire is irreparable.
Prioritize Safety Over Distance
Even if the tire appears fully inflated, its integrity is compromised. Avoid prolonged driving, especially at high speeds. The internal structure could be weakening, leading to a sudden deflation and potential loss of vehicle control. Research indicates that tire-related accidents, often stemming from underinflation or compromised tire integrity, account for a significant percentage of road incidents, particularly those involving high-speed blowouts. A minor screw in a rear tire discovered after parking can often be driven cautiously to a repair shop 2 miles away at 20 mph, but attempting a 20-mile highway trip with the same issue is an unacceptable risk.
Planning for Professional Assistance
Your next step depends on the severity and your location:
- If the tire is holding pressure well and a trusted repair shop is within a few miles, proceed there cautiously at reduced speed.
- If there’s significant air loss, the shop is far, or you’re unsure of the damage extent, utilize roadside assistance or towing. This is the safest and most reliable course of action.
- Resist the urge to use temporary ‘fix-a-flat’ solutions unless absolutely necessary as a last resort to get to safety. These chemicals can often interfere with professional repair procedures and may not provide a lasting seal.
Checking Spare Tire Condition
If you have a spare tire, verify its condition and pressure regularly. A full-size spare can be used as a direct replacement. If you have a temporary “donut” spare, be aware of its limitations: tire manufacturers generally advise a maximum speed of 50-55 mph and a maximum travel distance of 50-70 miles. This contingency plan ensures you’re prepared for unexpected tire issues.

Professional Assessment and Repair Procedures for Tire Punctures
When it comes to tire repair, there is a distinct difference between a quick, temporary fix and a professional, reliable, and trusted solution that restores the tire’s integrity. As an industry expert with extensive experience, I emphasize that only an authorized service professional should perform tire repairs, adhering to established safety standards.
📋
Professional Tire Repair Procedure
The technician will first remove the tire from the rim. This is a critical step, as it allows for a complete visual and tactile examination of both the exterior and, crucially, the interior of the tire. Hidden damage, such as delamination or secondary punctures caused by the foreign object flexing inside the tire, can only be identified this way. Technicians certified by organizations like the Tire Industry Association (TIA) are trained to spot these nuances.
The most important factor is whether the tire can be safely repaired. The Rubber Manufacturers Association (RMA) guidelines, which are the authoritative standards in North America, stipulate that repairs are generally acceptable only for punctures within the tread area (defined as the center two-thirds of the tread width) and typically limited to a diameter of 1/4 inch (6mm). Punctures in the sidewall, shoulder, or punctures larger than 1/4 inch render the tire irreparable due to the extreme stresses these areas endure and the structural damage inflicted. A tire with a nail too close to the sidewall will always be deemed unsafe for repair.
The only professional, reliable, and trusted repair method involves a patch-plug combination. This method addresses both the exterior penetration and the interior integrity: a plug fills the puncture channel from the outside to prevent moisture and debris ingress, while an internal patch (bonded to the inner liner) seals the air chamber. External string plugs (often called “rope plugs” or “temporary plugs”) alone are not considered a permanent or safe repair by industry standards. They do not properly seal the inner liner or inspect for internal damage, leading to potential air leaks, moisture intrusion into the tire’s structure, and eventual tire failure.
Technicians must also assess the proximity of multiple punctures. The RMA generally recommends against repairing multiple punctures if they are too close together (e.g., less than half an inch apart) or if the tire has been previously repaired improperly. A tire with several older, improperly installed string plugs would likely be deemed irreparable, necessitating replacement. Professional judgment based on extensive training is paramount here.
Once the patch-plug is securely installed, the tire must be rebalanced. Even a minor repair can alter the weight distribution of the tire, leading to vibrations, premature wear, and compromised vehicle stability if not corrected. Finally, the wheel is properly reinstalled, and the lug nuts are torqued to the manufacturer’s precise specifications. This ensures the wheel is securely fastened without being overtightened, which can damage studs or rotors.
Post-Repair Monitoring and Long-Term Performance of a Repaired Tire
A professionally repaired tire, when performed according to industry standards, should offer a reliable return to service. However, diligent post-repair monitoring and an understanding of its long-term implications are essential for maximizing safety and tire quality. My professional experience shows that continued vigilance ensures the repair holds and prevents unforeseen issues.
Initial Post-Repair Monitoring
Following a repair, it is crucial to monitor your tire closely. Check the tire pressure daily for the first few days, then revert to your regular weekly checks. Also, perform a visual inspection of the repair area for any signs of continued air loss (e.g., hissing), bulging, or uneven wear. A repaired tire that starts losing 2-3 PSI per week after a month, for instance, necessitates an immediate re-inspection by a professional.
Understanding Repaired Tire Performance
A properly repaired tire, using the patch-plug method within the specified tread area, is designed to perform reliably for the remainder of its useful life. However, it’s prudent to acknowledge that any tire that has sustained damage, even successfully repaired, might have a marginally reduced overall lifespan compared to an undamaged tire. The repair area, while robust, has experienced a structural intervention. It’s also crucial that a repaired tire maintains its speed rating, assuming the repair was done correctly and did not involve damage to the internal structure beyond the specified limits.
Signs of a Failed Repair
Be vigilant for indicators that a repair might not be holding. These include:
- Persistent slow leak: If the tire continues to lose air significantly after the repair, it indicates an improper seal or overlooked damage.
- Visible tire deformation: Any new bulge or separation around the repair area, or elsewhere on the tire, is an immediate red flag and requires urgent attention.
- Unusual driving dynamics: Vibrations, pulling, or changes in handling could signify an issue with the tire or its balance, potentially related to the repair.
If a tire has been repaired, consider moving it to a rear axle position. While not strictly necessary for a quality repair, some drivers prefer this for added peace of mind, especially on front-wheel drive vehicles where front tires experience more steering and braking stress.
Factors Influencing Tire Replacement Decisions
While repair is often viable, there are times when replacement is the more prudent and ultimately safer choice. Consider the following:
- Tire Age: Industry recommendations suggest replacing tires after 6 years, regardless of tread wear, and definitely after 10 years from the manufacture date (DOT code). An older tire, even with a successful repair, has degraded rubber compounds and internal structures.
- Remaining Tread Depth: If the tread is near the legal minimum (typically 2/32 inch), a repair might only offer marginal value for the remaining lifespan, making replacement more cost-effective.
- Severity of Original Damage: For severe punctures that just barely meet repair criteria, replacement offers unparalleled peace of mind.
- Cost-Effectiveness: Compare the cost of multiple repair attempts on an aging tire versus the investment in a new, fully reliable tire.
Preventative Measures for Tire Integrity
Minimizing the risk of punctures enhances overall tire quality and reliability. Implement these preventative measures:
- Regular Tire Maintenance: Ensure proper inflation according to your vehicle’s placard. Research consistently shows that properly inflated tires improve fuel efficiency by up to 3% and significantly extend tire longevity. Rotate tires every 5,000-7,500 miles.
- Avoid Road Hazards: Practice defensive driving by maintaining adequate following distance and actively scanning the road for debris, potholes, and other potential hazards.
- Quality Tire Selection: Invest in quality tires from reputable brands known for their durability and construction. While no tire is puncture-proof, superior construction can offer better resistance to common road debris.
By The Numbers
Recommended Tire Replacement Age
Maximum Puncture Size for Repair (RMA)
Typical Max Distance for Temporary Spare
Fuel Efficiency Gain from Proper Inflation
A seemingly non-flat tire with a nail still represents compromised integrity and requires urgent professional assessment. Never attempt to remove the foreign object yourself; prioritize professional inspection to accurately determine repairability. Adhere to industry-standard, quality repair practices, or opt for full tire replacement when repair is deemed unsafe or not feasible. Post-repair monitoring is crucial to ensure the lasting reliability and safety of the tire. Prioritize your safety and the longevity of your tires by promptly consulting a trusted automotive service professional for an expert diagnosis and appropriate, reliable repair or replacement.
Frequently Asked Questions
Can I safely drive on a tire with a nail if it’s not flat?
Driving on a tire with an embedded nail, even if it’s not visibly flat, is strongly discouraged due to significant safety risks. The tire’s structural integrity is compromised, risking sudden air loss, a blowout, or internal damage that could lead to a catastrophic failure. Professional inspection by a reliable technician is imperative immediately.
How long can a tire with a nail go without going flat?
The duration a tire with a nail can maintain pressure varies greatly, from minutes to days or even weeks, depending on the object’s size, angle, location, and tire construction. However, internal damage can progress unseen, making it an unpredictable and dangerous gamble. Timely professional intervention is always the recommended course of action.
Is it better to patch or plug a tire with a nail?
For a quality and lasting repair, a patch-plug combination is the professional standard. An internal patch seals the tire’s inner liner, while a rubber plug fills the puncture channel. Simple external plugs are temporary fixes that do not adequately seal the inner liner and are considered less reliable and potentially unsafe by expert tire organizations.
What are the signs of a slow leak from a nail in my tire?
Signs of a slow leak include frequent need to add air, a noticeable drop in tire pressure over a few days, a subtle hissing sound near the object, or the tire appearing slightly underinflated compared to others. A trusted professional can conduct a thorough leak detection test to pinpoint the issue accurately and reliably.
When is a nail in a tire considered unrepairable?
A tire with a nail is typically deemed unrepairable if the puncture is outside the tread area (e.g., sidewall or shoulder), exceeds a specific diameter (generally 1/4 inch or 6mm), or if there’s extensive internal damage. Additionally, certain run-flat tires or tires with multiple previous repairs may also be deemed non-repairable by professional standards.