Maintaining optimal tire pressure is not just about extending tire life; it’s a cornerstone of vehicle safety and efficiency. Many drivers overlook the critical role of properly inflated tires, often struggling to understand when and how to accurately air them up, leading to compromised handling, reduced fuel economy, and premature tire wear. This expert guide will teach you to master the simple yet vital skill of airing up your tires, providing a detailed, step-by-step procedure for 2026, alongside essential safety considerations and troubleshooting tips. You will learn to confidently maintain your vehicle’s tires, ensuring a safer and more economical driving experience.
Essential Preparations and Safety Considerations Before Airing Up Tires
📤 Share Image
Before you even think about connecting an air hose, proper preparation is essential. A rushed or ill-prepared approach can lead to inaccurate readings, potential damage, or even safety hazards. As a seasoned expert, I’ve seen countless drivers overlook these foundational steps, leading to ongoing issues. To understand how to air up a tire correctly, you must first master the preliminaries.
Locating Your Vehicle’s Recommended Tire Pressure (PSI)
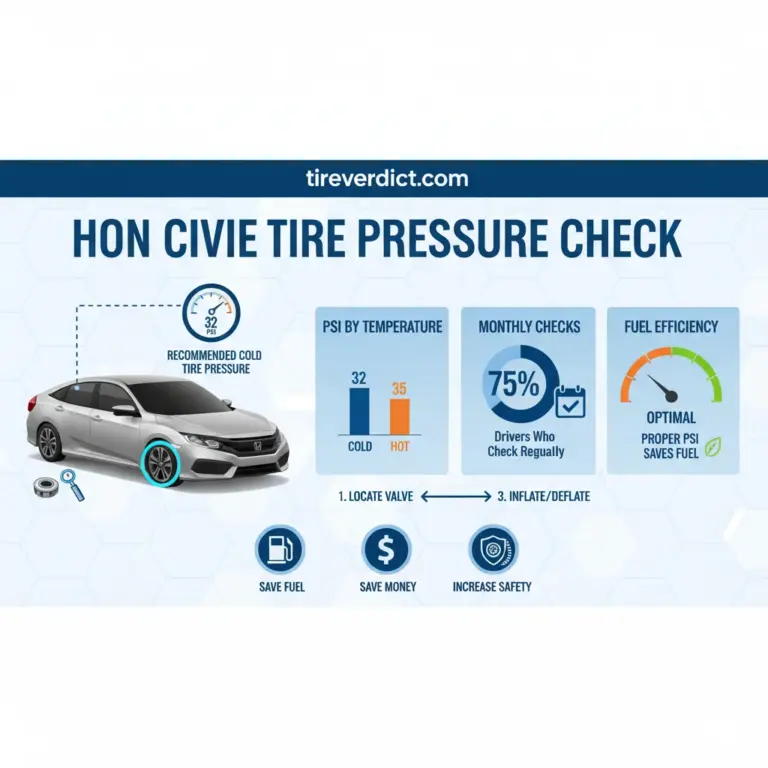
The single most crucial piece of information is your vehicle’s manufacturer-recommended tire pressure, measured in Pounds per Square Inch (PSI). This isn’t a general number; it’s specific to your vehicle model, weight distribution, and suspension. You’ll typically find this information on a placard located on the driver’s side door jamb (visible when the door is open), inside the glove compartment, or in your vehicle’s owner’s manual. Never rely solely on the maximum pressure stamped on the tire’s sidewall, as this is the maximum safe pressure for the tire itself, not necessarily the optimal pressure for your specific vehicle.
For instance, a compact sedan might recommend 32 PSI, while a heavy-duty pickup truck could specify 45 PSI or more, often with different pressures for front and rear tires. Always note the recommended PSI for both front and rear axles.
Assembling Your Tool Kit
To accurately air up your tires, you’ll need a few reliable tools:
- Reliable Tire Pressure Gauge: Digital gauges offer precise, easy-to-read measurements. Traditional stick gauges are robust but can be harder to read accurately to the single PSI. Avoid inexpensive, unreliable gauges.
- Air Compressor:
- Portable 12V Compressor: Ideal for home use and emergencies. These plug into your vehicle’s cigarette lighter or 12V auxiliary power outlet.
- Public Air Stations: Commonly found at gas stations, many now offer free air. Ensure the hose and gauge are in good working order before use.
- Garage Compressor: If you have one, this is often the most powerful and efficient option.
- Safety Gear (Optional but Recommended): Gloves to protect your hands, and eye protection, especially if dealing with older, corroded valve stems or commercial air lines.
Preliminary Visual Inspection and Cold Tire Check
Before adding air, perform a quick visual inspection. Look for any obvious signs of damage, such as bulges, cracks, or cuts on the sidewall. Check the tread for uneven wear patterns or embedded foreign objects like nails or screws. These could indicate a persistent leak or a tire nearing the end of its life, which airing up might only temporarily address.
For the most accurate reading, check your tire pressure when the tires are “cold.” This means the vehicle hasn’t been driven for at least three hours, or for no more than a mile at moderate speed. Driving heats the air inside the tire, increasing its pressure. Research indicates that tire pressure can decrease by approximately 1 PSI for every 10-degree Fahrenheit drop in ambient temperature, and conversely, increase when temperatures rise. Checking cold ensures you’re measuring the baseline pressure.
Remember, the average car tire loses 1-3 PSI per month due to natural permeability and minor temperature fluctuations, highlighting the need for regular checks. Shockingly, studies reveal that 70% of vehicles on the road have at least one under-inflated tire, making this preliminary check even more critical.
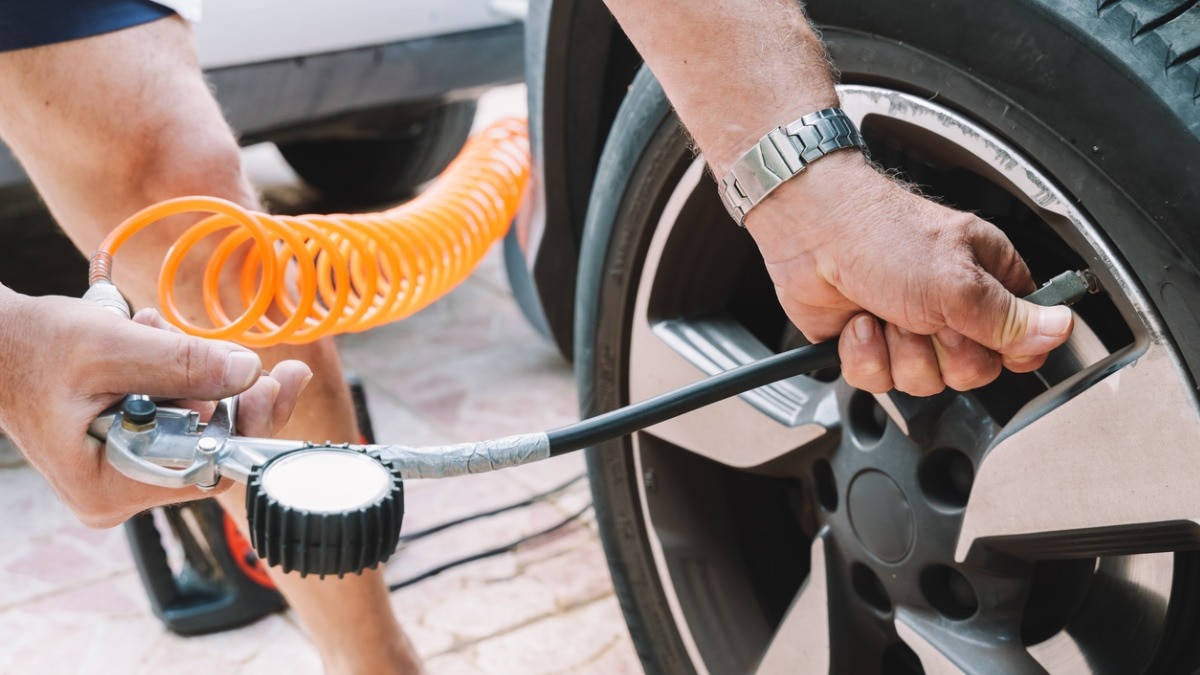
Why Tire Pressure Matters: Understanding the Impact of Proper Inflation
It’s not enough to simply learn how to air up a tire; a truly knowledgeable driver will understand the profound implications of correct tire pressure. This isn’t merely about ticking off a maintenance box; it’s fundamental to vehicle performance, safety, and your wallet. Let’s explore why this seemingly simple task is so critically important.
Safety: Braking, Handling, and Stability
The tires are your vehicle’s only contact with the road, and their condition directly dictates your safety. Properly inflated tires maintain their designed contact patch, which is the area of the tire that touches the road. This optimal contact patch is crucial for:
- Braking Performance: Correct PSI ensures maximum grip, allowing your anti-lock braking system (ABS) to work effectively. Under-inflated tires can significantly increase braking distances.
- Handling and Steering Response: Properly inflated tires offer precise steering and predictable handling. Under-inflation can make steering feel sluggish and compromise a vehicle’s ability to respond to sudden maneuvers.
- Stability: Over- or under-inflated tires can negatively affect a vehicle’s stability, especially at higher speeds or during cornering, increasing the risk of losing control.
According to the National Highway Traffic Safety Administration (NHTSA), under-inflated tires are a factor in approximately 660 fatalities and 33,000 injuries annually, underscoring the severe safety risks involved.
Economic Benefits: Fuel Efficiency and Tire Longevity
Maintaining correct tire pressure isn’t just about safety; it’s a smart economic decision. Proper inflation translates directly into savings:
- Fuel Efficiency: Under-inflated tires create more rolling resistance, forcing your engine to work harder and consume more fuel. Studies consistently show that correctly inflated tires can improve fuel economy by up to 3%. Over a year, this adds up to significant savings.
- Tire Life: Incorrect pressure leads to uneven and accelerated tire wear. A 10 PSI under-inflation, for example, can reduce tire life by 15%. Replacing tires prematurely is an unnecessary expense.
The Dangers of Incorrect Pressure: Under-inflation vs. Over-inflation
Both extremes of incorrect tire pressure pose distinct problems:
- Under-inflation:
- Increased contact patch on the edges, leading to premature shoulder wear.
- Excessive heat buildup due to increased sidewall flexion, which can lead to tread separation or a catastrophic blowout.
- Reduced load-carrying capacity and higher risk of rim damage.
- Over-inflation:
- Reduced contact patch in the center of the tread, leading to premature center wear.
- Harsher ride quality and reduced comfort due to less shock absorption.
- Increased susceptibility to road hazards like potholes, potentially leading to punctures or blowouts due to less flexibility.
- Compromised grip, especially in wet conditions, due to the smaller contact patch.
Causes of Pressure Fluctuation
Tire pressure isn’t static. It naturally fluctuates due to:
- Ambient Temperature Changes: As noted, cold weather decreases pressure, while hot weather increases it. This is a primary reason for routine checks, especially with seasonal shifts.
- Natural Permeability: Rubber is not airtight. Air molecules slowly seep through the tire material over time, resulting in a gradual loss of 1-3 PSI per month.
- Slow Leaks: Minor punctures, valve stem issues, or bead leaks can cause a slow but steady pressure drop.
By understanding these dynamics, you can appreciate the essential role of regular tire pressure maintenance, moving beyond a mere task to a critical safety and efficiency practice.
By The Numbers: The Cost of Neglect
Tire Life Reduction (10 PSI Under)
Fuel Economy Improvement (Proper PSI)
Vehicles with Under-Inflated Tires
Fatalities Annually (NHTSA, Under-inflation factor)
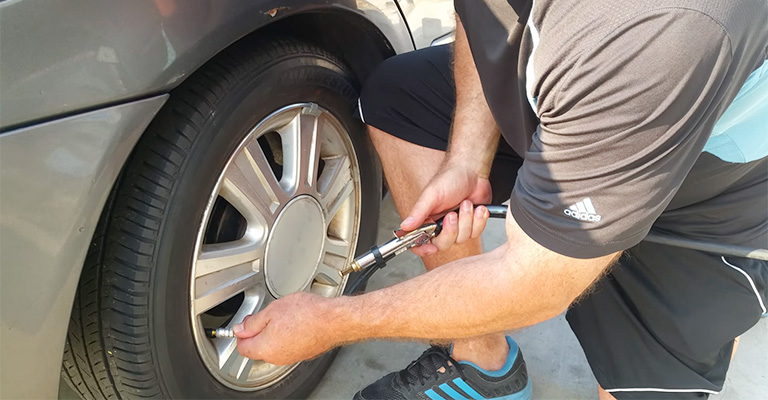
How To Air Up A Tire: The Step-By-Step Procedure for Optimal Pressure
Now that you understand the critical importance of correct tire pressure, it’s time to master the process. This comprehensive, step-by-step guide will walk you through airing up your tires confidently and accurately. Remember to always work safely and methodically.
📋
Step-by-Step Guide
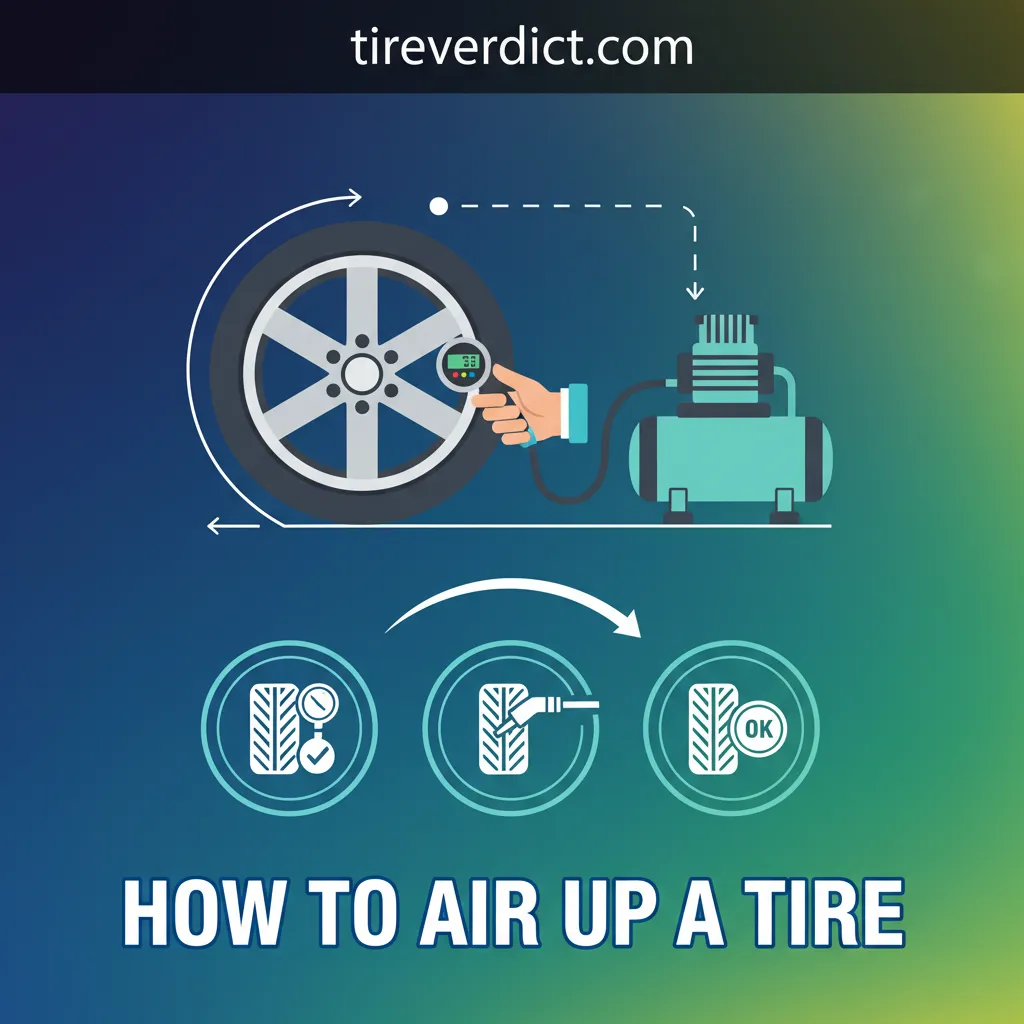
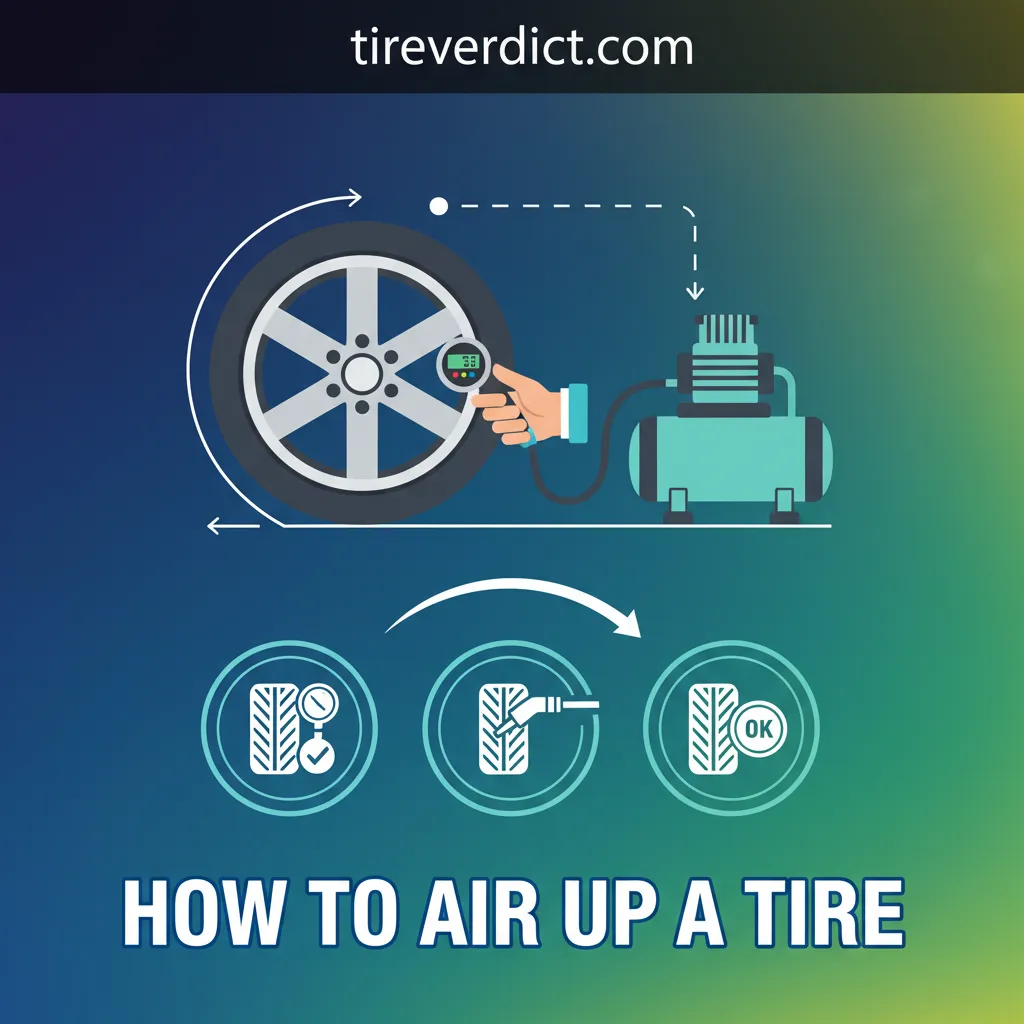
Before doing anything else, reconfirm the manufacturer’s specified tire pressure (PSI) for your specific vehicle. As discussed, this is typically found on a placard on the driver’s side door jamb, in the glove compartment, or the owner’s manual. Note the correct PSI for front and rear tires. Simultaneously, perform a quick visual inspection of the tire you’re about to inflate. Look for any obvious damage, such as bulges, significant cracks, or embedded objects like nails or screws. Address any severe damage before proceeding.
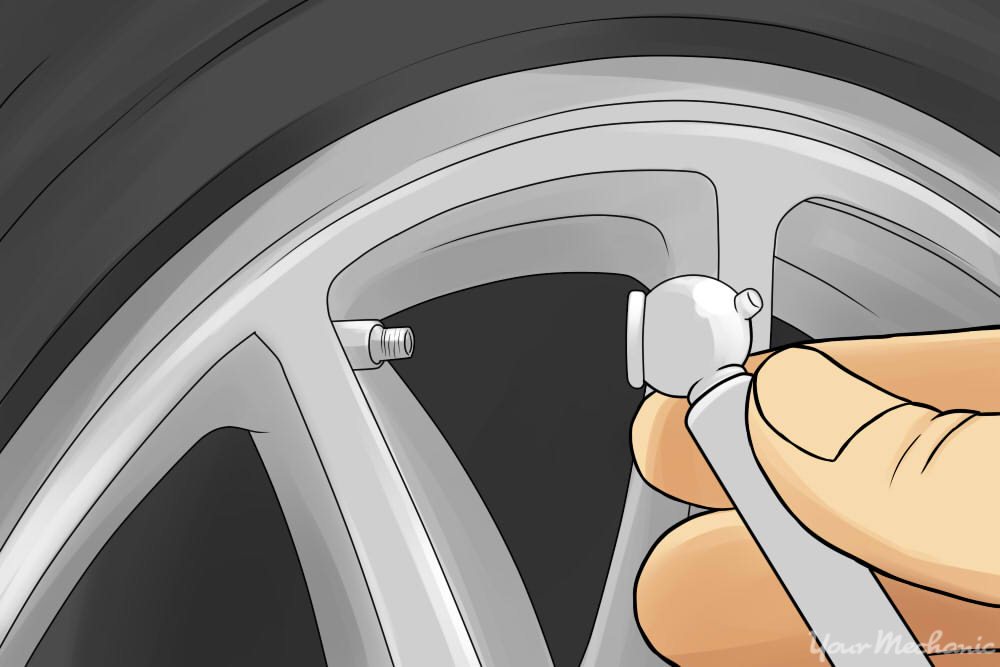
Locate the valve stem on the tire, which is a small, typically black or metallic stub with a cap. Unscrew this cap and set it aside in a safe place where it won’t be lost. Take your tire pressure gauge and firmly press it onto the valve stem. You should hear a brief hiss of air, and the gauge will display the current pressure. This initial reading is crucial for determining how much air is needed. For example, if your recommended PSI is 35 and your gauge reads 28, you know you need to add approximately 7 PSI.
If using a portable 12V compressor, connect it to your vehicle’s power source. For public air stations, simply uncoil the hose. Attach the air hose nozzle firmly to the tire’s valve stem. Depending on the nozzle type, you might need to press it on directly or flip a lever to secure it. You should hear air flowing into the tire. To avoid over-inflation, add air in short bursts, typically 5-10 seconds at a time. Most domestic portable air compressors operate at 12V and provide air at a rate of 15-30 liters per minute, so small bursts are usually sufficient to see pressure changes. Continue adding air until you estimate you are close to the target PSI.
After each short burst of air, remove the compressor nozzle and immediately recheck the pressure with your reliable tire pressure gauge. This iterative process is crucial for achieving precise inflation. If you find the tire is still under-inflated, reattach the compressor and add another short burst. Repeat until the tire reaches the precise recommended PSI. If you accidentally overfill the tire, don’t panic. Gently press the small pin located in the center of the valve stem with the tip of your pressure gauge or a small tool to release air until the correct pressure is achieved. The standard tire valve stem is designed to safely withstand pressures far exceeding typical passenger car requirements, often up to 300 PSI, so minor overfilling followed by careful release is safe.
Once the precise recommended pressure is achieved for the tire you are working on, firmly screw the valve stem cap back into place. These caps protect the valve from dirt, moisture, and debris, which can otherwise cause valve stem leaks. Repeat this entire process for all remaining tires on your vehicle. Don’t forget to check your spare tire if your vehicle is equipped with a full-size spare, as it often has a higher recommended PSI. Perform a final visual inspection around each valve stem to ensure no air is audibly escaping and all caps are tight. By following these steps, you will confidently and accurately discover the skill of tire inflation, becoming a truly competent vehicle owner.
While relying on your gauge is paramount, with experience, you can learn to hear the subtle difference in the sound of air escaping. A constant, steady hiss often indicates a good seal, while a sputtering sound might suggest the nozzle isn’t perfectly seated. This subtle feedback can help you quickly adjust your technique.
Troubleshooting: What If Your Tire Still Doesn’t Hold Air After Inflation?
Even after meticulously following the steps to air up a tire, some drivers encounter persistent pressure loss. This can be frustrating, but it’s important to understand that a continuous leak signals an underlying issue beyond simple under-inflation. To truly explore the problem, a systematic troubleshooting approach is necessary.
Identifying Common Sources of Persistent Air Leaks
Persistent air loss typically stems from one of three areas:
- Valve Stem Issues: The valve stem, the small rubber or metal part through which air enters the tire, can deteriorate over time. The rubber can crack, or the valve core inside can become loose or damaged. Research indicates that valve stem leaks account for approximately 5-10% of all slow tire leaks.
- Bead Leaks: This occurs where the tire’s bead (the inner edge) seals against the rim. Corrosion on the rim, a bent rim, or debris trapped between the tire and rim can compromise this seal, leading to slow leaks.
- Punctures: The most common cause of rapid air loss, punctures are typically caused by nails, screws, or sharp road debris. Sometimes, these objects remain embedded, causing a slow leak rather than a sudden blowout.
Simple Diagnostic Tests: The Soapy Water Method
To pinpoint a leak, the “soapy water test” is a highly effective and easy method:
- Inflate the tire to its recommended PSI, even if it’s losing air.
- Mix a solution of dish soap and water in a spray bottle or cup (about 1 part soap to 2 parts water).
- Spray or pour the solution over the entire tire, paying close attention to the valve stem, the tire bead (where the tire meets the rim), and across the tread.
- Observe closely. Any area where air is escaping will produce a visible stream of bubbles.
This test will clearly reveal the source of the leak, whether it’s a compromised valve stem, a small nail in the tread, or a bead seating issue.
Temporary Solutions and Their Limitations
For minor punctures in the tread area (typically no larger than 1/4 inch and not near the sidewall), temporary tire repair kits can be used. These kits usually involve a tire plug that is inserted into the puncture. While they can seal the leak for a short period, it’s crucial to understand that these are temporary fixes only. They are designed to get you to a repair shop, not to serve as a permanent solution.
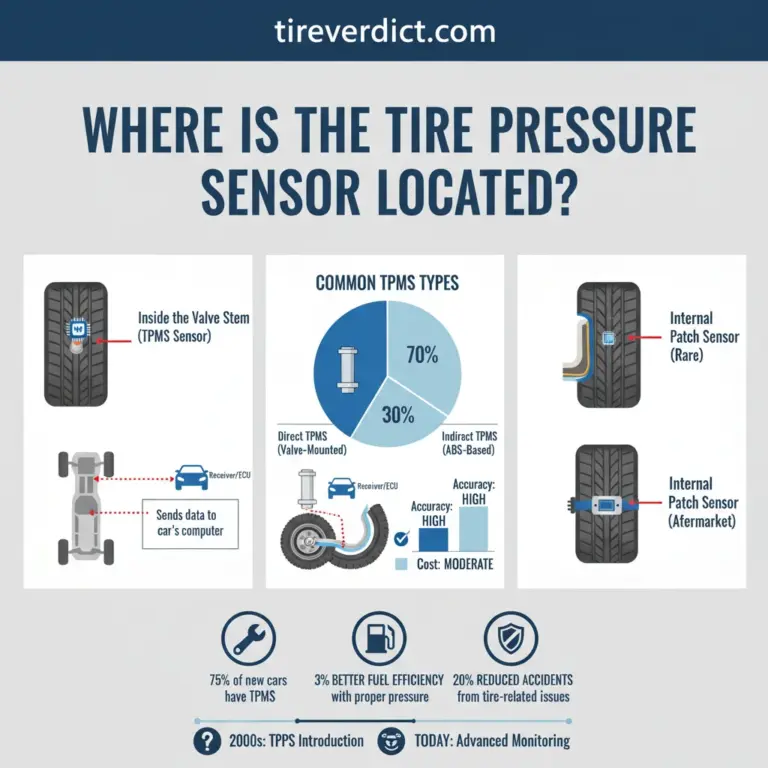
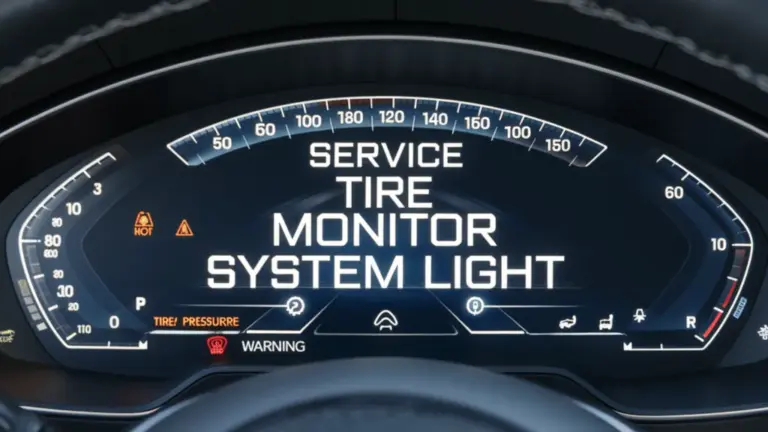
Never attempt to repair a puncture larger than 1/4 inch, or any damage located on the tire’s sidewall or shoulder. Such damage compromises the structural integrity of the tire and is generally not safely repairable, requiring full tire replacement. If you have any doubt about the severity or location of a leak, or if the leak recurs after a temporary fix, always consult a certified tire technician. Driving on a compromised tire is extremely dangerous and can lead to a sudden blowout. Many modern vehicles include TPMS (Tire Pressure Monitoring System) which can alert to significant pressure drops, but manual checks remain crucial for detecting slow leaks before they trigger the warning light.
For issues like damaged valve stems, rim corrosion, or non-repairable punctures, a professional will need to either replace the valve stem, clean and reseal the bead, or replace the tire entirely. Prioritizing safety means knowing when to hand it over to the experts.
Regularly checking and adjusting tire pressure is paramount for vehicle safety, fuel efficiency, and tire longevity. Understanding your vehicle’s recommended PSI and utilizing proper tools are critical preparatory steps. The process of airing up a tire involves methodical steps from valve stem preparation to precise pressure monitoring. Persistent air loss necessitates troubleshooting for leaks and professional assessment when damage is significant. Don’t underestimate the power of proper tire maintenance. Integrate regular tire pressure checks into your vehicle care routine to ensure optimal performance and safety. Utilize the knowledge gained from this guide to confidently maintain your tires, or consult a certified technician for complex issues. Take control of your vehicle’s well-being today.
Frequently Asked Questions
How often should I check my tire pressure?
It is recommended to check your tire pressure at least once a month, as well as before long road trips. Ambient temperature changes can significantly affect tire pressure, with a general rule of thumb being a 1 PSI change for every 10-degree Fahrenheit fluctuation. Regular checks ensure you can maintain the optimal pressure for safety and efficiency, preventing the cumulative effects of gradual air loss.
What is the correct tire pressure (PSI) for my vehicle?
The correct tire pressure for your vehicle is specified by the manufacturer and is typically found on a placard located on the driver’s side door jamb, in the owner’s manual, or sometimes inside the fuel filler door. This value, expressed in pounds per square inch (PSI), is crucial as it’s engineered for your vehicle’s weight and handling characteristics, optimizing safety and performance.
Can I air up my tires at a gas station?
Yes, most gas stations provide air compressors, often for a small fee or sometimes free with a fuel purchase. These machines are generally equipped with a gauge and hose for tire inflation. While convenient, it’s advisable to use your own calibrated tire gauge for the most accurate reading, as gas station gauges can sometimes be less precise due to wear and tear.
What happens if I over-inflate or under-inflate my tires?
Under-inflation leads to increased tire-to-road contact, causing excessive heat buildup, uneven wear on the tire’s edges, reduced fuel economy, and compromised handling. Over-inflation reduces the tire’s contact patch, resulting in a harsher ride, reduced traction, and accelerated wear on the center of the tread. Both conditions are detrimental to safety, performance, and tire longevity.
Do I need to check the spare tire pressure too?
Absolutely. It’s crucial to check the pressure of your spare tire periodically, ideally at the same time you check your other tires, or at least every few months. A spare tire can lose air over time just like your primary tires, and discovering it’s flat during an emergency can leave you stranded. Ensure it’s ready for immediate use, often requiring a higher PSI than your standard tires.