A flat tire can transform a routine drive into a stressful ordeal, but knowing how to properly install your spare can restore confidence and ensure safety. Many drivers are uncertain about the correct orientation of a spare tire, leading to potential installation errors that compromise vehicle stability and safety, particularly regarding the valve stem’s position and wheel offset. This expert guide will demystify the process, providing a professional, step-by-step methodology for installing your spare tire correctly, including understanding different types, crucial safety protocols, and post-installation best practices for a reliable outcome in 2026.
Understanding Spare Tire Types and Their Proper Orientation
📤 Share Image
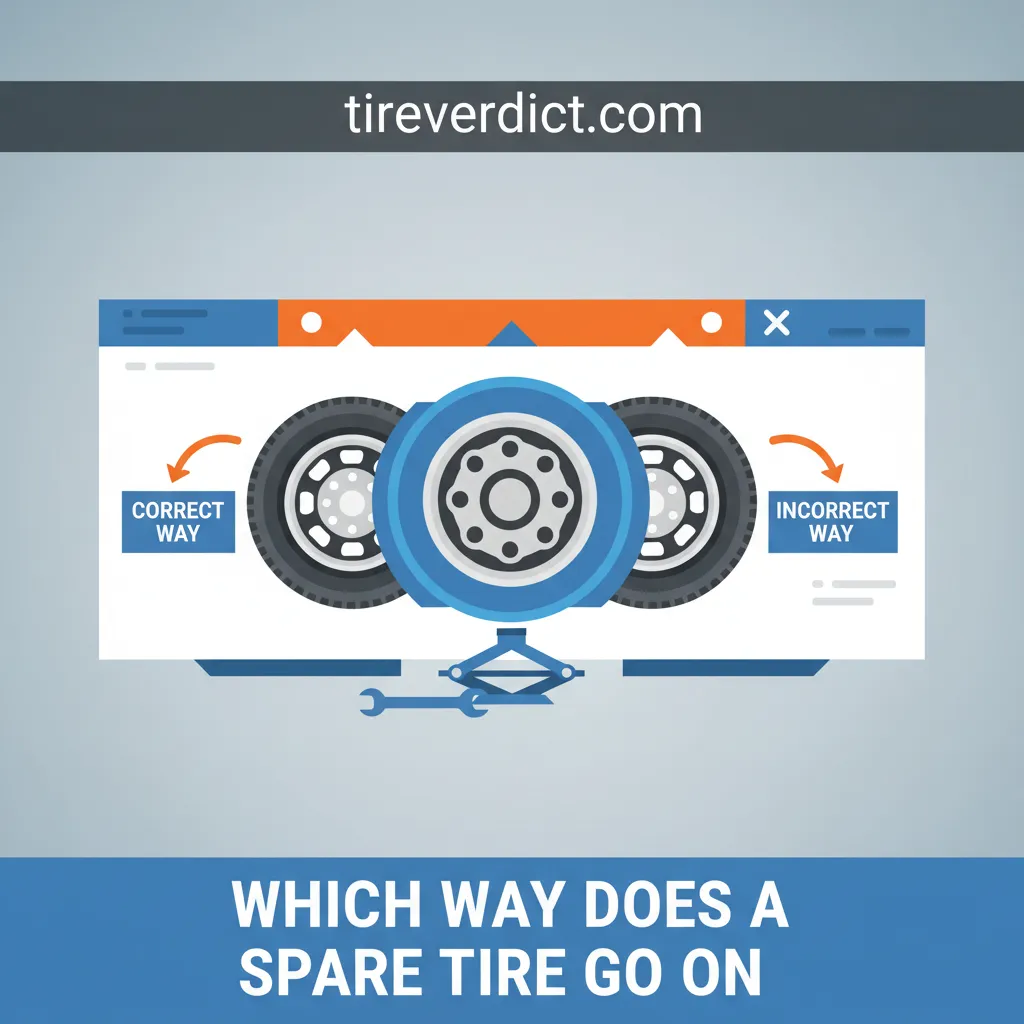
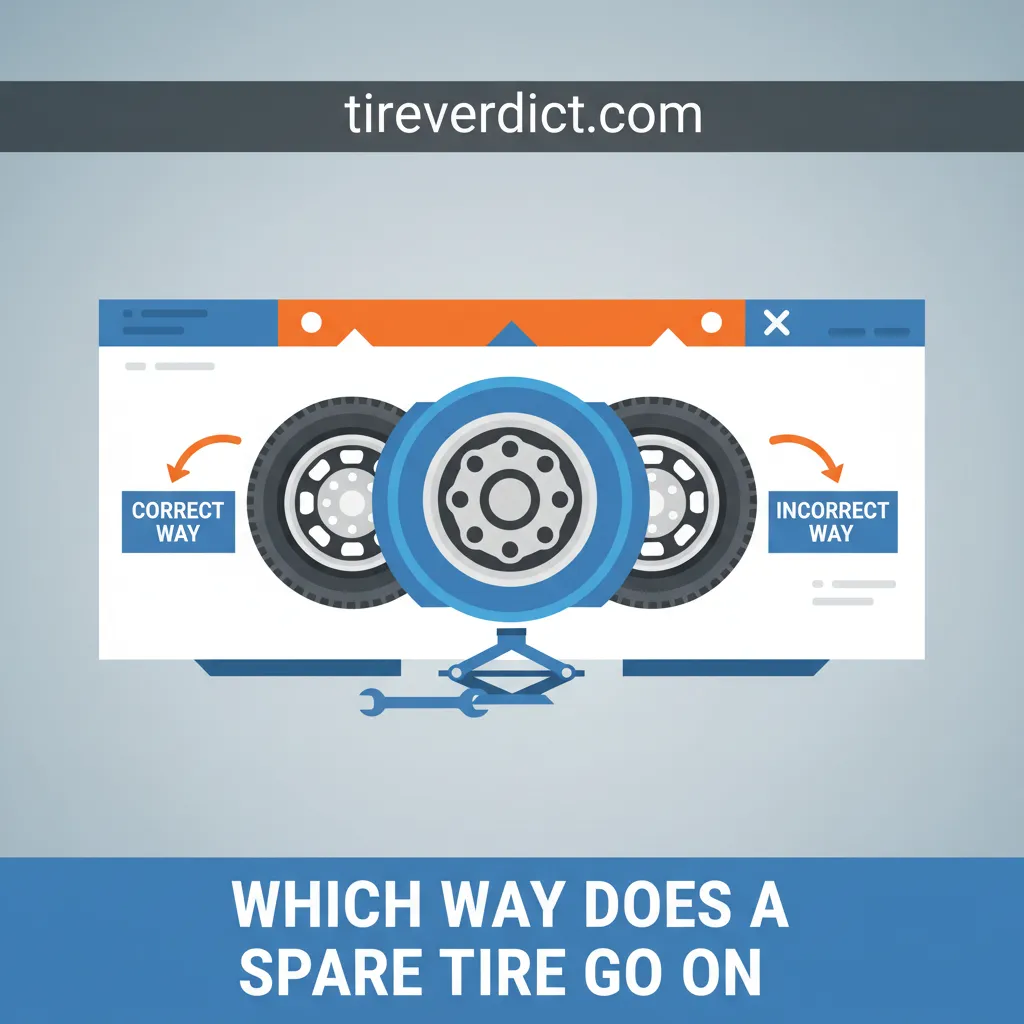
As a seasoned expert in automotive maintenance, I’ve observed countless scenarios where drivers misunderstand the nuances of spare tires. The fundamental question, “Which way does a spare tire go on?”, might seem simple, but its answer is critical for safety and optimal vehicle performance. The correct orientation primarily ensures two things: accessibility for routine pressure checks and maintaining the manufacturer-specified wheel offset, which is vital for steering geometry and bearing longevity.
Distinguishing Spare Tire Varieties
The automotive industry generally provides three primary spare tire options, each with distinct characteristics:
- Full-Size Matching Spare: This is an identical wheel and tire to those already on your vehicle. Found predominantly in SUVs and trucks, it offers the closest performance to a standard wheel once installed.
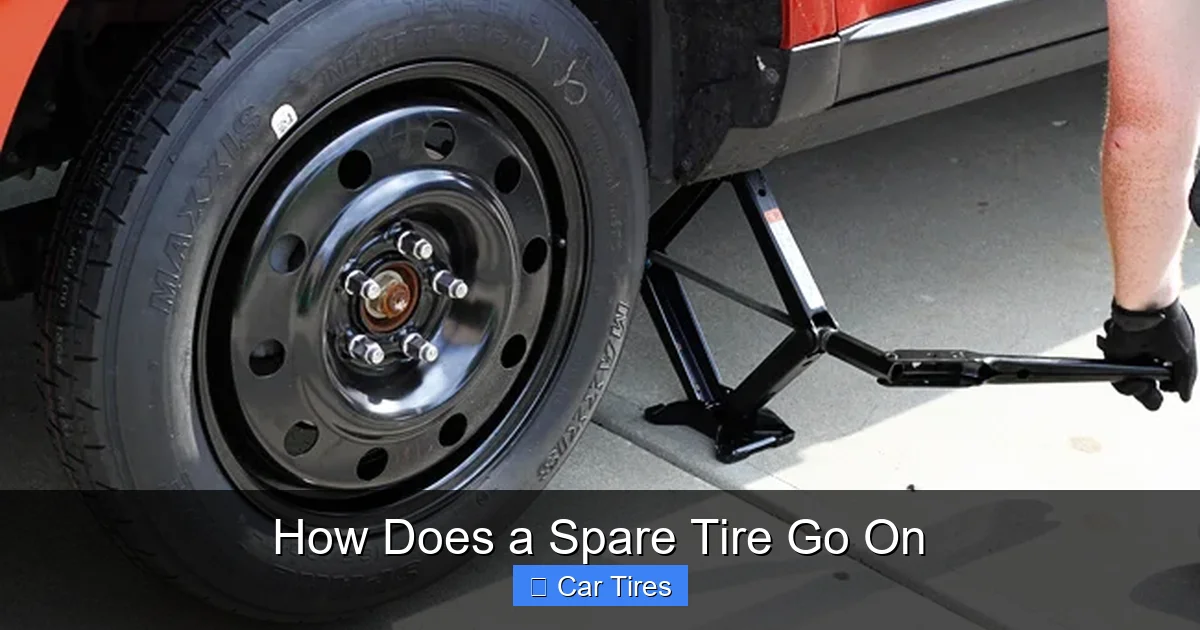
- Temporary ‘Donut’ Spare (Compact Spare): Characterized by its smaller size and narrower tread, this is designed strictly for short-term, emergency use. Research indicates that temporary spares are typically lighter and have a different offset than standard wheels, necessitating careful adherence to usage limitations.
- Run-Flat Tires: While not a spare tire in the traditional sense, vehicles equipped with run-flat technology often negate the need for a physical spare altogether. These tires are engineered with reinforced sidewalls to continue driving for a limited distance (e.g., 50 miles at 50 mph) after a puncture, allowing the driver to reach a service center without immediate roadside tire replacement.
The Principle of Outward-Facing Valve Stems
For active use on the vehicle, the spare tire’s valve stem should always face outward. This orientation serves two critical functions:
- Accessibility for Inflation: An outward-facing valve stem allows for easy access to check and adjust tire pressure, a crucial safety measure often overlooked.
- Correct Wheel Offset: Industry standards dictate that a wheel’s offset is designed to ensure the tire sits correctly within the wheel well and maintains proper alignment with the suspension components. Installing a wheel backward (valve stem inward) can drastically alter this offset, leading to compromised handling, premature wear on wheel bearings, and potentially interfering with braking components.
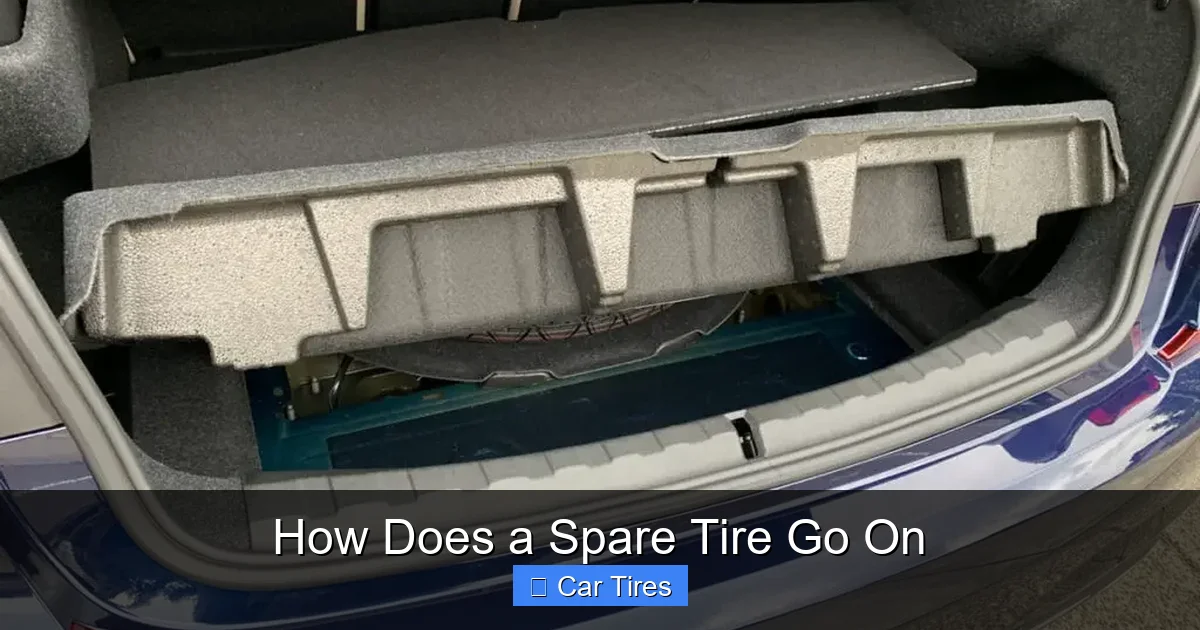
There are exceptions for storage. For instance, some older trucks or SUVs feature undercarriage mounts where a full-size spare might be stored with the valve stem facing inward to protect it from road debris. Similarly, spares stored in a truck bed might be placed face-down for stability. However, it’s paramount to remember that these are storage configurations. When it comes time for installation and use, that tire must be mounted with the valve stem facing outward.
Critical Matchmaking: Bolt Patterns and Lug Nuts
Beyond orientation, ensuring the spare tire’s bolt pattern perfectly matches the vehicle’s hub and that the lug nut types are compatible is non-negotiable. Mismatched patterns can lead to lug nuts loosening over time, and incorrect lug nut seats (e.g., conical vs. spherical) can fail to properly secure the wheel, both of which are severe safety hazards. Always consult your owner’s manual for specific details on your vehicle’s requirements.
Pre-Installation Checks and Essential Safety Protocols for Spare Tire Replacement
Before you even consider touching a lug wrench, proper preparation and unwavering adherence to safety protocols are the hallmarks of a professional and reliable tire change. My 15+ years in the field have taught me that cutting corners here can lead to serious injury or further vehicle damage.
Equip Yourself for Success and Safety
No tire change should begin without the right tools and safety gear. This includes:
- Gloves: Protect your hands from grime and sharp edges.
- Reflective Triangles/Flares: Crucial for visibility, especially if you’re on a busy highway shoulder. Department of Transportation (DOT) recommendations emphasize high visibility during roadside emergencies.
- Wheel Chocks: To prevent the vehicle from rolling, secure the wheel diagonally opposite the one being changed.
- Vehicle Owner’s Manual: Your trusted guide for specific jacking points, lug nut torque specifications, and tool locations.
Securing Your Environment and Vehicle
Imagine changing a tire on a busy highway shoulder – the stakes are incredibly high. Safety starts with your parking choices:
- Find a Safe Location: Pull over to a flat, firm, and safe area, well away from traffic. Avoid soft shoulders, hills, or uneven terrain.
- Engage Parking Brake: This is a fundamental step to immobilize the vehicle.
- Hazard Lights: Activate your hazard lights immediately to warn approaching drivers.
- Wheel Chocks: Place wheel chocks firmly under the tire diagonally opposite the one you’ll be changing.
Preparing Your Tools and Spare
Locate your vehicle’s jack, lug wrench, and spare tire. Critically, inspect the spare tire itself:
- Tire Pressure: Check the spare’s inflation pressure. Many compact ‘donut’ spares require a significantly higher PSI (e.g., often 60 PSI) than your regular tires. A deflated spare is useless.
- Tread Integrity: Ensure the tread is not excessively worn or damaged.
- Condition of Wheel: Look for any cracks or deformities in the spare wheel.
Always refer to your owner’s manual for the precise location of your vehicle’s specific jacking points. Using an incorrect jacking point can cause severe damage to the vehicle’s frame or undercarriage. The manual will also detail the proper usage of your vehicle’s specific jack and lug wrench.
By The Numbers
of roadside assistance calls are for flat tires.
of drivers don’t check their spare tire pressure regularly.
Average range for temporary spares.
Step-by-Step Guide: Mounting a Spare Tire with Correct Orientation
This section provides a professional, step-by-step procedure for safely and correctly installing your spare tire. Following these instructions meticulously will ensure a secure fitment and enhance your safety on the road.
📋
Step-by-Step Guide
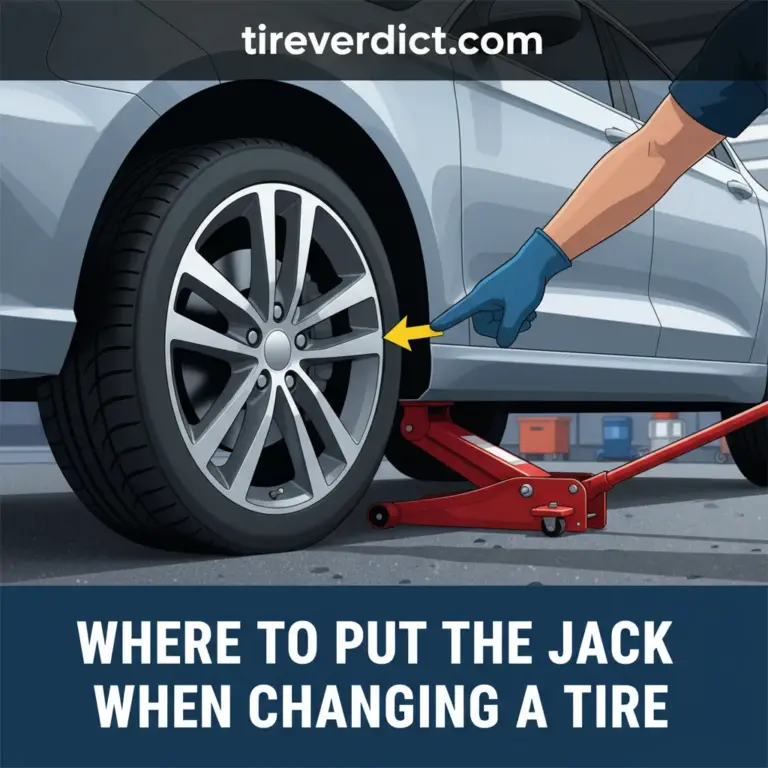
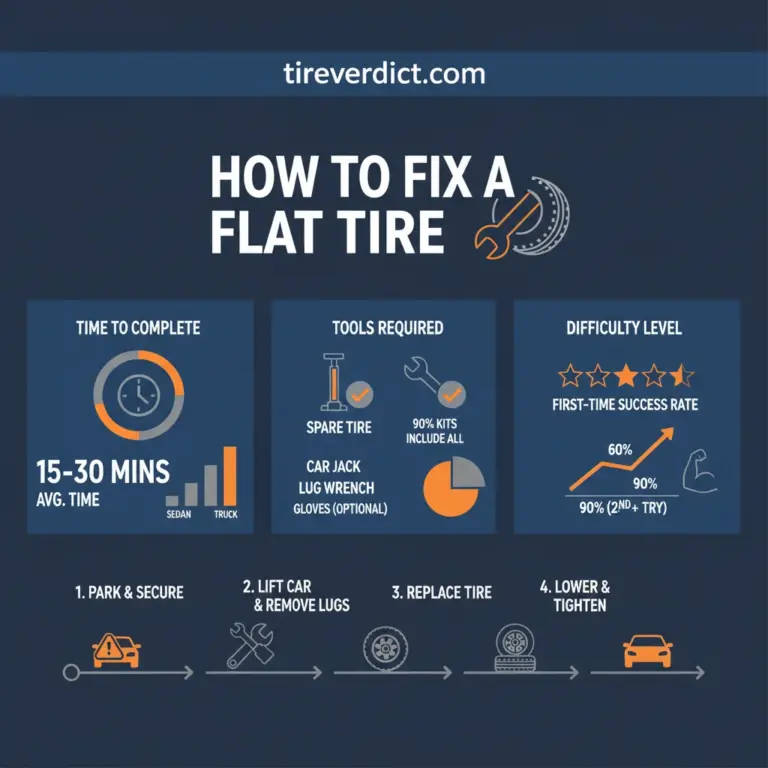
Ensure wheel chocks are securely in place. Using your lug wrench, slightly loosen the lug nuts on the flat tire by turning them counter-clockwise, typically a quarter to a half turn. Do this while the vehicle is still on the ground to prevent the wheel from spinning. Next, position the jack according to your owner’s manual at the designated jacking point. Begin to lift the vehicle until the flat tire is completely clear of the ground and can spin freely. Make sure the vehicle remains stable throughout the lifting process.
Once the vehicle is sufficiently lifted, fully remove all the loosened lug nuts. Carefully grasp the flat tire and pull it straight off the wheel studs. For added safety and stability, you can often place the removed flat tire flat on the ground directly under the vehicle’s frame near the jack, serving as an additional safety block in case the jack fails. Alternatively, place it nearby where it won’t impede traffic or roll away.
This is the pivotal step regarding orientation. Take your spare tire and visually confirm the valve stem is facing OUTWARD. Align the bolt holes of the spare with the wheel studs protruding from the vehicle’s hub. Gently but firmly push the spare tire onto the studs until it seats flush against the hub. Ensure it is fully engaged and not resting at an angle.
Replace all the lug nuts onto their respective studs. Hand-tighten them as much as possible in a star or crisscross pattern. This critical technique ensures even seating of the wheel against the hub, preventing potential wheel wobble or improper fitment. The lug nuts should feel snug against the wheel; avoid over-tightening with the wrench while the vehicle is still airborne.
Carefully lower the vehicle using the jack until the spare tire makes full contact with the ground, but the full weight is not yet on it. This allows for proper final tightening without the wheel spinning. Now, use your lug wrench to fully tighten the lug nuts in the same star or crisscross pattern. Apply firm, consistent pressure. The ideal method is to use a torque wrench to tighten them to your manufacturer’s recommended torque specifications, typically ranging from 80-120 ft-lbs, as found in your owner’s manual. Engineering principles confirm that this star-pattern tightening is essential for distributing stress evenly across the hub and preventing wheel distortion.
After hand-tightening, give each lug nut an extra snug turn with the wrench before lowering the vehicle fully. This ensures they are firmly seated, making the final torque easier and more accurate. This professional approach minimizes the risk of improper fitment.
Post-Installation Verification and Troubleshooting Common Issues
Installing a spare tire is only half the battle. A critical part of ensuring safety and reliable operation is thorough post-installation verification. Overlooking these steps can lead to immediate complications or long-term issues.
Final Checks for a Secure Fit
- Re-Tighten Lug Nuts: Once the vehicle is fully on the ground, double-check that all lug nuts are tightened to specification. If you have a torque wrench, now is the time for a final precise application. Research indicates that improper lug nut tightening is a leading cause of wheel separation, a severe safety hazard.
- Check Spare Tire Pressure: Even if you checked it before, verify the spare tire’s inflation pressure once it’s on the vehicle. Temporary spares often require a higher PSI (e.g., 60 psi) than regular tires to support the vehicle’s weight adequately. An underinflated spare is a compromise to handling and stability.
- Secure Tools and Flat Tire: Ensure your jack, lug wrench, and especially the flat tire itself are securely stowed. An unsecured flat tire can become a dangerous projectile in a sudden stop or accident.
The Critical Test Drive
After installation, conduct a brief, slow test drive. Pay close attention to any unusual noises, vibrations, or changes in steering feel. Drive slowly (e.g., 10-15 mph) for a short distance in a safe area, such as a parking lot, if possible.
- Vibrations: A persistent vibration, especially noticeable in the steering wheel or seat, often indicates an improperly seated wheel or loose lug nuts.
- Audible Clicks/Clunks: These sounds can signal loose lug nuts or the wheel not sitting flush against the hub.
- Steering Issues: If the vehicle pulls sharply to one side or the steering feels unusually heavy or loose, stop immediately and re-check your installation.
Troubleshooting Common Installation Pitfalls
Despite careful adherence to instructions, issues can arise:
- Inability to Fully Tighten Lug Nuts: If a lug nut feels like it’s spinning freely without tightening, you might have cross-threaded it. Stop immediately to avoid damaging the wheel stud or nut. This often requires professional assistance.
- Wheel Doesn’t Seat Flush: Ensure no debris is caught between the wheel and the hub. Re-check for correct alignment of bolt holes and ensure the wheel is pushed all the way back.
Automotive experts strongly recommend re-checking lug nut torque after 50-100 miles of driving on a newly installed wheel, especially after a spare tire change. This accounts for any initial settling of the wheel or nuts.
Never drive with loose lug nuts. The consequences can be catastrophic, ranging from severe wheel damage to wheel separation, leading to loss of control. If you experience persistent wobbling or vibration, pull over immediately and re-inspect your installation.
Driving on a Spare Tire: Limitations, Safe Practices, and Next Steps
A spare tire is a temporary solution, not a permanent replacement. Understanding its inherent limitations and adhering to safe driving practices is crucial to avoid further complications and ensure your safety.
Strict Limitations for Temporary Spares
Temporary ‘donut’ spares come with very specific restrictions:
- Speed: Typically, speed is limited to 50 mph (80 km/h). Exceeding this can lead to overheating, tire failure, and compromised vehicle control.
- Distance: The average lifespan or safe driving range for a temporary spare is approximately 50-70 miles (80-110 km). This is just enough to get you to the nearest service center.
While a full-size spare offers closer performance to a standard tire, it’s still advisable to drive cautiously and prioritize getting the original tire repaired or replaced, especially if the spare has been unused for a long time and its condition is unknown.
Impact on Vehicle Dynamics and Safe Driving
Driving on a temporary spare significantly alters your vehicle’s handling characteristics:
- Handling: The smaller size and narrower tread of a donut spare reduce grip and can make the vehicle feel less stable, particularly around corners.
- Braking: Braking distances can increase, and the vehicle may pull to one side under hard braking due to uneven tire sizes and grip.
- Stability: The difference in diameter and offset can affect the vehicle’s stability control systems (ESP/TCS), potentially leading to erratic behavior.
Therefore, when driving on any spare, adopt a cautious approach: avoid harsh braking, rapid lane changes, aggressive cornering, and sudden acceleration. Maintain a greater following distance and be extra vigilant.
Immediate Next Steps
Your top priority after successfully installing a spare tire should be getting your original tire repaired or replaced by a professional. Don’t delay this step, especially with a temporary spare. Many jurisdictions have legal requirements or recommendations regarding spare tire usage; prolonged use or improper speeds can lead to fines or safety issues. Additionally, have the spare tire itself inspected for proper fitment and re-torqued by a technician.
Finally, always ensure that both the flat tire (if it’s not being repaired immediately) and all your tools are securely stowed in your vehicle. An unsecured jack, lug wrench, or even a flat tire can become a dangerous projectile during an accident, causing significant harm or damage.
Enhanced Safety
Correct orientation and tightening reduce the risk of wheel separation and loss of vehicle control.
Optimal Handling
Maintaining proper wheel offset minimizes impact on steering and suspension components.
Extended Component Life
Correct installation prevents unnecessary wear and tear on wheel bearings and suspension.
Trusted Reliability
Following expert guidelines ensures a professional, reliable outcome when you need it most.
Mastering the art of spare tire installation is an invaluable skill for any driver. Always orient the spare tire with the valve stem facing outward for proper fitment and access. Prioritize safety by using correct jacking points, wheel chocks, and personal protective equipment. Adhere to a star pattern for lug nut tightening to ensure even distribution and secure wheel mounting. Finally, understand and respect the speed and distance limitations of temporary spare tires. Ensure your vehicle’s spare tire is always ready for use by checking its pressure regularly. Familiarize yourself with your owner’s manual for specific instructions, and consider practicing a tire change in a safe environment to build confidence and proficiency.
Frequently Asked Questions
What happens if a spare tire is put on backward?
Installing a spare tire backward (valve stem facing inward) can lead to several issues. For temporary spares, it often means the wheel won’t seat properly against the hub, leading to instability, vibration, and potential damage to the wheel studs or brake components. It also makes checking tire pressure impossible without re-installation. This improper fitment compromises vehicle safety and handling significantly, making it an unreliable solution.
Does it matter which way the spare tire faces?
Yes, the orientation of a spare tire critically matters. For nearly all operational purposes, the valve stem must face outward. This ensures proper wheel offset, allows access for inflation, and ensures the wheel mounts flush against the vehicle’s hub. Incorrect orientation can prevent secure mounting, affect vehicle dynamics, and create a significant safety hazard, undermining the trusted function of the spare.
How do you know if your spare tire is on correctly?
You can verify correct spare tire installation by ensuring the valve stem faces outward, all lug nuts are tightened to the manufacturer’s specified torque in a star pattern, and there’s no visible gap between the wheel and the hub. A brief, slow test drive should confirm no unusual vibrations, wobbles, or noises. Always re-check lug nut torque after about 50 miles of driving for professional assurance.
Should a spare tire be kept inflated?
Absolutely. A spare tire, especially a temporary ‘donut’ spare, should always be kept inflated to its recommended pressure, which is often higher than regular tires (e.g., 60 PSI). An underinflated spare is dangerous to use, reduces vehicle control, and can fail prematurely. Regular checks ensure your spare is a reliable and ready solution when an emergency arises, reflecting a quality maintenance approach.
Can I drive long distances with a spare tire?
Temporary spare tires are explicitly designed for short-distance, low-speed emergency use, typically limited to 50-70 miles at speeds no greater than 50 mph. Driving long distances or at high speeds with a temporary spare can cause excessive wear, heat buildup, and potential tire failure due to their lighter construction and different tread patterns. Even full-size spares should prompt prompt repair of the original tire.