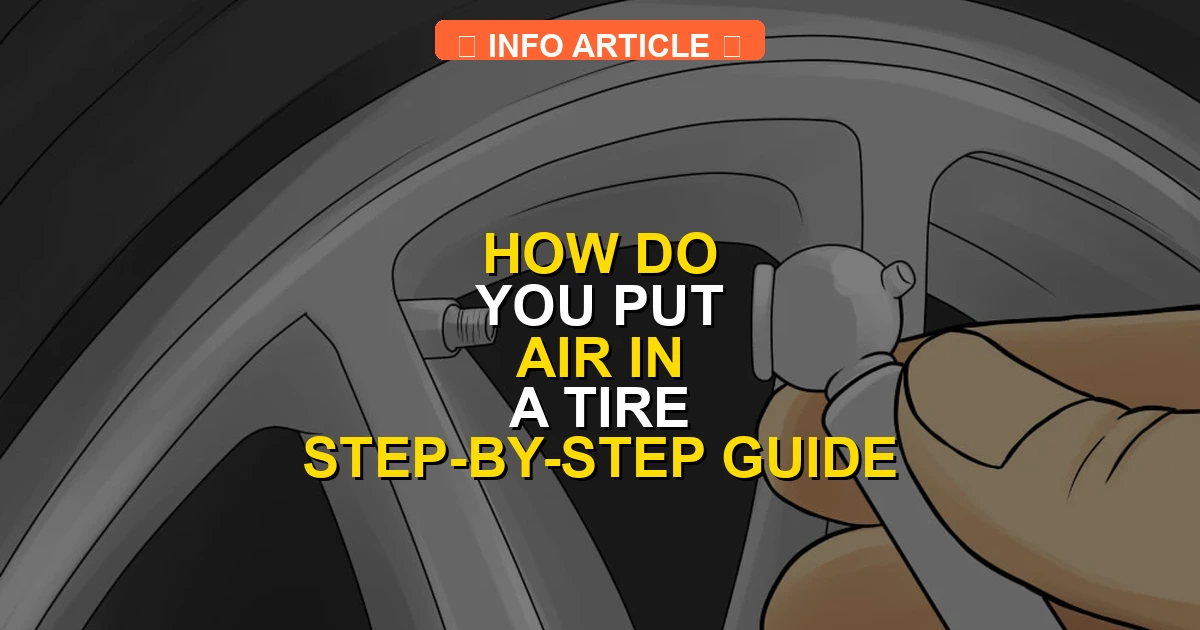
Knowing how do you put air in a tire is an essential maintenance skill that keeps you safe on the road. You can easily check pressure and inflate your tires at home or a gas station using a gauge and an air compressor. Always rely on the PSI rating found on the driver’s door jamb rather than the sidewall of the tire.
Putting air in your car tires requires removing the valve cap, checking the current pressure with a gauge, and using an air pump to fill the tire to the exact PSI listed on your driver’s door jamb placard. By 2026, modern tire pressure monitoring systems make it easier to spot low air, but manually checking and filling your tires remains a vital routine maintenance task.
Properly inflated tires save fuel, improve braking safety, and prevent premature tread wear. Whether you are prepping for a road trip or responding to a dashboard warning light, knowing how to top off your tires correctly takes less than ten minutes and protects your investment on the road.
Key Takeaways
- Find your vehicle’s correct PSI on the driver’s door placard, not the tire sidewall.
- Remove the valve stem cap and keep it in a safe place so it does not get lost.
- Press the tire pressure gauge firmly onto the valve stem to get an accurate reading.
- Add air in short bursts using an air compressor, checking the pressure frequently.
- Screw the valve cap back on securely once the target pressure is reached.
Why Tires Lose Pressure and How to Diagnose Low PSI
Natural Air Loss and Temperature Fluctuations
Your car tires naturally lose about 1 to 2 PSI of pressure every month through normal permeation. Weather changes heavily impact this rate. As ambient temperatures drop during autumn and winter, air contracts, causing your tire pressure to fall by roughly 1 PSI for every 10-degree Fahrenheit drop. In 2026, many drivers rely on their dashboard Tire Pressure Monitoring System (TPMS) to alert them when a tire drops 25 percent below the manufacturer’s recommended level, but waiting for the light means your tires are already dangerously low.
Spotting Visual Clues and Checking the Correct PSI
You should never rely solely on a visual inspection because modern radial tires can look normal even when they are underinflated by 5 to 10 PSI. Instead, locate the correct target pressure by opening the driver’s door and looking at the safety placard sticker on the door jamb or pillar. This sticker lists the exact cold PSI for your specific vehicle. Never use the maximum PSI printed on the tire sidewall, as that number only indicates the upper structural limit of the tire, not the ideal pressure for your car’s weight and handling.
How to Put Air in a Tire Like a Pro: A Practical Walkthrough
Maintaining proper tire pressure is one of the easiest yet most crucial aspects of vehicle ownership. Correctly inflated tires improve fuel efficiency, enhance vehicle handling, and significantly extend the lifespan of your tread. Whether you are prepping for a long road trip or responding to a sudden dashboard low-pressure warning light, knowing how to properly inflate your tires is an essential skill. This comprehensive walkthrough will guide you through the process safely, accurately, and efficiently from your own driveway or a local service station.
Step 1: Locate Your Vehicle’s Correct Tire Pressure Specifications
What you need: The driver’s side door jamb placard or the vehicle owner’s manual.
Instructions: Open the driver-side door and look at the pillar or edge of the door for a white and yellow sticker that details the recommended Cold Tire Inflation Pressure. You will see specific PSI (Pounds per Square Inch) numbers designated for the front and rear tires, and sometimes separate numbers for heavy loads. Never rely on the maximum pressure number printed on the actual tire sidewall, as that indicates the absolute maximum the tire can hold, not the optimal pressure for your specific car model.
Pro Tip: Always check your tire pressure when the tires are cold—meaning the car has been driven less than two miles or has been sitting parked for at least three hours. Driving heats up the air inside the tire, which artificially inflates your PSI readings.
Step 2: Gather Your Tools and Locate an Air Source
What you need: A reliable digital or dial tire pressure gauge, a portable 12V air compressor or access to a gas station air pump (typically costing $1.50 to $2.00 in quarters or credit card payment), and a core valve cap removal tool if needed.
Instructions: Plan where you will add air. If using a gas station, position your vehicle so the air hose can easily reach all four tires without stretching. If you are using a portable compressor, plug it into your vehicle’s 12-volt auxiliary power outlet (cigarette lighter) or attach it directly to the car battery. Turn on your power source and ensure your pressure gauge is handy and working properly with fresh batteries if it is a digital model.
Pro Tip: Keep a dedicated, high-quality digital tire gauge in your glove compartment. Gas station gauges are frequently dropped, exposed to harsh weather, and notoriously inaccurate due to heavy public use.
Step 3: Remove the Valve Stem Cap
What you need: Your fingers and accessibility to the wheel valves.
Instructions: Kneel down beside the first tire you plan to inflate. Locate the rubber or metal valve stem protruding outward from the wheel rim. Unscrew the small plastic or metal cap covering the tip of the valve stem by turning it counterclockwise. Place this tiny cap in a secure, visible location—such as your pocket, the vehicle dashboard, or the flat surface near the wheel well—so you do not accidentally drop it into the grass or lose it during the inflation process.
Pro Tip: If a valve cap feels stuck due to road salt or corrosion, do not force it with metal pliers which can snap the stem. Instead, spray a tiny amount of penetrating lubricant like WD-40 onto the threads and let it sit for two minutes before trying again.
Step 4: Measure Your Current Tire Pressure
What you need: Your tire pressure gauge.
Instructions: Take your tire pressure gauge and press its chuck firmly straight down onto the open valve stem. You should hear a brief, sharp hiss of escaping air as a seal is formed. If the hiss continues loudly, adjust the angle until the sound stops and the internal mechanism captures the pressure. Read the digital screen or watch the dial indicator to record the exact PSI measurement. Compare this number against the manufacturer specification you found in Step 1 to determine exactly how many PSI you need to add.
Pro Tip: Take two consecutive readings to ensure accuracy. If your tire is severely underinflated (below 15 PSI), you may need to drive very slowly to the nearest service station or use a portable inflator immediately.
Step 5: Attach the Air Hose and Inflate the Tire
What you need: The air compressor hose and nozzle.
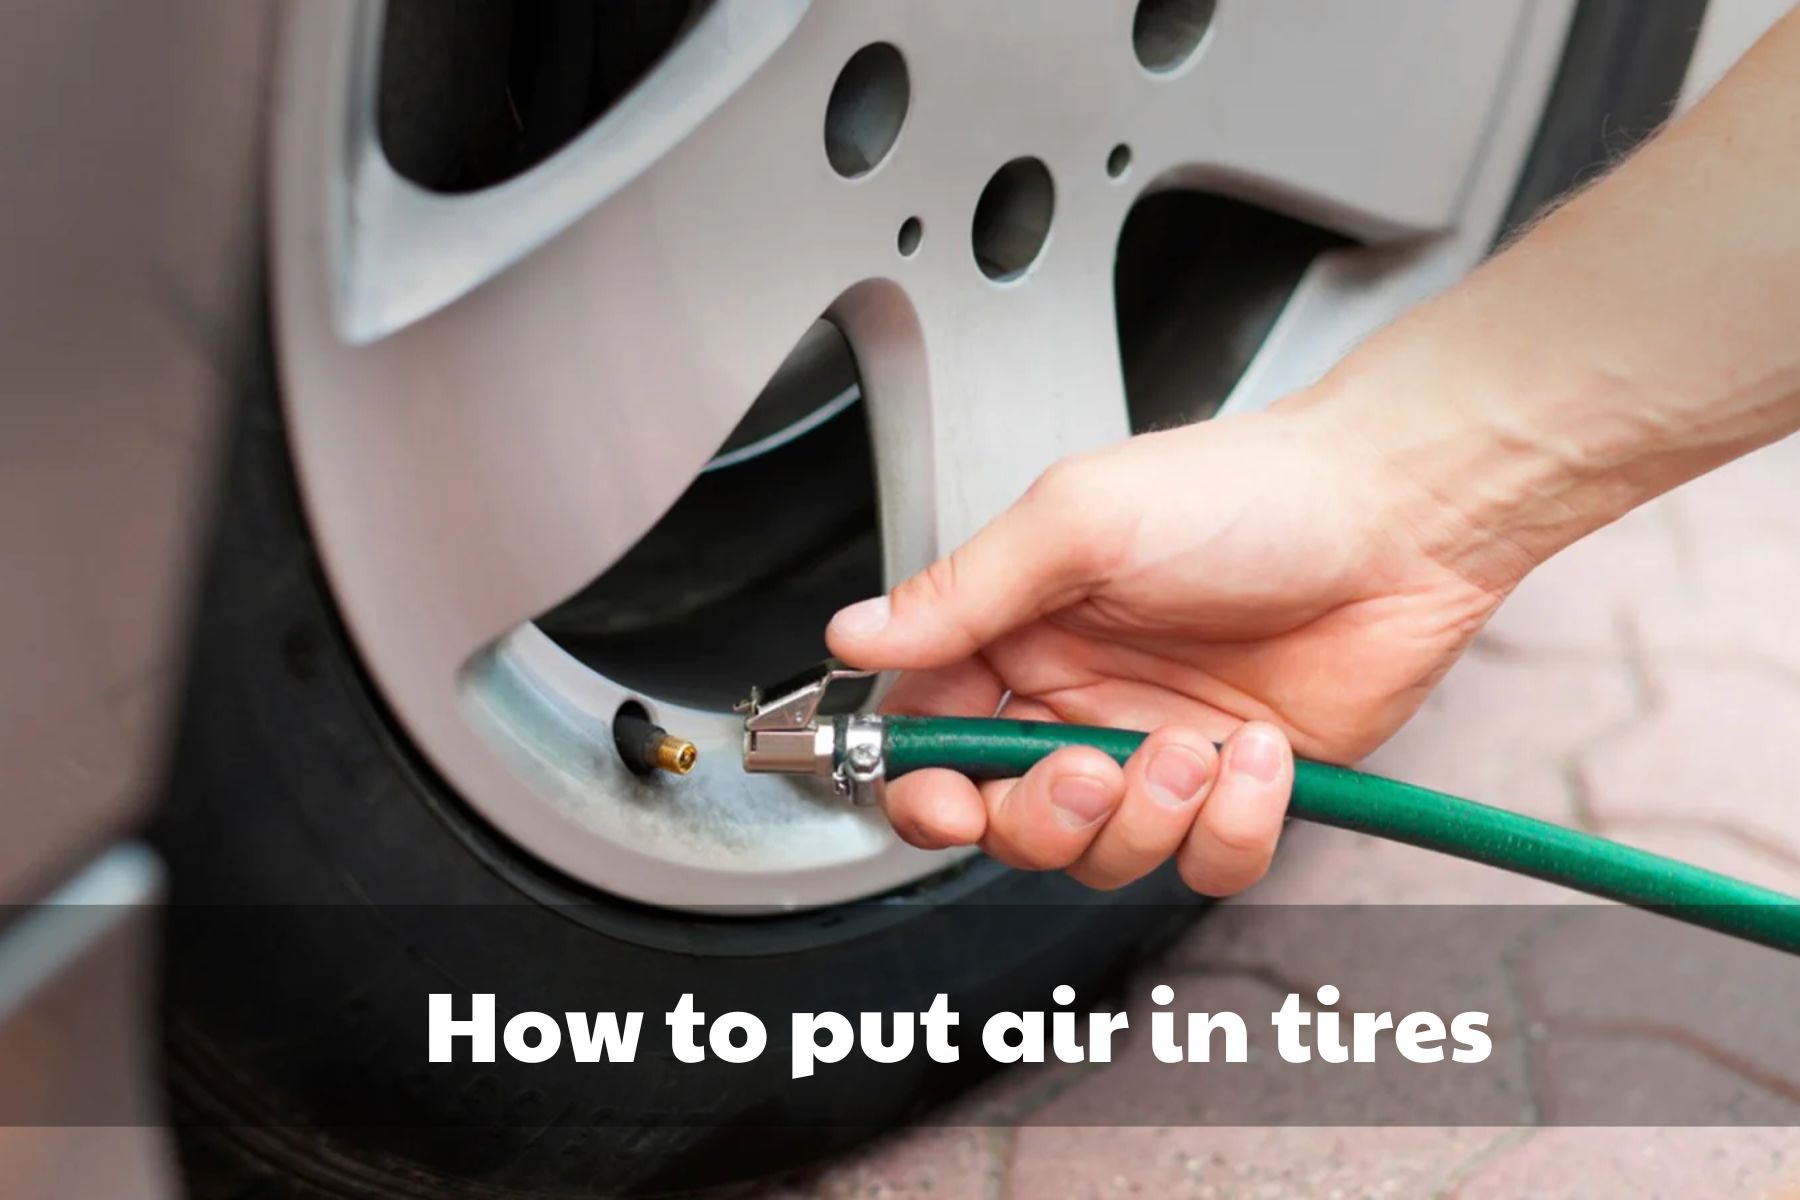
Instructions: Firmly press the air compressor nozzle straight onto the valve stem. If your compressor has a locking lever or a screw-on fitting, secure it tightly so air does not leak out around the edges. If using a gas station air machine with a trigger handle, squeeze the handle completely to initiate the flow of compressed air into the tire. Hold it down for approximately 5 to 10 seconds at a time, allowing air to rush into the tire cavity.
Pro Tip: Avoid continuously running high-capacity portable compressors for more than 10 minutes straight to prevent overheating. Give the unit brief rest intervals if you are filling a completely flat tire.
Step 6: Monitor Pressure and Avoid Over-Inflation
What you need: Your tire pressure gauge or the digital display on modern automated air compressors.
Instructions: Because air compressors pump air quickly, you must check your progress frequently. Release the air hose trigger every few seconds and use your handheld pressure gauge to test the current PSI. Continue adding small bursts of air until the gauge reading exactly matches the recommended PSI specification for your vehicle. If you accidentally over-inflate the tire and go past your target number, do not panic—simply use the small metal pin on the back of your gauge or a key to gently press down the center valve core, bleeding out excess air until you reach the correct level.
Pro Tip: Many modern gas station air pumps allow you to pre-set your target PSI digitally. The machine will automatically beep when it reaches your target, saving you from constant manual checks.
Step 7: Replace the Valve Stem Cap Securely
What you need: The valve cap you removed in Step 3.
Instructions: Once the tire has reached the precise recommended pressure, quickly retrieve your valve stem cap and screw it back onto the threaded end of the valve stem by turning it clockwise. Tighten it firmly with your fingers until it is snug. Do not over-tighten metal caps with tools, as this can strip the delicate threads or damage the rubber internal seal. This small cap plays a vital role: it acts as a primary secondary seal preventing air leaks and keeps microscopic road dirt, moisture, and debris out of the valve core.
Pro Tip: Make a visual check to ensure the cap is seated squarely. Repeat Steps 3 through 7 for your remaining three tires, as well as your full-sized spare tire if your vehicle is equipped with one.
✅ Final Checklist
- All four tires match the recommended PSI found on the driver-side door placard
- Valve stem caps are securely hand-tightened on every single tire
- No audible hissing or air leaks are detected coming from the valve stems
- Your tire pressure gauge and portable equipment are safely stored away
- Dashboard tire pressure monitoring system (TPMS) warning light has cleared or been reset
Important Notes:
- Always prioritize safety: never inflate tires alongside fast-moving highway traffic, and keep fingers clear of mechanical compressor parts.
- Seek professional mechanic assistance immediately if a tire continually loses air within 24 hours, as this indicates a puncture, damaged rim, or faulty valve stem requiring professional repair or replacement.
- Estimated time: 10 to 15 minutes. Estimated cost: Free at home with a portable pump, or $1.50 to $2.00 at a local fuel station.
Tools Needed to Check and Inflate Your Car Tires
Essential Equipment for the Job
Before heading to a gas station air pump or working in your driveway, gather the necessary gear to ensure an accurate and efficient process. Having the right tools prevents frustration and ensures you do not accidentally overinflate your tires. Here is what you need:
- A reliable tire pressure gauge: Digital gauges offer fast, easy-to-read numbers, while traditional dial gauges provide dependable analog performance.
- A portable air compressor or air pump: Owning a 12V DC compressor that plugs into your car or a rechargeable cordless inflator gives you the ultimate convenience in 2026.
- A valve core tool or spare valve caps: Essential if you discover a leaky or missing cap during the process.
- A clean rag or towel: Valve stems accumulate road grime and brake dust that you will want to wipe away before attaching a gauge.
Preparing for the Inflation Process
Always check and inflate your tires when they are cold—meaning the car has been parked for at least three hours or driven less than two miles at low speeds. Driving heats up the air inside the tire, which causes the pressure to rise artificially by 3 to 5 PSI. If you adjust warm tires, you will end up with underinflated tires once the rubber cools down.
Step-by-Step Guide on How Do You Put Air in a Tire
Mastering how do you put air in a tire is a straightforward process when following a precise sequence. Proper execution ensures optimal fuel economy and prevents premature tire wear across your vehicle.
Connecting the Equipment
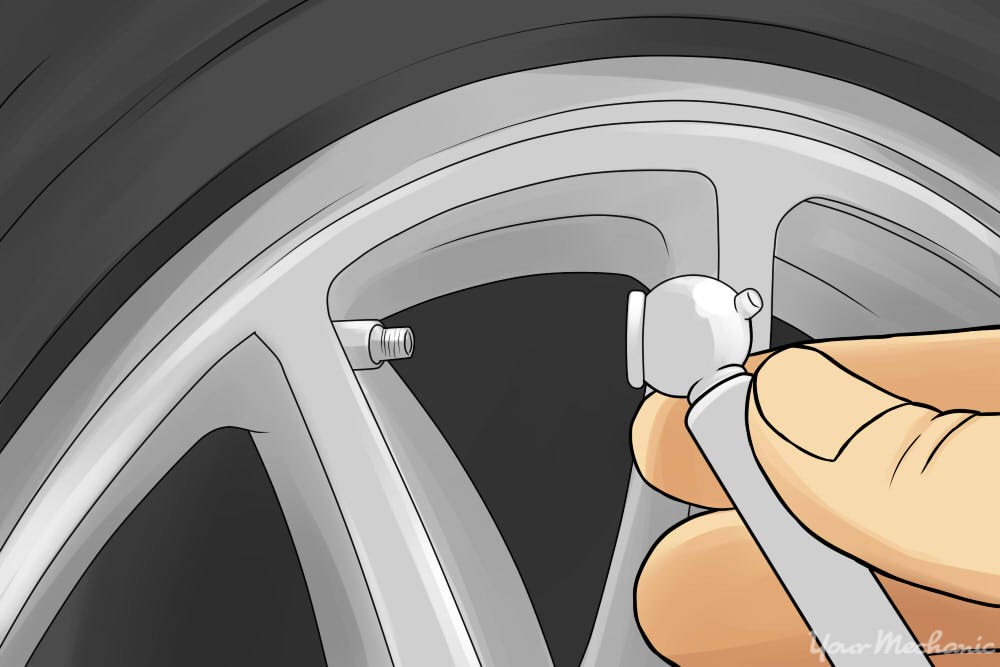
- Remove the valve stem cap from your target tire and place it in a secure spot like your pocket.
- Press the air compressor hose nozzle or tire pressure gauge firmly straight onto the open valve stem.
- Listen for a subtle hissing sound, which indicates air is escaping, and push harder until the sound stops completely.
- Read the current pressure measurement on the digital display or analog gauge attached to the hose.
Inflating and Monitoring
- Squeeze the trigger or press the inflation button on the air compressor to deliver air into the tire chamber.
- Pause every five to ten seconds to check the pressure reading and avoid over-inflation.
- Stop immediately once the gauge matches the exact PSI specification found on your driver-side door placard.
- Pull the nozzle straight off the valve stem quickly to minimize air loss and screw the cap back on tightly.
What If It Still Doesn’t Work?
If you have successfully completed the inflation steps but notice the tire pressure drops again rapidly, underlying mechanical issues are likely present. According to safety data from the National Highway Traffic Safety Administration, persistent pressure loss often stems from punctures, damaged rims, or failing valve cores.
- Inspect the tread and sidewall thoroughly using soapy water to locate escaping air bubbles indicating a puncture.
- Tighten a loose valve stem core using a specialized valve tool if you hear a slow hiss coming directly from the center.
- Visit a professional tire service center if the puncture is located within the tread and requires a proper patch-and-plug repair.
- Budget for professional repair services, which typically cost between $15 and $40 depending on the severity of the damage and local labor rates.
- Replace the tire entirely if the sidewall shows structural bulging or the puncture exceeds safety limits established by the Rubber Manufacturers Association.
Conclusion
Knowing how do you put air in a tire correctly protects your safety, enhances vehicle handling, and maximizes fuel efficiency on every journey. Maintaining proper pressure prevents dangerous blowouts and extends tread life significantly. According to verified research and expert sources from the U.S. Department of Energy, keeping tires properly inflated can improve your vehicle’s gas mileage by up to 3 percent. Your actionable next step for 2026 is to check your tire pressure monthly using a reliable digital gauge and visit a certified service center if pressure loss persists.
❓ Frequently Asked Questions
How do you find the recommended PSI for your specific vehicle?
The accurate PSI rating is printed on a white and yellow safety sticker located on the driver’s side door jamb. Never use the maximum pressure listed on the tire’s outer sidewall.
What tools do you need to inflate a car tire?
You will need a reliable tire pressure gauge and an air compressor source, which can be a 12V pump plugged into your car, a home unit, or a gas station air machine.
How often should you check your tire pressure?
It is recommended to check your tire pressure at least once a month and whenever there are significant shifts in outdoor temperature.
Why does tire pressure drop during winter months?
Cold weather causes air molecules to contract and pack closer together, resulting in a drop of about 1 to 2 PSI for every 10-degree Fahrenheit temperature decrease.
How do you use a standard gas station air machine?
Insert the required coins or use a card, set your desired target PSI if the machine is digital, and press the nozzle firmly onto the valve stem until it beeps or stops.
What should you do if the tire pressure light stays on after inflating?
Drive the vehicle for a few miles above 15 mph to reset the sensor. If the light remains on, one or more tires may still be underinflated or a sensor may need service.