The sudden hiss of air or the discovery of a foreign object embedded in your tire is a common and unwelcome roadside encounter that demands immediate attention. A nail in your tire can lead to inconvenient flats, compromised vehicle safety, and significant repair costs if not addressed promptly and correctly, leaving many drivers uncertain about the best course of action. This comprehensive guide will equip you with the knowledge to accurately diagnose the damage, understand the viable repair options for 2026 tire technologies, and identify when professional intervention or a full tire replacement is unavoidable, ensuring your vehicle’s ongoing performance and safety.
What Causes a Nail in a Tire? Diagnosing Common Puncture Sources
The ubiquitous “nail in the tire” is a common problem for motorists, but the cause often extends beyond just a simple nail. Understanding the sources of these punctures is key to prevention and initial diagnosing the damage. Roadways are dynamic environments, constantly shedding various forms of debris that pose a threat to your tires’ integrity.
📤 Share Image
Road Debris and Environmental Factors
Construction zones are notorious breeding grounds for tire hazards. Roofing nails, screws, rebar scraps, and general metal shards from building materials frequently fall from vehicles or are left behind, especially in areas with active development. Beyond construction sites, everyday road conditions contribute significantly. Heavy storms can wash various objects onto traffic lanes, while decaying infrastructure can shed metal fragments. Statistical data indicates that nails and screws account for approximately 70-80% of all tire punctures, underscoring the prevalence of these common, sharp objects. This highlights why incidents like driving through an active construction site or encountering scattered debris after a heavy storm frequently result in punctures.
Accidental Driving Over Objects
Often, drivers are completely unaware they’ve passed over a foreign object until a flat tire signals the issue. Whether on paved roads, gravel paths, or temporary construction bypasses, even seemingly small objects can be elevated enough to penetrate a tire’s tread. A sudden, sharp pop followed by rapid air loss on a seemingly clear road is a classic symptom of inadvertently driving over a penetrating object. AAA responds to millions of flat tire service calls annually, with foreign object penetration being a leading cause, a testament to how easily these incidents occur.
Types of Foreign Objects and Initial Impact
While the term “nail in tire” is common, the culprits are diverse. Screws, bolts, sharp rocks, glass shards, and even discarded vehicle parts can all inflict punctures. The object’s shape and size significantly influence the puncture’s severity and potential for a repair. A thin nail might create a small, easily repairable hole, whereas a large screw or bolt can cause extensive damage, potentially compromising the tire’s internal structure. Initial visual cues, such as a clearly visible object embedded in the tire or a noticeable drop in tire pressure, are critical for early diagnosis.
By The Numbers
Tire Punctures from Nails/Screws
Annual AAA Flat Tire Service Calls
Professional Repair Success Rate

Assessing Tire Damage: How to Diagnose a Puncture’s Severity and Location
Once you suspect a nail in your tire, the next critical step is to safely and accurately diagnose the damage. This assessment determines whether a repair is a viable solution or if the tire requires replacement, influencing your approach for fixing the problem.
Safe Initial Inspection Procedures
Safety is paramount. Always pull over to a safe, level location away from traffic. Engage the parking brake, and if possible, use wheel chocks to prevent any unexpected movement. Good lighting is essential for a thorough visual inspection. Carefully scan the tire’s entire surface, especially the tread, for any embedded objects or visible damage. While inspecting, avoid direct contact with the foreign object initially, as removing it prematurely can lead to rapid air loss and further damage, complicating any potential workaround or resolution.
Puncture Location is Paramount
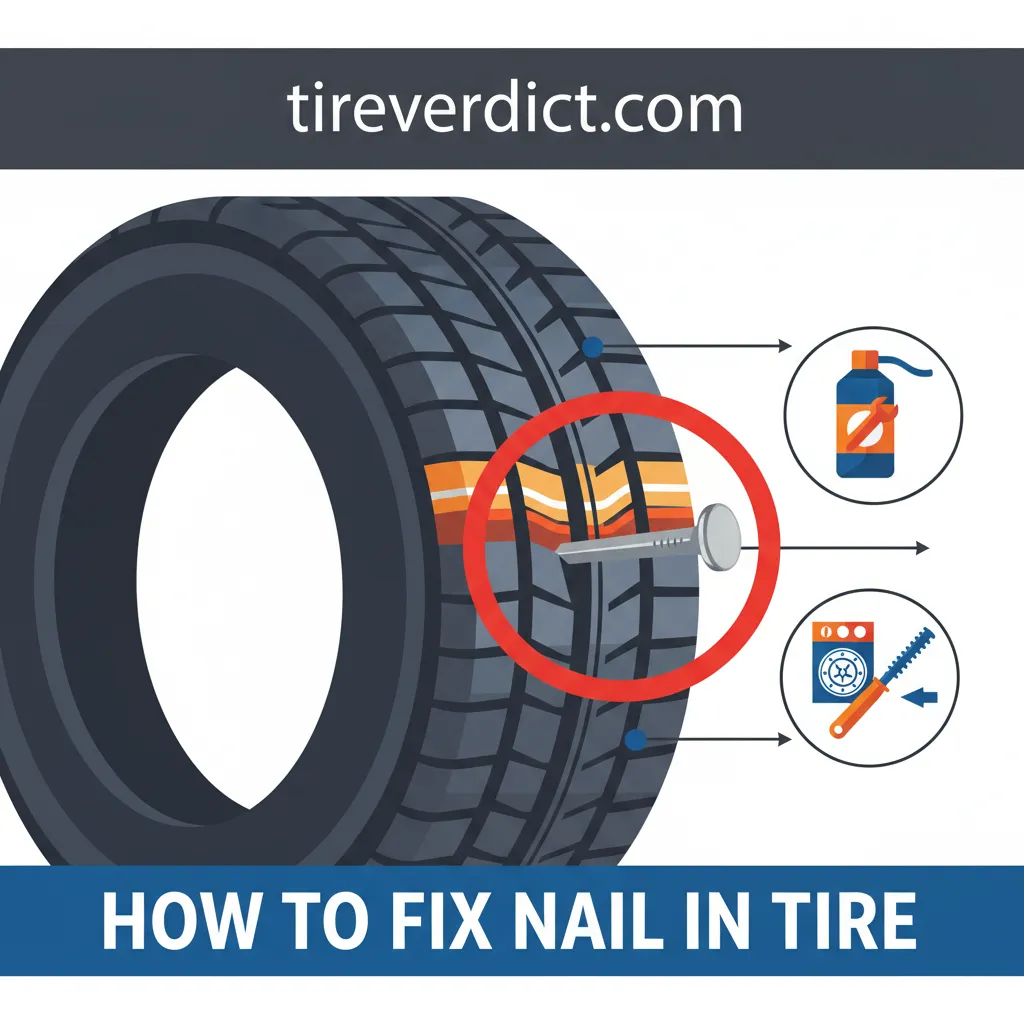
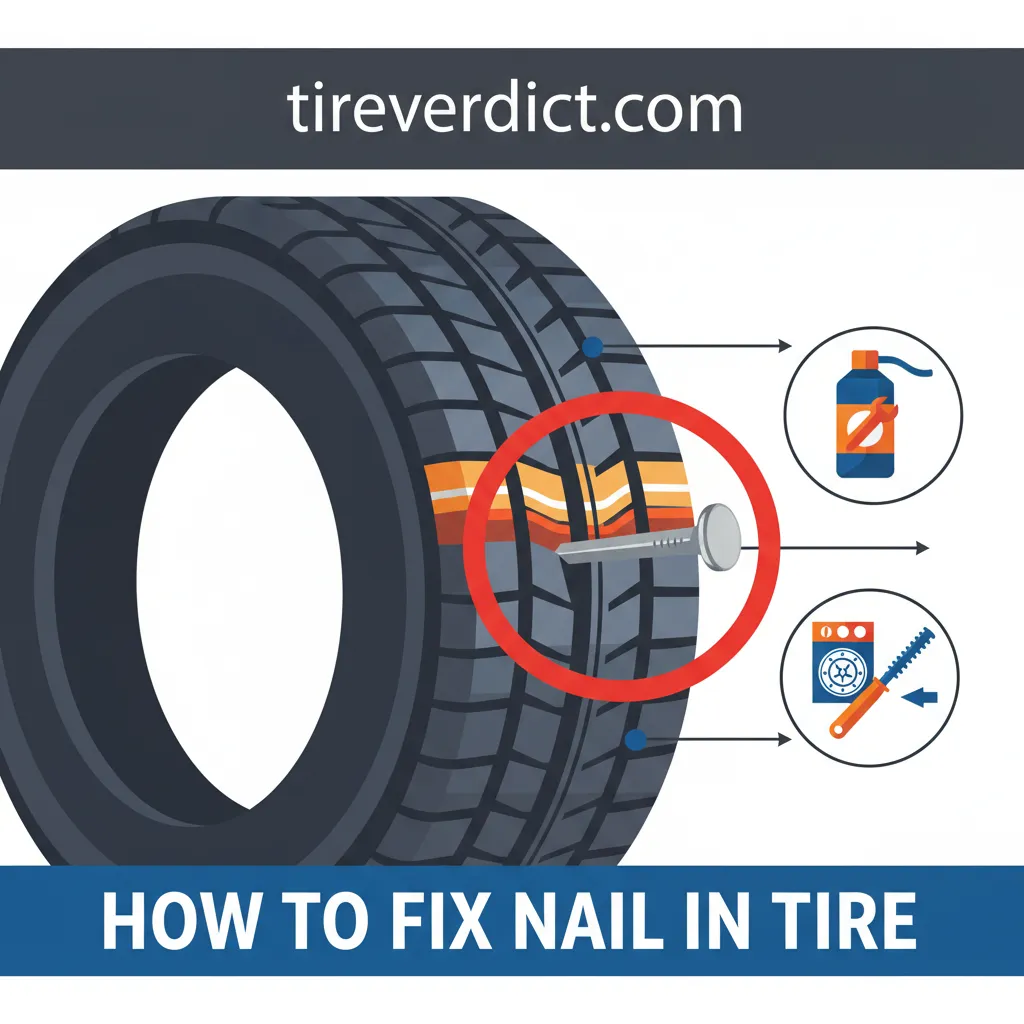
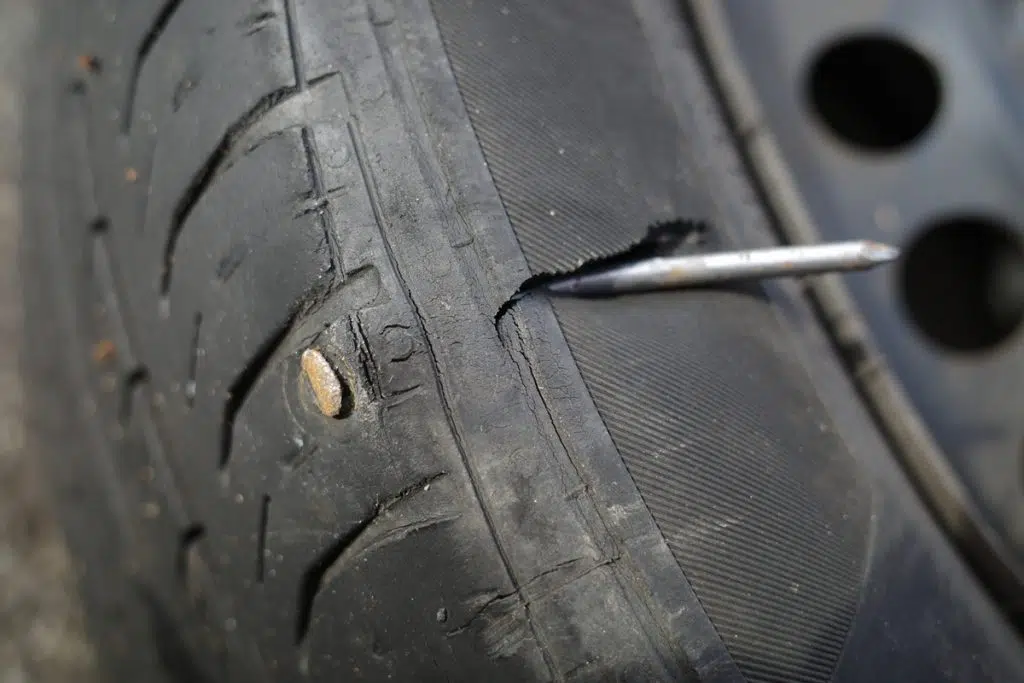
The location of the puncture is the most critical factor in determining repairability. According to the Tire Industry Association (TIA) and Rubber Manufacturers Association (RMA) guidelines, a repair is generally only safe and recommended if the puncture is within the tire’s tread (crown) area. This central region is designed to withstand dynamic forces. Punctures in the shoulder or, critically, the sidewall, are almost universally deemed non-repairable. These areas flex significantly and house crucial structural plies, making a lasting, safe repair impossible. For instance, a small roofing nail in the center of the tread might be repairable, but a large bolt embedded near the tire’s sidewall is definitively not.
Evaluating Puncture Size and Angle
Beyond location, the size and angle of the puncture are vital. Industry standards dictate that a puncture must not exceed 1/4 inch (6mm) in diameter for a safe repair. Larger punctures compromise too much material. The angle of entry also plays a role; a direct perpendicular puncture is generally more straightforward to resolve than an angled one, which can cause internal damage disproportionate to the external hole. Angled punctures can tear multiple cords and lead to internal ply separation, making a permanent fix unfeasible.
Symptoms of Non-Repairable Damage
Even if a puncture seems small and in the tread, other factors can render a tire unrepairable. These include visible tire cord damage, significant rubber distortion around the puncture, multiple punctures in close proximity (e.g., within 1 inch of each other), or evidence of previous improper repairs (like unsealed string plugs). A tire with visible bulging, cracking, or separation around the puncture indicates structural failure. Remember, according to TIA and RMA guidelines, a puncture must be within the tire’s tread (crown) area, not exceed 1/4 inch (6mm) in diameter, and have no pre-existing damage to the tire’s structure for a safe repair.
Never attempt to repair a puncture located in the tire’s sidewall or shoulder. These areas are under immense stress and flex, making any repair inherently unsafe and likely to fail, leading to catastrophic tire failure.
How to Fix a Nail in Your Tire: Step-by-Step Repair Procedures
Addressing a nail in your tire can range from a temporary roadside workaround to a professional, permanent solution. For 2026, the industry-standard remains the internal plug-and-patch method for appropriate damage. This guide will walk you through the proper repair procedures.
📋
Step-by-Step Guide: Professional Tire Repair
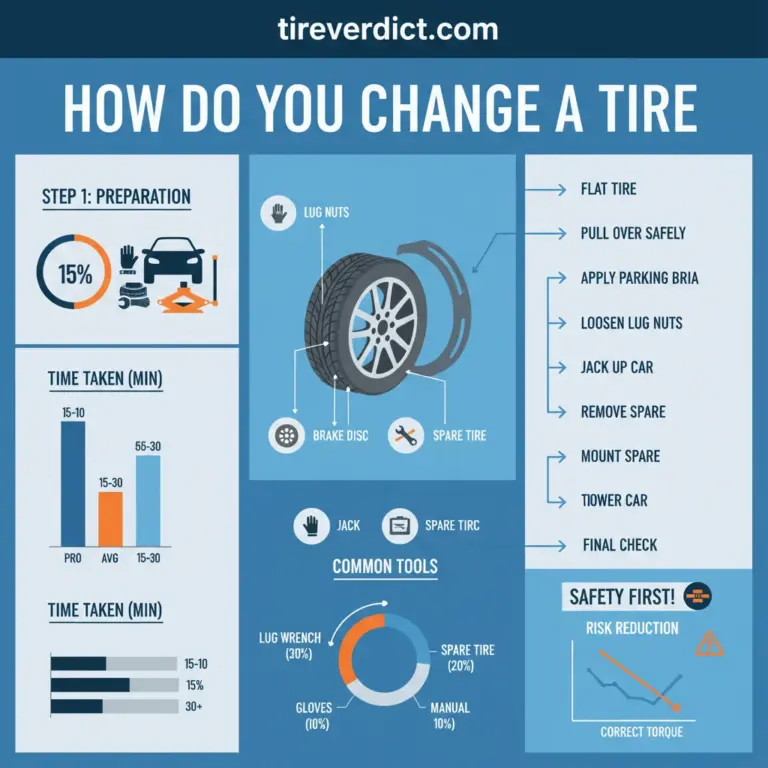
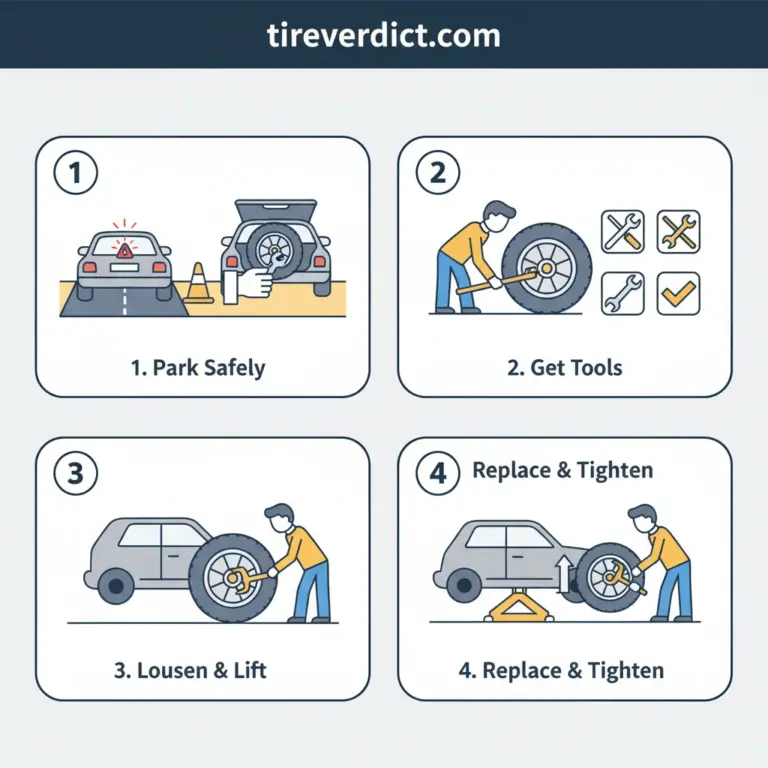
Before any repair attempt, ensure your vehicle is parked on a firm, level surface, with the parking brake fully engaged. Use wheel chocks on the wheels opposite the one being worked on. Gather essential tools: a reliable jack, lug wrench, safety gloves, and your chosen tire repair kit (whether temporary or for professional use). Never work under a vehicle supported only by a jack; use jack stands. This initial safety protocol is non-negotiable for a successful and injury-free fix.
Carefully loosen the lug nuts while the wheel is still on the ground, then jack up the vehicle. Remove the lug nuts completely and take off the wheel. Once off, mark the exact location of the foreign object, if still present, with chalk or a grease pencil. If the object (like a nail) is still embedded and holding air, it is often best to leave it in until the tire is dismounted for an internal inspection to prevent immediate deflation and further damage to the puncture channel. However, for a quick temporary workaround, you might carefully extract it to insert a temporary plug.
This is the only method endorsed by the TIA and RMA as a permanent repair for appropriate punctures, boasting a success rate exceeding 98% when performed by certified technicians. It requires removing the tire from the rim.
- Thorough Internal Inspection: The tire is dismounted to allow for a comprehensive internal inspection for hidden damage, such as ply separation or impact ruptures.
- Reaming the Puncture Channel: The puncture hole is carefully reamed from the inside-out to clean and prepare the channel, ensuring a uniform path for the plug.
- Applying a Rubber Stem Plug: A rubber stem plug (or combination patch-plug unit) is inserted from the inside of the tire through the puncture channel, pulling it until it’s snug.
- Cleaning and Buffing the Inner Liner: The inner liner around the puncture is meticulously cleaned and buffed to create a proper adhesion surface.
- Applying a Robust Patch: A separate patch, or the patch portion of a combination unit, is then applied over the internal portion of the plug, sealing the entire area and reinforcing the tire’s structure.
- Sealing the Entire Area: A rubber cement or sealant is applied to the edges of the patch to ensure an airtight seal.
This meticulous process ensures the tire’s structural integrity is restored, providing a lasting solution.
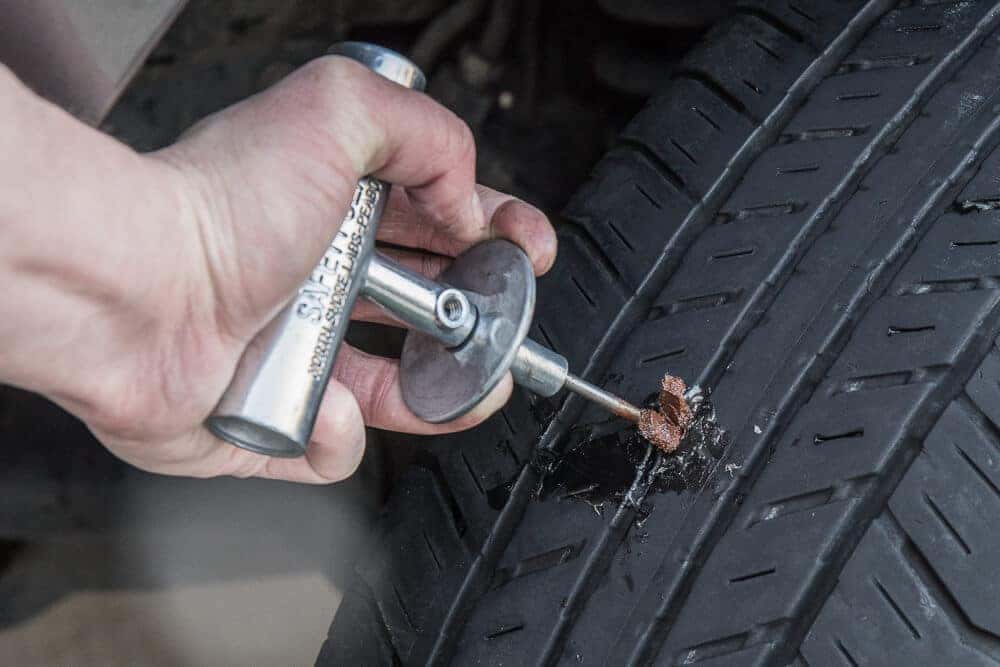
External string plugs are a convenient roadside workaround for getting to a service center but are NOT considered a permanent repair by major tire safety organizations.
- Locate and Remove Object: Find the puncture and carefully remove the foreign object.
- Ream the Hole: Use the reaming tool from the kit to widen and clean the puncture channel.
- Insert the Plug: Thread a sticky rubberized string plug through the insertion tool. Push the tool firmly into the hole until about half an inch of the plug remains visible.
- Remove Tool: Quickly pull the insertion tool straight out, leaving the plug in place.
- Trim Excess: Trim any excess plug material flush with the tire tread.
Crucially, these plugs only seal the outside of the tire and do not address potential internal damage or seal the inner liner. They are designed as a temporary fix to reach a professional for a proper repair. External string plugs are not approved by the TIA or RMA for permanent repair and may fail prematurely, leading to further issues.
Once the repair is complete, remount the tire onto the vehicle. Tighten the lug nuts by hand, lower the vehicle until the tire just touches the ground, then tighten them to the manufacturer’s specified torque settings using a torque wrench. Proper lug nut torque is crucial; under-torqued nuts can loosen, over-torqued nuts can damage studs. Inflate the tire to the recommended pressure found on your vehicle’s placard. Finally, perform a leak test by spraying soapy water over the repaired area. Any bubbles indicate a persistent leak, requiring further troubleshooting and resolution.
When to Repair vs. Replace a Tire After Puncture: Making Informed Decisions
The decision to repair or replace a punctured tire is multifaceted, balancing safety, cost, and the tire’s overall condition. An expert assessment helps resolve this dilemma.
Criteria for Non-Repairable Damage
As discussed, location is paramount. Punctures in the sidewall, shoulder, or within 1 inch of the tire’s bead (where it seals to the rim) are always non-repairable due to high stress and structural complexities. Punctures exceeding 1/4 inch (6mm) in diameter, or those with significant external or internal damage like visible cord exposure, rubber separation, or multiple punctures in close proximity (e.g., within 1 inch of each other), also rule out repair. Approximately 15-20% of flat tires encountered are deemed unrepairable by professionals, highlighting the frequency of these conditions.
Tire Age and Remaining Tread Depth
Even a technically repairable puncture can become a reason for replacement if the tire is nearing the end of its service life. Most tire manufacturers recommend replacing tires that are 6 to 10 years old, regardless of visible wear, due to rubber degradation over time. Furthermore, if the tire’s remaining tread depth is below 4/32nds of an inch (approximately 3.2mm), or certainly below the legal minimum of 2/32nds of an inch (1.6mm), investing in a repair is often not cost-effective or safe, as the tire will need replacement soon anyway. A nearly new tire with a small central tread puncture (repairable) contrasts sharply with an eight-year-old tire with minimal tread and a similar puncture (likely replacement).
Cost-Benefit Analysis and Safety Considerations
When faced with a repairable puncture, consider the overall value. For a relatively new tire with ample tread, a professional repair is typically the most economical solution. However, for a tire that is older, has noticeable wear, or is close to replacement indicators, the cost of repair might be better allocated towards a new tire. Safety should always be the paramount consideration. If there’s any doubt about the integrity of a repaired tire, opting for replacement is the wiser choice. The cost of a new tire pales in comparison to the potential consequences of a tire failure at speed.
Matching New Tires
If replacement is necessary, especially for all-wheel-drive (AWD) vehicles, consider replacing tires in pairs or even sets. Significant differences in tread depth or overall diameter between tires can adversely affect vehicle handling, stability, and even damage the drivetrain components in AWD systems. An AWD vehicle requiring two new tires even for a single unrepairable puncture is a common scenario to maintain system harmony and performance.
✅ When to Repair
- Puncture within tread area (crown).
- Puncture diameter ≤ 1/4 inch (6mm).
- No sidewall or shoulder damage.
- Sufficient remaining tread depth (>4/32″).
- Tire is less than 6 years old.
❌ When to Replace
- Puncture in sidewall, shoulder, or bead area.
- Puncture diameter > 1/4 inch (6mm).
- Visible cord damage or internal separation.
- Multiple punctures in close proximity.
- Tread depth below 2/32″ (legally worn out).
- Tire is over 6-10 years old (regardless of wear).
What If the Repair Doesn’t Hold or Isn’t Possible? Troubleshooting and Next Steps
Even with the best intentions and professional service, a tire repair can occasionally fail, or an initial assessment might conclude that a fix isn’t a safe solution. Knowing how to troubleshoot these scenarios is crucial.
Recognizing a Failed Repair
The primary sign of a failed repair is a recurring slow air leak or a more rapid loss of pressure. You might notice your tire consistently losing 5 PSI per day, even after a recent repair. A definitive test is spraying soapy water over the repaired area and looking for active bubbling. While rare for professional plug-and-patch repairs, failure rates can increase if the tire’s internal structure was compromised beyond visual detection or due to extreme operating conditions. A motorist who had a tire plugged last week noticing consistent pressure drops indicates a need for re-assessment.
Immediate Actions for a Failed Repair
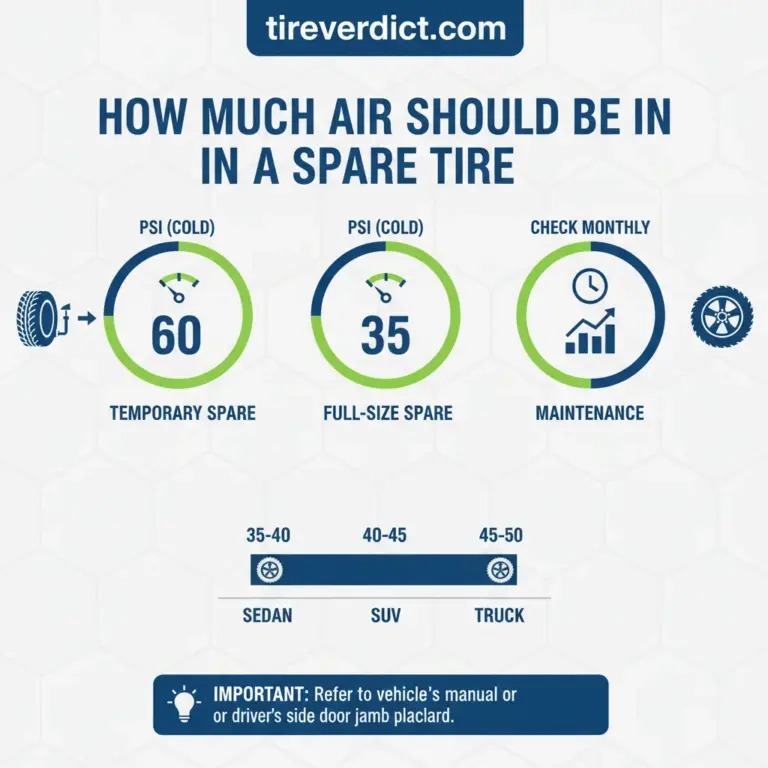
If you suspect a repair has failed, safely pull over immediately. Driving on a failing or flat tire can quickly lead to severe damage to the tire carcass, rim, and potentially suspension components. Utilize your spare tire if available – remember that modern spare tires (doughnuts) typically have speed and distance limitations (e.g., 50 mph for 50 miles) that must be strictly adhered to. If no spare is available, call for roadside assistance to prevent further vehicle damage and ensure your safety.
Seeking Professional Re-Assessment
If a repair fails, or if you initially received an assessment indicating non-repairability, return to a certified tire specialist. They can conduct a thorough diagnosis, often utilizing specialized equipment like tire spreaders for internal inspection, to debug the issue. Discuss any warranties on previous repairs. Sometimes, the initial damage was more extensive than perceived, or a secondary issue has arisen. A sidewall puncture initially overlooked, for example, might become apparent after a temporary plug fails.
Exploring Tire Replacement Options
When repair is definitively not an option, the next step is selecting a new tire. This involves considering factors like tire type (all-season, touring, performance), load rating, speed rating, and ensuring the new tire matches the remaining tires on the vehicle in terms of brand, model, and tread depth, especially for vehicles with AWD. Your tire specialist can guide you through these choices to find the best solution for your driving needs and vehicle specifications.
Always check your vehicle’s owner’s manual for specific spare tire usage limitations. Exceeding speed or distance recommendations can be dangerous and cause further damage to your vehicle’s drivetrain.
Preventative Measures to Avoid Tire Punctures and Extend Tire Life
While punctures can sometimes be unavoidable, proactive strategies can significantly reduce your risk and extend the overall lifespan of your tires. Prevention is always the best solution.
Regular Tire Inspections and Maintenance
Make it a habit to visually inspect your tires frequently, ideally before each drive. Look for embedded objects, cracks, bulges, or signs of uneven wear. Regularly check your tire pressure at least monthly, and always before long trips, using a reliable gauge. Properly inflated tires are less susceptible to punctures from minor impacts and can improve fuel efficiency by up to 3%. Under-inflated tires generate more heat and are more prone to damage. Professional rotations and balancing every 5,000-7,000 miles also ensure even wear, prolonging tire life and identifying potential issues early. Studies show that regular tire maintenance can extend tire life by up to 20-30%.
Mindful Driving Habits
Vigilance on the road can prevent many punctures. Consciously avoid driving over visible debris, potholes, and active construction zones whenever possible. Maintaining a safe following distance allows you more time to spot and react to road hazards. This simple practice of adjusting your driving to avoid a common shortcut through a debris-strewn industrial area can significantly reduce your risk of encountering a nail or screw.
Proper Tire Selection and Load Management
Choosing the correct tire type for your vehicle and typical driving conditions (e.g., robust all-season tires for varied climates, or touring tires for highway comfort) can inherently offer better resistance to everyday hazards. Furthermore, always adhere to your vehicle’s recommended load capacity. Overloading a vehicle puts excessive stress on the tires, making them more vulnerable to punctures and premature wear.
Timely and accurate diagnosis of tire punctures prevents further damage and ensures vehicle safety. Not all nail punctures are repairable; location and size are critical determinants for safe repair eligibility. The professional internal plug and patch method is the industry-recommended permanent repair for suitable punctures. Proactive tire maintenance and mindful driving habits significantly minimize puncture risks and extend overall tire lifespan.
Prioritize your vehicle’s safety by addressing tire punctures immediately and consult a certified tire technician for any questionable damage or complex repairs to ensure optimal tire performance and longevity.
Frequently Asked Questions
Can I drive on a tire with a nail in it?
It is generally not advisable to drive on a tire with a nail, especially if it’s actively losing air. Driving on a flat or severely underinflated tire can quickly cause irreversible damage to the tire’s sidewalls and internal structure, potentially rendering it unrepairable. If you must drive, do so slowly and for a very short distance to a safe location or repair shop, monitoring tire pressure constantly.
Is a tire plug a permanent fix?
An external tire plug (string plug) is widely considered a temporary repair for emergency situations only. For a permanent and safe repair, the Tire Industry Association (TIA) recommends a professional internal patch and plug combination. This method involves removing the tire, inspecting the internal damage, reaming the puncture, and sealing it from the inside out with a specialized patch for lasting integrity.
How much does it cost to fix a nail in a tire?
The cost to repair a nail in a tire typically ranges from $15 to $45, depending on the service provider, your geographic location, and whether the repair is a simple external plug or a more comprehensive internal patch and plug. Some tire retailers might even offer free flat repairs for tires purchased from them, making it wise to inquire about specific service inclusions.
Can all nail punctures be repaired?
No, not all nail punctures can be safely repaired. The viability of a repair depends critically on the puncture’s location, size, and angle. Punctures located in the tire’s sidewall or shoulder, those larger than 1/4 inch (6mm) in diameter, or extensive damage such as cuts or gashes, typically require tire replacement rather than repair due to compromised structural integrity and safety concerns.
How long does a tire repair last?
A properly executed internal plug-and-patch repair, adhering to industry standards (TIA/RMA), is considered permanent and should last for the remaining life of the tire. However, external string plugs, while useful for emergencies, are temporary and may degrade over time, potentially leading to slow leaks or eventual failure. Always have temporary repairs professionally assessed and permanently corrected as soon as possible.