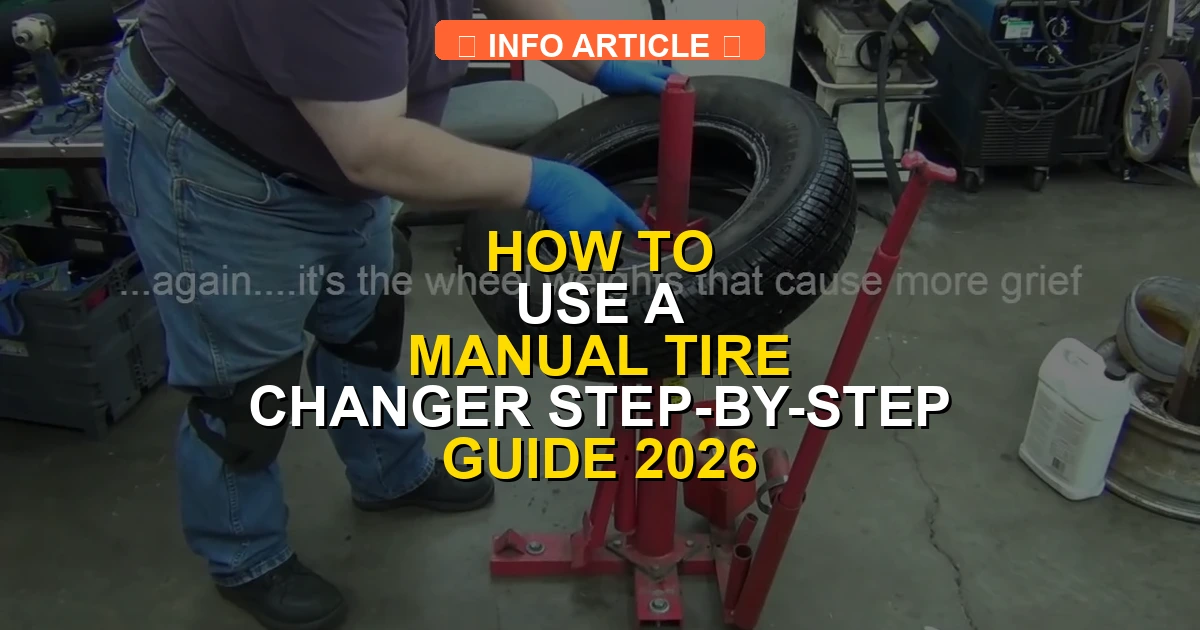
Learning how to use a manual tire changer requires proper setup, a firmly anchored machine, and complete tire deflation to avoid injury. Follow this step-by-step guide to safely break beads, dismount old tires, and mount new ones without damaging the wheel rim.
Using a manual tire changer successfully comes down to mastering leverage, proper lubrication, and strict safety protocols. Whether you are running a budget-conscious DIY garage in 2026 or servicing off-road equipment, operating a manual machine requires physical technique rather than heavy air pressure.
To safely mount and dismount a tire from your wheel rim, you must methodically break the bead, lock the wheel securely, and use a specialized tire iron. Skipping a single preparatory step will result in damaged bead wires, scratched alloy rims, or a dangerous tire slip.
Key Takeaways
- Always completely deflate the tire and remove the valve core before attempting bead breaking.
- Securely bolt the manual tire changer base to a concrete floor for maximum stability.
- Generously apply approved tire bead lubricant to prevent rim damage and ease mounting.
- Work the tire iron in small, manageable increments to avoid bending the bar or gouging the wheel.
- Wear appropriate personal protective equipment, including safety glasses and heavy-duty work gloves.
Why Manual Tire Changes Fail Without Proper Preparation and Safety
The Dangers of Residual Air Pressure
Trying to dislodge a tire bead while air remains inside the chamber is a recipe for disaster. You must completely remove the valve core to bleed out every last PSI of compressed air. If you attempt to break the bead on a pressurized tire, the sudden release can launch the bead breaker handle or cause the tire to violently distort. Always double-check that the tire is flat before you mount the wheel onto the changer center post.

The Critical Role of Bead Lubrication
Friction is your primary enemy when working with a manual tire changer. Without a dedicated, slick tire bead lubricant, the rubber will grab the metal rim and tear under the pressure of the mount/dismount bar.
- Apply a generous layer of approved rubber lubricant to both the top and bottom tire beads.
- Coat the inner lips of the steel or aluminum rim to create a frictionless pathway.
- Avoid using motor oil, grease, or household soap, as these can degrade the rubber or leave the tire slipping on the rim permanently.
Master Manual Tire Changing in 8 Simple Steps
Changing a tire using a portable manual tire changer can save you hundreds of shop fees and give you complete independence in your garage. Whether you are prepping for the racing track, maintaining off-road utility vehicles, or simply restoring a classic car, mastering this physical technique is incredibly rewarding. This comprehensive walkthrough provides the exact methodology required to safely break beads, dismount stubborn rubber, and seat a fresh tire without damaging your expensive alloy or steel rims.
Step 1: Prep and Deflate the Wheel Assembly
What you need: Valve core removal tool, safety glasses, penetrative lubricant (such as soapy water or WD-40).
Instructions: Start by placing the wheel flat on a clean workbench or concrete floor. Remove the plastic valve cap, insert the valve core tool into the valve stem, and completely unscrew the core to release all pressurized air. Once the hissing stops, press a small screwdriver or the tool tip into the stem to ensure zero residual pressure remains inside the tire. Failing to fully deflate the tire makes bead-breaking virtually impossible and creates a severe safety hazard.
Pro Tip: Keep the removed valve core in a safe place, and never attempt to break a bead on an inflated or partially pressurized tire.
Step 2: Secure the Manual Tire Changer to the Ground
What you need: Heavy-duty manual tire changer unit, concrete anchor bolts or heavy wooden pallet, socket wrench.
Instructions: Manual tire changers rely heavily on leverage and body weight. If the base shifts while you pull down on the operating handle or pry bars, you will lose significant mechanical advantage and risk injuring yourself. Position the changer on level concrete and bolt it down securely using sleeve anchors or heavy-duty masonry bolts. If you are using the changer in a temporary location, bolt the metal base securely to a thick, heavy wooden pallet large enough for you to stand on.
Pro Tip: Test the stability by applying downward pressure to the breaker arm before mounting any wheel.
Step 3: Mount the Wheel Onto the Center Post
What you need: Manual tire changer, wheel assembly, locking wing nut or center cone.
Instructions: Lift the deflated wheel assembly and place it centrally over the center post of the tire changer machine. Depending on the model, you may need to drop a centering cone into the center bore of the rim to keep the wheel balanced and level. Secure the wheel tightly using the provided locking nut or hold-down clamp. Ensure the wheel is firmly seated so it cannot wobble, tilt, or lift off the post when you begin applying downward force with the bead breaker shovel.
Pro Tip: Place a thin piece of rubber or a rag between the metal clamp and alloy wheels to prevent unsightly scratches.
Step 4: Break the Front and Rear Beads
What you need: Bead breaker lever arm, soapy water spray bottle.
Instructions: Generously spray the joint where the tire rubber meets the metal rim with your soapy water solution to act as a lubricant. Position the breaker foot (shovel) of the manual arm approximately one-eighth of an inch away from the outer rim edge. Push down firmly and steadily on the operating handle. The mechanical leverage will force the metal shovel downward, pushing the rubber bead away from the rim lip. Rotate the wheel approximately 6 to 8 inches and repeat this process all the way around both the top and bottom sides until both beads are completely unseated from the rim flanges.
Pro Tip: Take your time and make multiple small passes rather than trying to force the entire bead down in one massive push.
Step 5: Install the Protective Rim Shield and Mounting Bar
What you need: Plastic rim protectors, manual duckhead or tire iron bar, more soapy lubricant.
Instructions: Before inserting any metal tools into the wheel, snap plastic rim protectors over the lip of the rim in the area where you plan to start dismounting. Liberally coat the entire upper tire bead and the rim edge with lubricating soap. Insert the flat, curved end of the mounting/dismounting bar between the top bead of the tire and the rim lip. Hook the bead upward and over the raised nub (duckhead or blocking post) located on the center post of the tire changer.
Pro Tip: Never use bare metal tools directly against aluminum alloy rims, as they will gouge and ruin the finish instantly.
Step 6: Pry the Top and Bottom Beads Off the Rim
What you need: Tire mounting bar, leverage handle.
Instructions: With the top bead hooked over the center post nub, walk the tire bar in a circular motion around the center post. The leverage will pull the stiff rubber bead completely up and out of the upper rim channel. Once the top bead is free, reach down into the cavity, lift the bottom tire bead up toward the top opening, hook it with your tire bar, and repeat the circular motion to pop the entire tire completely free from the rim. Pull the empty tire away from the machine.
Pro Tip: Keep your hands clear of pinch points between the tire bar and the center post while applying rotational pressure.
Step 7: Mount the New Tire Onto the Rim
What you need: New tire, mounting bar, fresh soapy lubricant, valve core.
Instructions: Inspect the empty rim for debris, corrosion, or sharp burrs, and clean as necessary. Re-install the valve core into the valve stem loosely. Generously lubricate both beads of the new tire. Place the new tire at a downward angle over the top of the rim. Using your hands and the mounting bar, guide the bottom bead down past the top rim lip and into the drop center of the wheel. Then, use the manual mounting bar to lever the top bead over the rim flange, working your way around the circumference in short, manageable increments until the tire is fully seated on the rim.
Pro Tip: Pay close attention to any directional arrows or rotation markers on the sidewall of the new tire before mounting.
Step 8: Inflate and Seat the Tire Beads
What you need: Air compressor, air chuck with pressure gauge, removable valve core.
Instructions: To help the tire pop onto the bead seats quickly, remove the valve core from the stem again so maximum air volume can enter the tire rapidly. Attach your air compressor hose directly to the open valve stem. As air rushes in, you may need to bounce the tire or press down on the tread to help seal any gaps between the rubber and the rim. Once the beads snap loudly into place against the rim edges (usually between 25 to 40 PSI), quickly remove the air chuck, screw the valve core back in tightly, and inflate the tire to the vehicle manufacturer’s recommended pressure specification listed on the door placard.
Pro Tip: Never exceed 40 PSI when attempting to seat stubborn beads; if the bead refuses to seat, deflate completely, re-lubricate, and try again.
✅ Final Checklist
- Both top and bottom valve cores are tightened securely and fitted with valve caps
- Tire pressure matches the vehicle manufacturer’s specified PSI rating
- No visible cuts, gouges, or severe scratches on the wheel rim
- Tire is mounted facing the correct directional rotation (if applicable)
- Wheel assembly is completely free of excessive soap residue
Important Notes:
- Always wear ANSI-approved safety glasses and sturdy work gloves; high-pressure air and heavy metal levers pose injury risks.
- Seek professional help if you are working on low-profile tires (under 50 series), stiff sidewall run-flats, or sensors that require specialized TPMS re-programming.
- Estimated time is 30 to 45 minutes per wheel for beginners; cost is minimal if you already own an air compressor and manual changer unit.
Essential Tools and Safety Gear Needed for Manual Tire Changing
Must-Have Mechanical Hardware
A standard portable manual tire changer unit serves as your base, but you need the right complementary accessories to finish the job safely. A heavy-duty duckhead or standard mounting/demounting bar with a curved tip is mandatory for levering the bead over the rim lip. You will also need a long valve core removal tool, a core torque tool, a reliable bead breaker pole, and a set of plastic rim protectors if you are working on expensive alloy wheels.

Personal Protective Equipment and Workspace Setup
Manual tire changing demands physical exertion, meaning slips can happen. Protect yourself by preparing your workspace properly before starting your 2026 project.
- Bolt your manual tire changer securely to a concrete floor using heavy-duty anchor bolts; an unbolted machine will flip over under leverage.
- Wear thick mechanics gloves to protect your hands from pinch points and sharp metal burrs on worn wheel rims.
- Always wear safety glasses to protect your eyes from flying debris, old balancing weights, or snapping rubber bits.
- Keep a clip-on air chuck with a remote pressure gauge ready for the inflation stage.
How to Use a Manual Tire Changer: Step-by-Step Operating Guide
Operating a manual tire changer requires proper leverage and precise positioning to protect your wheel rims. Follow these systematic procedures for safe and efficient demounting and mounting in 2026.
Step 1: Bead Breaking
- Completely deflate the tire by removing the valve core.
- Place the wheel flat on the base of the changer and position the bead breaker shoe against the outer edge of the tire, just millimeters away from the rim flange.
- Pull the operating handle down firmly to press the shoe inward, separating the rubber bead from the metal rim.
- Flip the wheel over and repeat the process on the backside bead.
Step 2: Demounting and Mounting
- Lock the wheel securely onto the center post using the provided hold-down cone and wing nut.
- Lubricate both the upper and lower tire beads thoroughly with an approved tire mounting lubricant to reduce friction.
- Insert the curved end of the demount bar between the bead and the rim, lifting the top bead up and over the duckhead tool.
- Walk the bar around the circumference of the rim to completely pop the top bead off, then lift the tire upward and repeat for the bottom bead.
- To mount a new tire, lubricate the beads, press the bottom bead over the duckhead, and use the bar to guide the top bead into the drop center of the rim.
What If It Still Doesn’t Work?
Stubborn beads or improper seating are common challenges when using manual equipment. If standard techniques fail in 2026, implement these advanced troubleshooting steps:
- Apply Penetrating Lubricant: Stubborn, rusted beads often require specialized bead-lubricating paste rather than standard soapy water to slide over the rim flange.
- Use a Heat Gun: Warming stiff rubber sidewalls with a heat gun for 3 to 5 minutes increases pliability, making it easier to slip over the demount bar.
- Employ a Bead Seating Band: If compressed air escapes too quickly around an unseated tire, wrap a nylon bead booster strap around the tread center to force the sidewalls outward against the rim edges.
- Know When to Visit a Professional: If low-profile performance tires or stiff sidewalls refuse to budge, stop working to avoid bending your rim. Take the assembly to a local tire shop, where professional pneumatic service typically costs between $20 and $35 per wheel.
Conclusion
Changing tires manually requires patience, adequate lubrication, and the correct mechanical leverage to protect your wheel components. By breaking the bead completely and utilizing the drop center properly, you can complete the job safely at home. According to verified research and automotive service data from industry experts, taking your time during the bead-seating phase prevents costly rim damage and ensures safe highway operation. Your next actionable step is to gather your mounting lubricant, valve core removal tool, and manual changer kit to prepare for your project.
❓ Frequently Asked Questions
How do I safely break a stubborn tire bead on a manual changer?
Position the bead breaker foot against the sidewall as close to the rim edge as possible without touching it. Apply steady, heavy downward pressure on the handle, moving around the tire if the bead resists initial separation.
What is the proper technique for using the mount/dismount bar?
Insert the curved end of the bar between the tire bead and the rim, hook the bead over the raised lug on the center post, and walk the bar around the perimeter of the wheel to lift the bead completely off.
Why is it dangerous to skip removing the valve core?
Even low residual pressure can cause the tire to burst or forcefully eject tools during the dismounting process, leading to severe injury.
How can I prevent scratching custom alloy wheels?
Install plastic or nylon rim shields over the metal contact points of the tire changer and the mounting bar to create a protective barrier between steel and aluminum.
What should I do if the new tire bead slips back into the drop center while mounting?
Use your hands or an extra clamping tool to hold the already-mounted section of the bead down in the deepest part of the rim channel while you leverage the final section into place.
Can I balance the tire myself after using a manual changer?
While a manual changer handles mounting and dismounting, you will need a separate bubble balancer or dynamic spin balancer to properly weight and balance the wheel assembly.