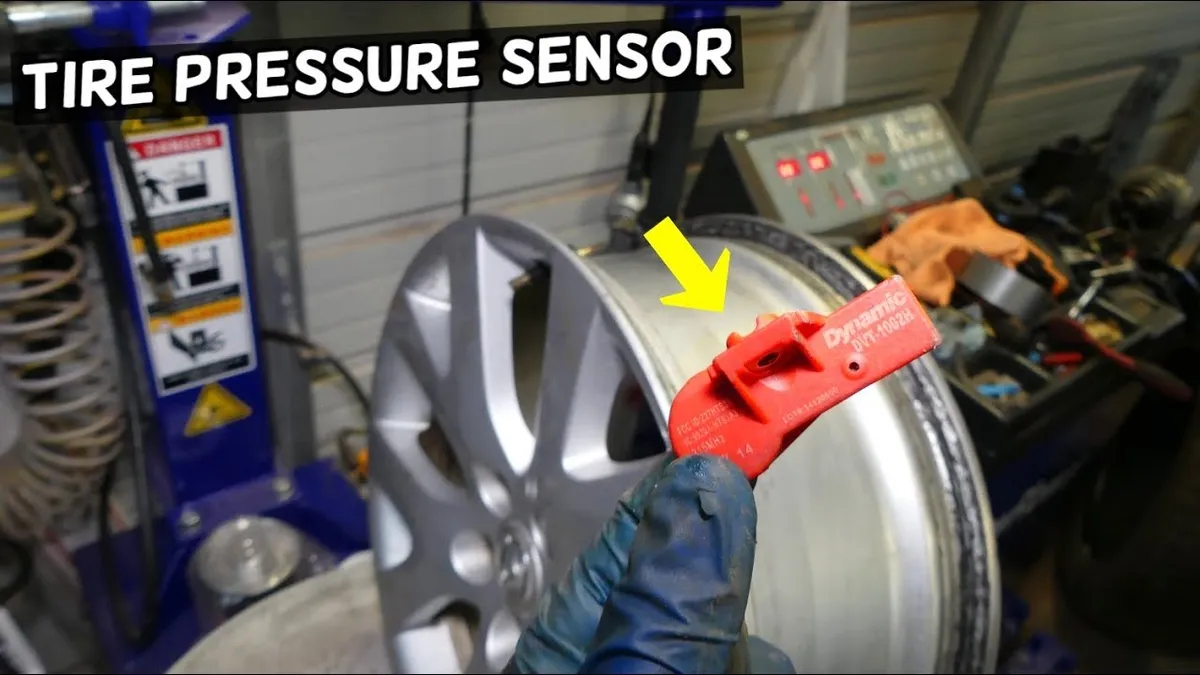
How To Change Tire Pressure Sensor: Step-By-Step Guide 2026
The Tire Pressure Monitoring System (TPMS) is a critical safety feature in modern vehicles, constantly vigilant in safeguarding your ride by monitoring real-time tire pressure. When a TPMS sensor malfunctions, it not only triggers an unsettling warning light on your dashboard but can also compromise vehicle safety and tire longevity, leaving you to question the integrity of your tires. This authoritative guide will expertly navigate you through the process of diagnosing a faulty sensor, understanding the necessary tools, and meticulously performing a tire pressure sensor replacement. By mastering these steps, you will restore your vehicle’s safety and maintain optimal performance for 2026 and beyond.

Understanding TPMS: Why Your Tire Pressure Sensor Needs Replacing
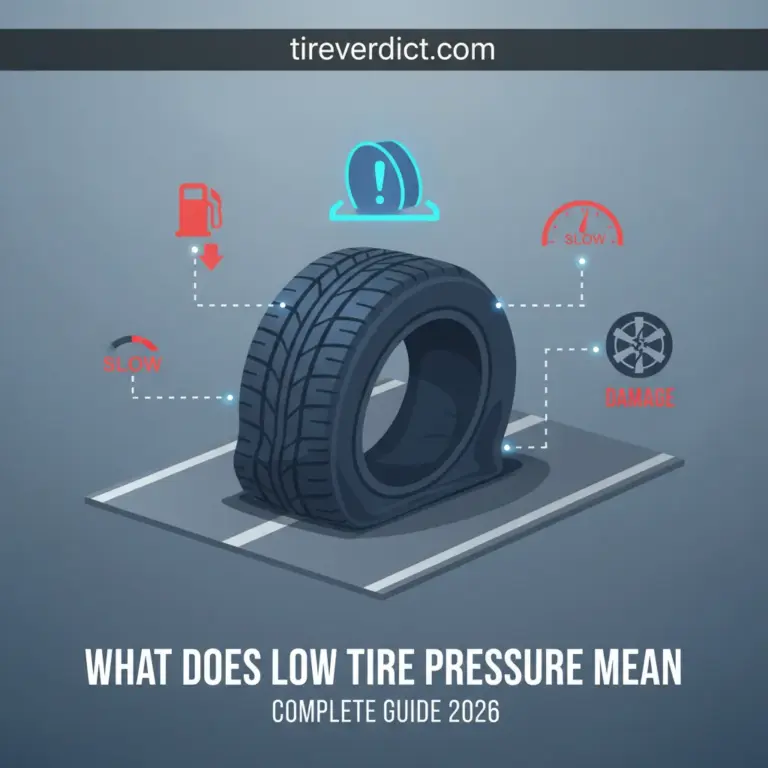
The Tire Pressure Monitoring System (TPMS) is more than just a convenience; it’s a vital safety and efficiency feature mandated in all passenger vehicles sold in the U.S. since 2007. Its primary role is to alert the driver when tire pressure falls significantly below recommended levels, preventing catastrophic tire failures, improving fuel economy, and ensuring optimal vehicle handling. You will quickly learn that TPMS comes in two main types: Direct TPMS, which uses sensors inside each tire to directly measure pressure and temperature, and Indirect TPMS, which relies on the ABS wheel speed sensors to detect underinflation by monitoring tire rotation speed. While indirect systems are less prone to sensor failure, direct systems offer superior accuracy and are the focus when discussing sensor replacement.
Diagnosing a Faulty TPMS Sensor
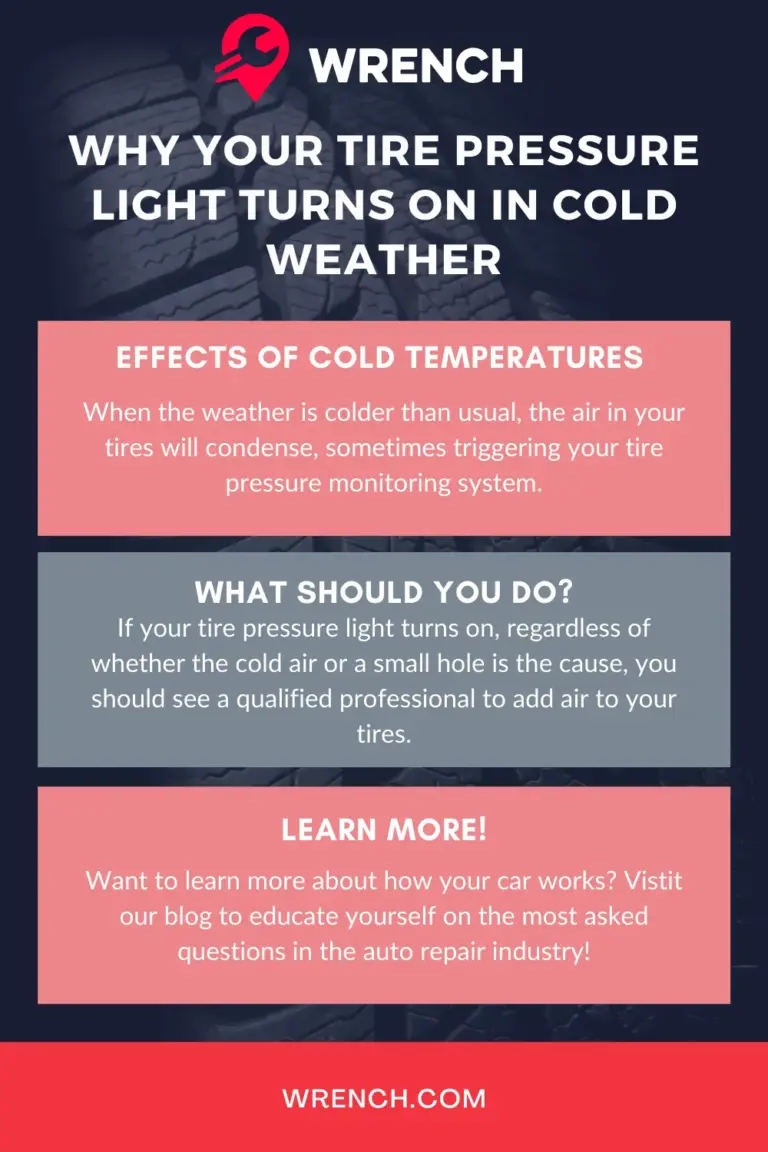
Identifying a malfunctioning TPMS sensor typically begins with recognizing specific symptoms. The most common indicator is an illuminated TPMS warning light on your dashboard. This light can be either a steady illumination, often signifying low tire pressure (the primary function), or a flashing light, which usually denotes a system malfunction. For instance, a dashboard TPMS light illuminated persistently after a tire rotation or a persistent ‘low tire pressure’ warning despite manually verifying correct pressure with a reliable gauge are strong indicators of a sensor issue. In some cases, you might experience inconsistent or inaccurate pressure readings displayed on your vehicle’s instrument cluster, or even the complete absence of data for one or more tires.
Common Causes of Sensor Failure
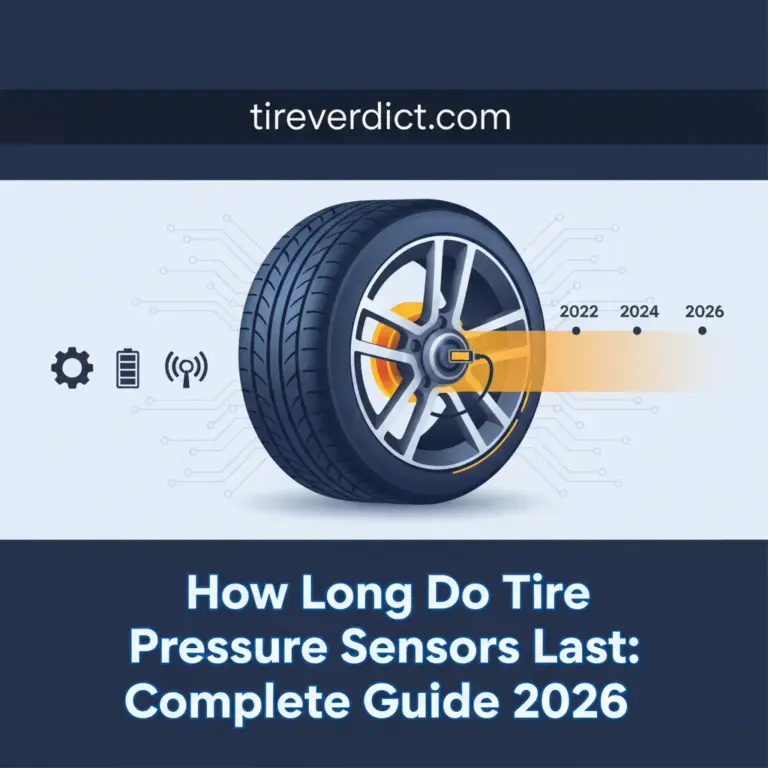
Understanding why these sensors fail is crucial for accurate diagnosis. The primary culprit is often battery depletion. Research indicates that the average lifespan of a TPMS sensor battery is typically 5-10 years or 50,000-100,000 miles. As these batteries are sealed within the sensor, replacement necessitates replacing the entire sensor. Other common causes include:
- Physical damage: Sensors can be inadvertently damaged during tire mounting or dismounting, by impacts from road debris, or from aggressive curb strikes. A TPMS sensor physically broken during tire removal is a clear case for replacement.
- Corrosion: Exposure to road salt, moisture, and harsh chemicals can corrode the sensor’s delicate electronics and valve stem components, leading to leaks or electrical failure.
- Sensor module malfunction: While less common than battery failure, the internal components of the sensor can simply cease to function due to age or manufacturing defects.
Diagnostic Trouble Codes (DTCs)
For a more precise diagnosis, a specialized TPMS scan tool can retrieve Diagnostic Trouble Codes (DTCs). These codes offer specific insights into the system’s issues. For example:
- C1241 often points to a general low-pressure condition.
- C1247 typically indicates a TPMS sensor malfunction, directly suggesting a sensor replacement.
- C0210 might signify a sensor ID conflict after a wheel rotation or replacement, requiring a relearn procedure.
Understanding these codes and symptoms will help you accurately diagnose the problem and discover whether a simple relearn or a full sensor replacement is necessary. The fact that approximately 25% of vehicles on the road have at least one underinflated tire underscores the vital safety role of a functional TPMS.

Essential Tools and Safety Protocols for TPMS Sensor Replacement
Before embarking on the process of changing a tire pressure sensor, it is absolutely essential to gather the correct tools and prioritize safety. This task involves working with heavy components, high-pressure air, and specialized electronics, so meticulous preparation is paramount. By understanding and mastering these protocols, you can ensure a safe and efficient repair.
Required Tools
Here’s a comprehensive list of what you’ll need:
- Vehicle jack and jack stands: Crucial for safely lifting and supporting the vehicle.
- Lug wrench: To remove and reinstall lug nuts.
- Tire changer (manual or automatic): Required to dismount and remount the tire from the rim. For home mechanics, a manual bead breaker and tire iron set can suffice, but an automatic machine is preferred for minimizing damage.
- Valve core removal tool: To deflate the tire.
- Torque wrench: Absolutely critical for correctly tightening both lug nuts and the sensor’s retaining nut to manufacturer specifications.
- TPMS programming/scan tool: Devices like the Autel TS508 or ATEQ VT56 are indispensable for reading sensor IDs, diagnosing issues, and performing the crucial relearn procedure.
- New TPMS sensor kit: Ensure it’s compatible with your vehicle’s make, model, and year. Often includes the sensor, valve stem, sealing washer, and retaining nut.
- Tire bead lubricant: To aid in tire mounting and prevent damage.
- Air compressor and tire inflator: To reinflate the tire.
- Degreaser/brake cleaner: For cleaning the rim area if corrosion is present.
Personal Protective Equipment (PPE)
Your safety is paramount. Always wear:
- Safety glasses: To protect against debris and sudden air blasts.
- Heavy-duty gloves: To protect hands from sharp edges and chemicals.
- Appropriate footwear: Closed-toe, sturdy shoes to protect against dropped tools or wheels.
Step-by-Step Safety Guidelines
- Lifting and Securing the Vehicle: Always use a sturdy, level surface. Position the jack on the vehicle’s designated lift points and immediately support the vehicle with jack stands placed under the frame rails. Never rely solely on a jack.
- Handling Compressed Air: Exercise extreme caution. Never exceed the tire’s maximum inflation pressure. Use an inflator with a built-in gauge and stand clear during inflation.
- Working with Wheels and Tires: Wheels can be heavy. Use proper lifting techniques to avoid back injury.
- Torque Specifications: This is critical. Improperly torqued lug nuts can lead to wheel detachment (undertorqued) or stud damage (overtorqued); typical lug nut torque ranges from 80-120 ft-lbs. Crucially, TPMS sensor valve stem nuts are often torqued to specific low values, typically 35-53 inch-lbs (4-6 Nm), to prevent damage to the sensor housing. Overtightening can crack the sensor, requiring another replacement.
Never work under a vehicle supported only by a jack. Always use properly rated jack stands. Incorrect torque on lug nuts can lead to wheel separation, a severe safety hazard. If you are unsure about any step, consult a professional.
Before you begin, consult your vehicle’s owner’s manual for specific jack points, lug nut torque specifications, and any unique TPMS relearn procedures. This can save significant time and prevent errors.
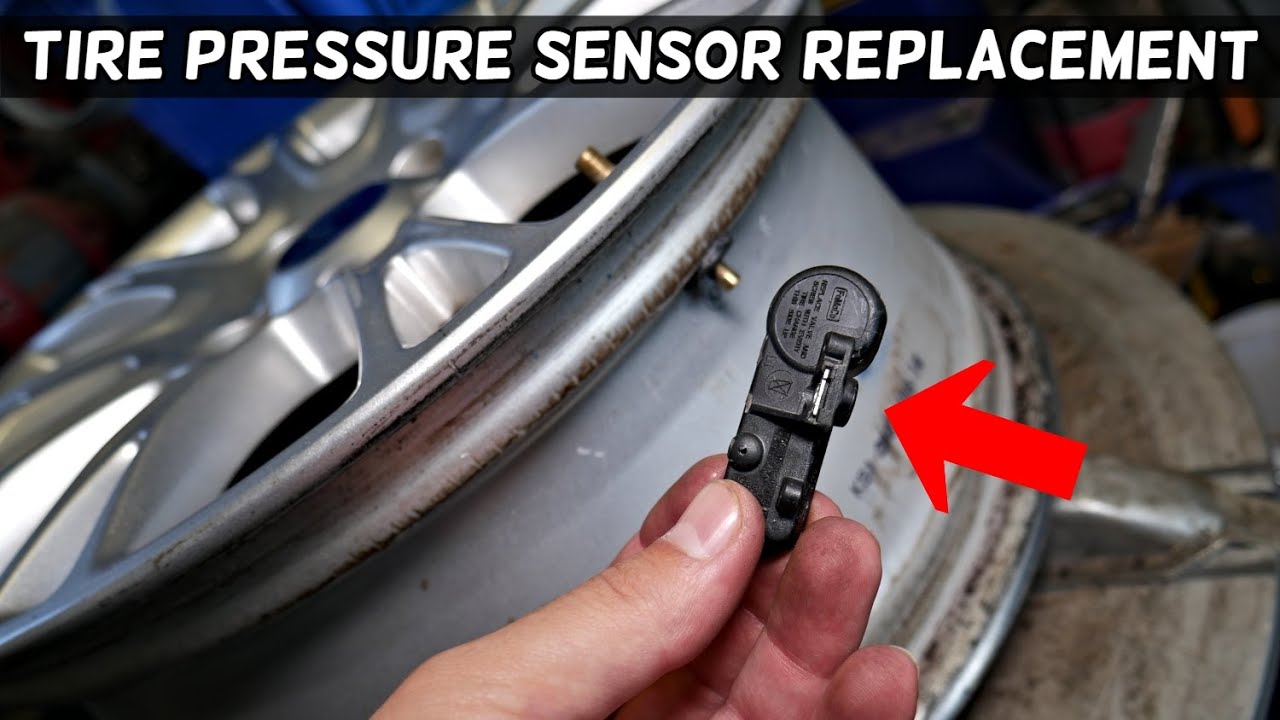
How to Change a Tire Pressure Sensor: A Comprehensive Step-By-Step Procedure
This core section provides an authoritative, step-by-step guide to physically replacing a TPMS sensor. By following these detailed instructions, you will master the entire process from start to finish, enabling you to confidently perform the replacement or understand the detailed work performed by a professional. This procedure applies broadly across various vehicle models, with slight variations primarily in the TPMS relearn process.
📋
Step-by-Step Guide
Begin by parking the vehicle on a level surface and engaging the parking brake. Loosen the lug nuts on the affected wheel slightly while the vehicle is still on the ground. Safely lift the vehicle using your jack and support it securely with jack stands. Once stable, fully remove the lug nuts and carefully detach the wheel. Documenting the tire’s position (e.g., “Front Left”) can be helpful for the relearn process. Remove the valve cap and use the valve core tool to completely deflate the tire.
Position the wheel on a tire changer. Break both the inner and outer tire beads away from the rim. For manual changers, use a specialized bead breaker. For automatic machines, ensure the bead breaker is properly aligned. Carefully unmount the tire from the rim. Pay close attention to the sensor’s location, ensuring the tire tool does not strike or damage the existing sensor. Using a plastic bead breaker can help prevent rim scratches during this critical step, exposing the sensor without damage.
With the tire dismounted, locate the old TPMS sensor on the rim. Use a wrench to remove the retaining nut that secures the sensor to the valve stem hole. Carefully slide out the old sensor from the rim. If your vehicle uses a band-mounted sensor, it will be secured to the center of the rim with a metal band; cut the band and remove the sensor. For the new sensor, apply a light coat of bead lubricant to the new rubber valve stem. Install the new sensor, pushing it through the valve stem hole from the inside of the rim. Ensure the sensor body is correctly oriented towards the tire’s air chamber, not facing outward. Secure it with the new retaining nut, tightening it to the manufacturer’s specified torque, typically 35-53 inch-lbs (4-6 Nm), using your torque wrench.
Apply fresh tire bead lubricant to both beads of the tire and the rim flanges. Carefully mount the tire back onto the rim, ensuring the sensor is not pinched or damaged. Inflate the tire to its proper pressure, specified on your vehicle’s door jamb placard, and then reinstall the valve core. After inflation, it’s crucial to balance the wheel assembly using a professional wheel balancer. Failure to properly balance a wheel after tire remounting can lead to premature tire wear and steering vibrations.
Reinstall the wheel onto the vehicle, hand-tighten the lug nuts, then lower the vehicle until the tire just touches the ground. Torque the lug nuts to specification in a star pattern (typically 80-120 ft-lbs) to ensure even pressure. Finally, fully lower the vehicle and remove jack stands. The last, and often most critical, step is performing the necessary TPMS relearn procedure. This can vary significantly by vehicle: some use an OBD-II relearn procedure requiring a scan tool (common for Ford models), others have an auto-relearn sequence after a short drive (seen in some Honda vehicles), while others might require a manual procedure involving key cycles and tire deflation. Consult your vehicle’s manual or a specialized TPMS tool for the exact steps. Post-installation TPMS relearn success rates are highly dependent on following the manufacturer-specific procedure.
By carefully following each of these steps, you will successfully explore the process of changing your tire pressure sensor, ensuring proper installation and preparing your vehicle for post-installation checks.
Post-Installation Checks and Troubleshooting Common TPMS Issues
Once a new TPMS sensor is installed, the job isn’t quite finished. It’s crucial to verify its functionality and address any lingering issues. This section guides you through the necessary post-installation checks and helps you understand common troubleshooting scenarios that might arise, enabling you to resolve persistent TPMS warnings or errors.
Initial System Activation and Relearn Verification
After installing the sensor and performing the initial relearn, the system often requires a short drive cycle to fully recognize the new sensor and recalibrate. For many vehicles, driving above 20 mph for 10-15 minutes allows the system to self-calibrate and the TPMS warning light to extinguish. Monitor your dashboard for the TPMS light; if it goes off, the relearn was likely successful.
Common Post-Replacement Problems and Troubleshooting
Even with careful installation, issues can sometimes persist. Here are some common problems and their troubleshooting steps:
- TPMS light remains on or flashes: This is the most common issue.
- Re-attempt relearn procedure: Approximately 10-15% of TPMS sensor replacements require a second relearn attempt due to environmental factors or incomplete procedure execution. Ensure you are following the manufacturer’s exact steps.
- Verify sensor ID programming: Use a dedicated TPMS diagnostic tool (like the Autel TS508) to read the individual sensor IDs. Compare these to any recorded values or ensure the vehicle’s TPMS module has registered the new IDs correctly.
- Check tire pressure: Double-check tire pressure with a reliable, accurate gauge. Small discrepancies can prevent the light from turning off.
- Incorrect pressure readings: If the dash shows an inaccurate pressure for a specific tire.
- Inspect for air leaks: Re-check the valve stem area for any leaks, which could indicate improper installation of the sensor or a faulty valve core.
- Sensor damage: Though new, the sensor could have been damaged during installation. A diagnostic tool can often confirm sensor communication.
- ‘Sensor fault’ message or specific DTCs (e.g., C1293): A C1293 code often indicates a communication error with the TPMS module.
- Check wiring and connections: While less common for DIY replacement, ensure no wiring harnesses to the TPMS control module have been inadvertently disturbed.
- Suspect TPMS control module: If all sensors are confirmed to be functioning and the relearn fails repeatedly, the problem might lie with the TPMS control module itself. This is rare, but a faulty TPMS control module can mimic sensor failures and requires advanced diagnostics, often costing $200-$500 for parts alone.
When to Seek Professional Help
If, after thorough troubleshooting, the TPMS light persists or you continue to receive error messages, it’s advisable to consult a certified automotive technician. They possess advanced diagnostic equipment and expertise to pinpoint complex issues, such as module failures or wiring problems, ensuring your vehicle’s safety system is fully operational.
Optimizing TPMS Performance and Longevity Beyond Replacement
Replacing a TPMS sensor is a significant step towards maintaining your vehicle’s safety and efficiency. However, true mastery of tire health extends beyond just replacement. This section provides valuable insights into prolonging the life of your TPMS sensors and maintaining system integrity, helping you master a proactive approach to tire care and prevent future issues.
Routine Tire Maintenance for Sensor Longevity
The health of your tires directly impacts the lifespan and performance of your TPMS sensors.
- Regular Tire Rotations: Performing tire rotations at recommended intervals ensures even tire wear. This reduces stress on sensors by distributing their operating conditions, contributing to overall tire and sensor longevity.
- Proper Inflation: Consistently maintaining correct tire pressure, as indicated on your vehicle’s door jamb, is paramount. Underinflation causes tires to flex more, generating heat that can degrade sensor components prematurely. Research indicates proper tire maintenance can extend tire life by up to 20% and indirectly protect TPMS sensors by maintaining a stable operating environment.
- Valve Stem Service Kits: When tires are replaced or repaired, it’s an essential best practice to replace the TPMS valve stem service kit (grommets, nuts, caps). These components seal the sensor and prevent air leaks and corrosion. The recommended interval for replacing these kits is every time a tire is serviced, typically costing $5-10 per wheel.
- Consider Nitrogen Inflation: Nitrogen-filled tires tend to maintain pressure more consistently than air, as nitrogen molecules are larger and less prone to permeate the tire rubber. This can lead to more stable tire pressures and reduced stress on sensors over time.
Avoiding Damaging Practices
Certain actions can inadvertently shorten sensor life:
- Harsh Chemicals: Advise against using acidic wheel cleaners or strong degreasers directly on the valve stem or wheel interior. These chemicals can degrade the plastic and rubber components of the sensor, leading to premature failure and leaks. Opt for non-acidic, pH-neutral wheel cleaning products.
- Improper Tire Changes: Always ensure that any technician servicing your tires is aware of the TPMS sensors and uses proper techniques to avoid physical damage during mounting and dismounting. Damage from tire levers or bead breakers is a common cause of sensor failure.
- Over-tightening: As discussed, applying excessive torque to the valve stem nut can crack the sensor housing. Always use a torque wrench to the specified value.
Understanding Environmental Factors and Professional Checks
Environmental conditions can impact sensor performance. Extreme temperatures can affect TPMS battery life and sensor functionality, sometimes causing temporary malfunctions that resolve when temperatures normalize. It’s wise to recommend periodic professional checks of TPMS sensor batteries and overall system health, especially during tire replacements or routine maintenance visits. Many shops can check the remaining battery life of your sensors using a specialized tool, allowing you to proactively replace them before they fail.
Extended Sensor Life
Proactive maintenance, like replacing valve stem kits, can significantly extend the operational life of your TPMS sensors.
Improved Safety
A fully functional TPMS ensures you’re always alerted to low tire pressure, preventing potential blowouts and improving vehicle handling.
Optimal Fuel Efficiency
Correct tire pressure maintained by a healthy TPMS directly contributes to better fuel economy, saving you money in the long run.
By integrating these best practices into your regular vehicle maintenance, you can ensure your TPMS system remains reliable and effective, contributing to a safer and more economical driving experience.
Diagnosing TPMS sensor failure involves understanding common symptoms and diagnostic codes. Successful sensor replacement requires specific tools, adherence to safety protocols, and a detailed step-by-step procedure. Post-installation verification and proper relearn procedures are crucial for system functionality. Proactive maintenance extends sensor life and prevents future TPMS issues.
By understanding and mastering the principles outlined in this comprehensive guide, you can confidently address TPMS sensor issues and maintain your vehicle’s critical safety systems. For complex scenarios or if specialized tools are unavailable, always consult a certified automotive technician to ensure professional and safe service.
Frequently Asked Questions
How long do TPMS sensors typically last?
TPMS sensors generally have a lifespan of 5 to 10 years or approximately 50,000 to 100,000 miles. Their longevity is primarily determined by the internal battery, which is non-replaceable in most direct TPMS designs. Factors such as extreme temperatures, mileage, and frequency of tire pressure fluctuations can also influence their operational duration before needing replacement.
Can I drive with a faulty TPMS sensor?
While technically possible, driving with a faulty TPMS sensor is not recommended. A malfunctioning sensor means you won’t receive accurate tire pressure warnings, increasing your risk of driving on underinflated tires. This can lead to reduced fuel efficiency, premature tire wear, compromised handling, and a higher risk of tire blowouts, posing significant safety hazards.
Do I need special tools to change a TPMS sensor?
Yes, changing a TPMS sensor typically requires specialized tools beyond a basic mechanic’s kit. You will need a tire changer to safely dismount and remount the tire, a torque wrench for precise fastening, and crucially, a TPMS programming or scan tool to register the new sensor’s ID with the vehicle’s onboard computer and perform the relearn procedure. Without these, proper installation and functionality are challenging.
Is TPMS sensor replacement a DIY job?
For experienced DIYers with access to specialized tools, replacing a TPMS sensor can be a feasible task. However, it involves critical steps like safely dismounting and remounting tires, which can be dangerous if not done correctly, and performing a precise relearn procedure. Many find the investment in specialized equipment and the complexity of the relearn process make professional installation a more practical and safer option.
What is a TPMS relearn procedure, and why is it necessary?
A TPMS relearn procedure is the process of registering the unique identification code of a new TPMS sensor with the vehicle’s TPMS control module. This is necessary so the vehicle’s system can correctly identify and monitor the pressure from the newly installed sensor. Without a successful relearn, the TPMS warning light will remain on, and the system will not function as intended, compromising its safety purpose.