Knowing how to use a tire machine safely prevents costly rim damage and dangerous tire blowouts. This guide outlines the essential step-by-step process for properly mounting and dismounting tires using standard shop equipment.
Learning how to safely use a tire machine comes down to mastering four critical phases: breaking the bead, clamping the rim, dismounting via the duckhead, and mounting the new rubber. Whether you are upgrading your home garage setup for 2026 or brushing up on commercial shop standards, skipping a single step risks destroying expensive aluminum alloy wheels or causing a high-pressure sidewall blowout.
Modern low-profile tires and stiff sidewalls demand precise technique rather than brute force. If you rush the bead-breaking or neglect proper lubrication, you will gouge rims and tear tire beads, turning a simple thirty-minute swap into an expensive mistake. Here is your exact, no-nonsense roadmap to mounting and dismounting tires like a professional.
Key Takeaways
- Always completely deflate the tire and remove all wheel weights before starting.
- Generously apply tire lubricant to the bead to prevent tearing and ease movement.
- Position the duckhead correctly to avoid scratching alloy or custom rims.
- Keep hands and clothing clear of the rotating turntable at all times.
- Never exceed the maximum manufacturer inflation pressure when seating the tire beads.
What Causes Tire Machine Damage and Safety Hazards
The Dangers of High-Speed Equipment and Stiff Sidewalls
Tire machines combine massive pneumatic force with rotating steel assemblies. Operating these units carelessly in 2026 can lead to severe hand injuries, flying metal fragments, or cracked wheel rims. Always inspect your machine’s hoses, foot pedals, and clamping jaws before starting any job.
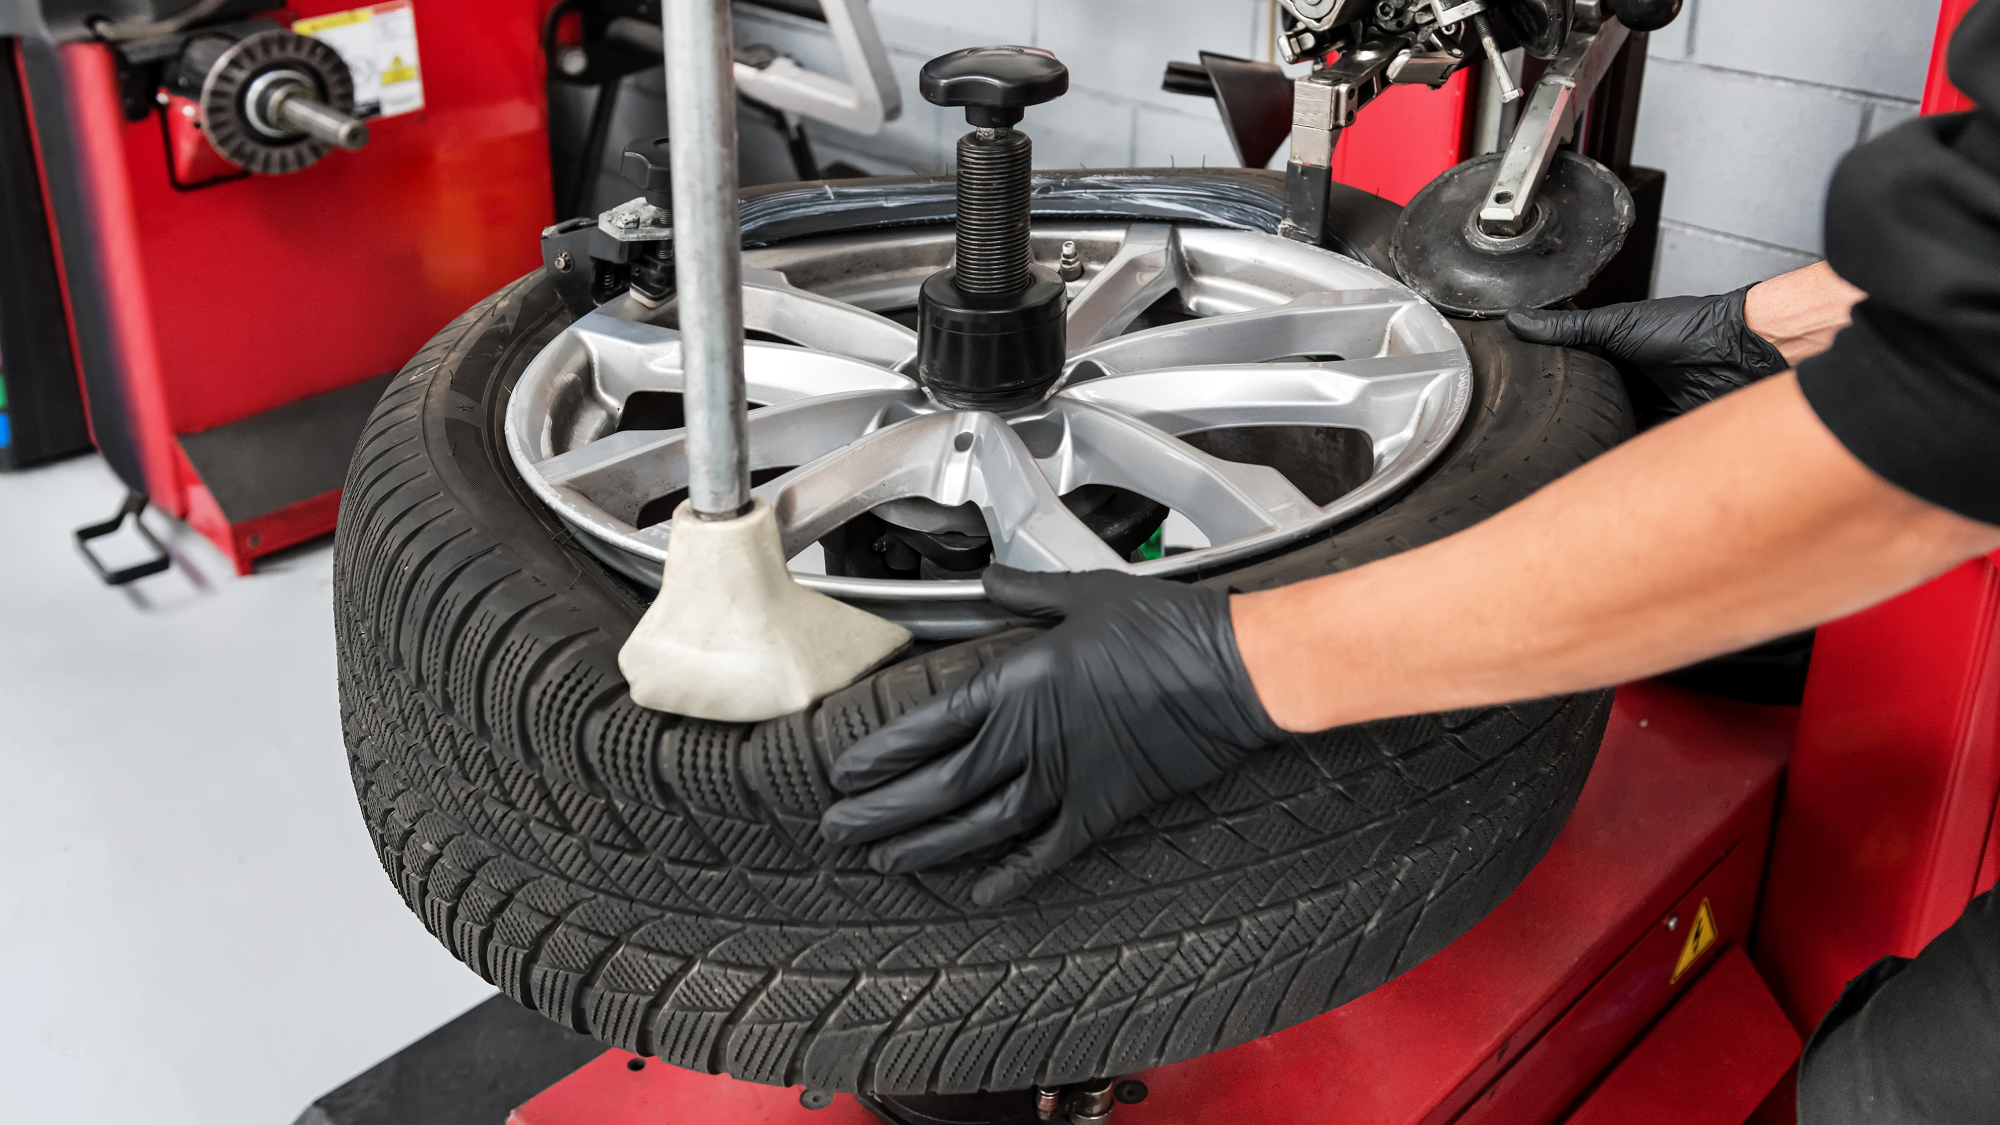
- Never place your hands or fingers between the bead breaker shovel and the tire sidewall.
- Keep clear of the rotating turntable while the foot pedal is engaged to prevent entanglement.
- Verify that the maximum inflation pressure limit of the tire is never exceeded during the seating phase.
Protecting Expensive Alloy Rims from Scratches
Factory and aftermarket alloy rims scratch easily under steel mount/dismount heads and clamping jaws. Metal-on-metal contact will ruin custom wheels instantly. You must use preventative gear every single time you mount a wheel.
- Snap protective plastic jaw covers onto all four turntable clamps before placing the wheel.
- Install a nylon or plastic duckhead insert to prevent the metal tool from scraping the outer lip.
- Apply generous amounts of bead paste to cushion the rim edges during critical leverage points.
Master Tire Machine Operation in 8 Simple Steps
Operating a tire changer safely and efficiently is a fundamental skill for automotive DIYers and mechanics alike. Using modern semi-automatic or tilt-back tire machines improperly can damage expensive wheels, ruin tire bead seals, or cause dangerous workplace accidents. This comprehensive walkthrough guides you through the entire process of unseating, removing, mounting, and inflating a new tire with precision and care, ensuring a scratch-free wheel and a safe seal every single time.
Step 1: Preparation and Safety De-beading
What you need: Wheel and tire assembly, valve core removal tool, safety glasses, and heavy-duty work gloves.
Instructions: Deflate the tire completely by unscrewing the valve core using a valve core tool and allowing all air to escape. Place the wheel flat on the floor or the machine base. Position the bead breaker shovel against the outer sidewall of the tire, roughly a half-inch away from the metal wheel rim flange. Step on the pedal to activate the pneumatic shovel, pressing the tire bead away from the rim. Repeat this process at multiple spots around both the front and backside of the tire until the entire bead is unseated from the rim.
Pro Tip: Never attempt to break a bead on a tire that still contains air pressure, as this can cause explosive structural failure and severe injury.
Step 2: Securing the Wheel on the Turntable
What you need: Tire machine turntable, rim clamp pedals, and rim protectors (plastic jaws).
Instructions: Clean any dirt or debris from the wheel. Lift the wheel and place it horizontally onto the center of the tire machine turntable. If you are clamping from the outside (standard for alloy wheels), position the turntable clamps so they press firmly against the outer lip of the rim. Step on the corresponding foot pedal to clamp the wheel securely. Rock the wheel slightly to ensure the clamps have locked onto the rim safely and will not slip during high-torque rotations.
Pro Tip: Always use plastic rim protectors over metal jaws when working with custom aluminum or alloy wheels to prevent unsightly scratches and gouges.
Step 3: Positioning the Mount/Demount Head
What you need: Swing-arm or tilt-back tire machine, locking handle, and plastic insert shields.
Instructions: Pull the vertical post into position and lower the horizontal mount/demount arm so that the duckhead tool rests just above the edge of the rim. Engage the quick-lock lever or locking handle to secure the arm in place. The machine should automatically create a standard 2-to-3-millimeter gap between the bottom of the duckhead and the top edge of the wheel rim. Verify this clearance visually to ensure the metal head never contacts the wheel during rotation.
Pro Tip: Inspect the plastic protective insert on the bottom of the duckhead tool before starting; a worn insert will scratch expensive chrome or painted rims.
Step 4: Demounting the Top Bead
What you need: Tire bead lubricant, tire spoon (demount lever), and spray bottle.
Instructions: Liberally apply bead lubricant around the entire upper tire bead and rim flange to reduce friction. Insert the curved flat end of the tire spoon over the top of the duckhead tool and hook the top tire bead, pulling it up and over the trailing edge of the duckhead. Hold the tire spoon firmly in place with one hand while pressing the turntable rotation pedal with your foot. Rotate the turntable clockwise until the entire top bead pops completely up and out over the rim.
Pro Tip: If the tire resists or the spoon feels like it is bending, stop immediately. Recheck that the bottom bead is pushed down deeply into the drop-center well of the rim to relieve tension.
Step 5: Demounting the Bottom Bead
What you need: Tire spoon and bead lubricant.
Instructions: Reach inside the tire cavity and pull the lower tire bead up so that it rests on top of the duckhead tool beak. Insert your tire spoon between the bottom bead and the upper rim flange, hooking the bead securely. Just like in the previous step, depress the rotation pedal to spin the turntable clockwise. Guide the lower bead completely up and over the rim edge. Lift the tire off the machine and set it aside on the floor.
Pro Tip: Ensure the lower bead stays in the drop-center channel of the rim on the opposite side of the machine to maintain slack while lifting it over the head.
Step 6: Inspecting and Preparing the Rim
What you need: Wire brush, clean rag, new snap-in valve stem, and valve insertion tool.
Instructions: Inspect the inner rim beads for corrosion, rubber buildup, or dirt. Use a wire brush and clean rag to thoroughly scrub the bead seating areas until they are completely smooth; debris here causes slow air leaks. Cut out the old rubber valve stem using a utility knife if necessary, and pull a new valve stem through the valve hole from the inside using your valve insertion tool until it snaps firmly into place.
Pro Tip: Never reuse an old rubber valve stem; they degrade over time and are a primary cause of mysterious tire pressure loss.
Step 7: Mounting the New Tire
What you need: New tire, generous amount of bead lubricant, and bead pressing helper arm (optional).
Instructions: Apply a thick layer of tire bead lubricant to both the top and bottom beads of the new tire. Tilt the tire at an angle, sliding the bottom bead underneath the tail of the duckhead tool and over the top edge of the rim. Push the bottom bead down into the drop-center well. Next, position the top bead so that the front section rests under the duckhead and the rear section is pushed down into the wheel well. Rotate the turntable clockwise, using your hands or a helper arm to guide the top bead fully onto the rim.
Pro Tip: Pay attention to directional tread arrows or rotation indicators on the tire sidewall, as well as the red or yellow balance dots, before mounting.
Step 8: Inflation and Bead Seating
What you need: Air hose with a clip-on chuck, safety inflation cage or restraining chains, and pressure gauge.
Instructions: Remove the valve core from the valve stem to allow maximum airflow during initial bead seating. Attach the air chuck to the valve stem. If using a standard machine, use the integrated blast jets or an external cheetah bead blaster to shoot a high-pressure burst of air, forcing the tire beads outward against the rim flanges. Once both beads pop loudly into place, remove the air chuck quickly, screw the valve core back in tightly, and inflate the tire to the vehicle manufacturer’s recommended psi (typically between 32 to 36 psi).
Pro Tip: Never exceed 40 psi when attempting to seat stubborn tire beads. If the bead does not seat by 40 psi, deflate the tire completely, relubricate, and try again.
✅ Final Checklist
- Valve core is securely installed and tightened
- Tire pressure matches the vehicle placard located on the driver-side door jamb
- Both upper and lower tire beads are uniformly seated against the wheel flanges
- No air leaks are present around the bead seals or valve stem (test with soapy water)
- Wheel is free of scratches or structural damage from the mounting process
Important Notes:
- Always wear safety glasses, hearing protection, and steel-toed boots when operating a tire machine.
- Never exceed the maximum pressure rating stamped on the tire sidewall during bead seating.
- Seek professional help if working on stiff low-profile tires, run-flat tires, or wheels equipped with fragile Tire Pressure Monitoring Systems (TPMS).
- Estimated time: 15 to 25 minutes per wheel. Cost range: Free (DIY) to $25-$45 per tire at a professional shop.
How to Prepare the Wheel and Deflate the Tire
Removing Valve Cores and Breaking the Bead
You cannot remove a tire safely if it still holds air pressure. Trying to force a pressurized tire off the rim will destroy the bead and risk explosive decompression. Proper preparation ensures the rubber separates smoothly from the metal seat.
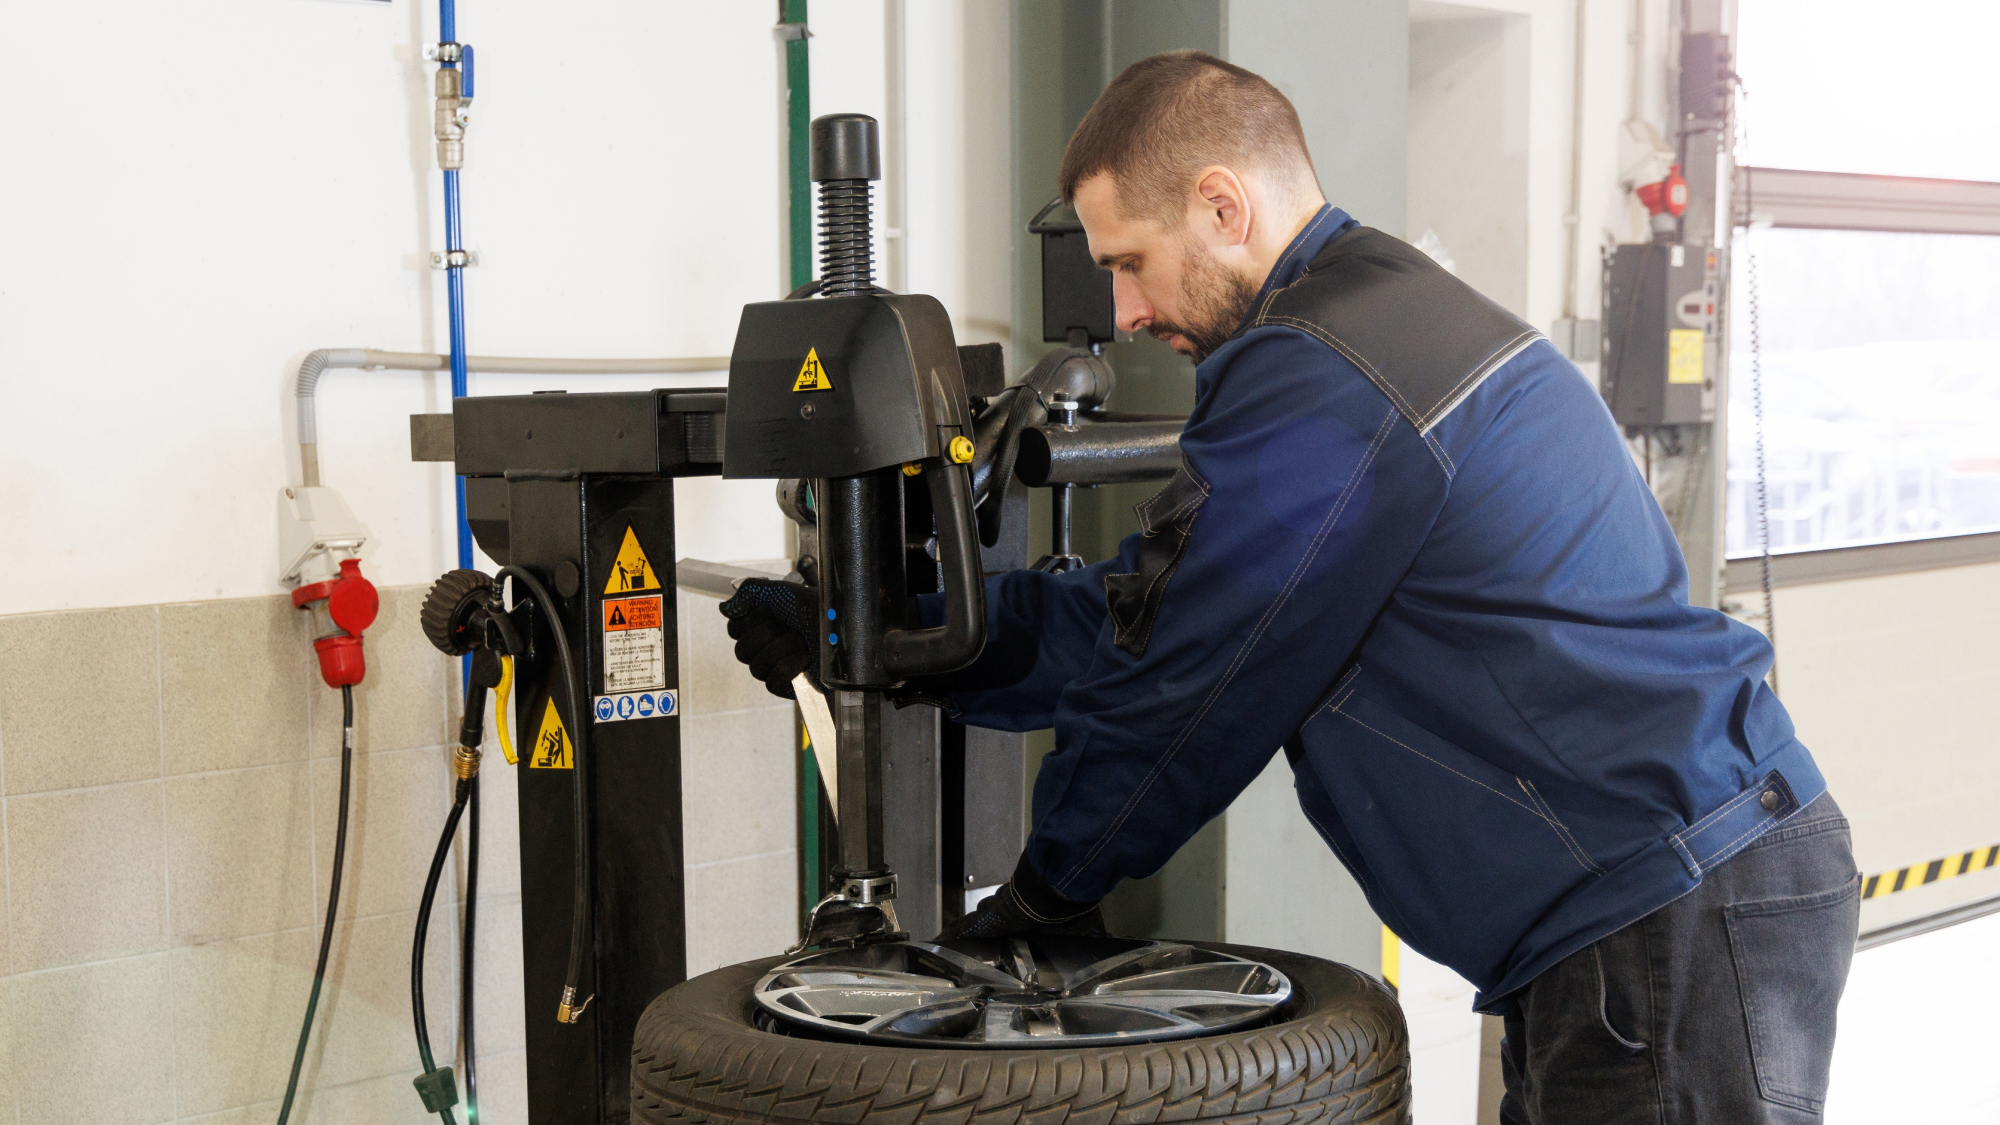
- Remove the valve core completely using a core tool to release all compressed air from the assembly.
- Remove all balance weights from both the inside and outside lips of the wheel to prevent machine interference.
- Position the tire against the bead breaker rubber pad, aligning the shovel roughly half an inch away from the rim edge.
- Press the pneumatic pedal to drive the shovel inward, pushing the tire bead away from the safety hump.
Inspecting Wheel Integrity and Cleaning the Seating Area
Once the front bead breaks, flip the wheel over and repeat the process on the backside. With both beads loose, inspect the inner barrel and bead seats for hidden damage, corrosion, or old tire sealant buildup.
- Look for hairline cracks or deep structural gouges on the inner rim lip.
- Scrape away heavy rust or oxidized aluminum using a stiff wire brush or Scotch-Brite pad.
- Wipe the entire bead seating area clean with a shop towel to ensure an airtight seal later.
How to Fix and Operate the Tire Changer Step-by-Step
Operating a tire changer requires precision and strict adherence to safety protocols to prevent rim damage and personal injury. According to Occupational Safety and Health Administration (OSHA) guidelines, improper mounting procedures cause hundreds of severe workplace accidents annually.
Mounting the New Tire
- Apply an approved rubber lubricant generously to both the upper and lower tire beads to reduce friction during mounting.
- Position the lower bead over the mounting head duckbill and press the turntable foot pedal to rotate the assembly clockwise until the bead slips into the drop center.
- Repeat the rotation process for the upper bead, ensuring the duckbill guides the bead smoothly over the outer lip of the wheel without pinching the sidewall.
Inflating and Seating the Bead
- Connect the inflation hose to the valve stem and clear the surrounding area of tools and debris.
- Depress the inflation pedal in short bursts to seat the beads against the wheel flanges, keeping a close eye on the pressure gauge.
- Never exceed the manufacturer maximum inflation pressure printed on the tire sidewall, which is typically 40 PSI for standard passenger car tires.
- Release the clamping mechanism once inflation is complete and inspect the entire circumference to verify both beads are seated evenly.
What If the Tire Bead Still Won’t Seat Properly?
Stubborn tire beads are a common challenge, especially when dealing with low-profile tires or stiff sidewalls that have been stored flat. When standard inflation techniques fail, certified technicians rely on standardized troubleshooting protocols to resolve the issue safely.
- Check the Lube Application: Deflate the tire completely, unseat the bead using the side shovel, and reapply a generous layer of high-lubricity tire paste to both bead seats.
- Utilize a Bead Blaster: If the machine is equipped with an integrated blast-of-air system, pull the rim tight against the table and trigger the air jets to force the upper bead upward against the flange.
- Apply a Cheetah Bead Seater: For stubborn commercial or oversized tires, use an external air-volume tank to deliver a high-pressure blast of air directly into the gap between the rim and the tire.
- Inspect for Rim Damage: Closely examine the wheel lip for bends, corrosion, or burrs that prevent an airtight seal, which may require professional wheel repair costing between $75 and $150.
- Know When to Seek Help: If the bead refuses to seat after two attempts, or if the tire shows structural sidewall cracking, take the assembly to a professional tire service center immediately to avoid catastrophic blowout risks.
Conclusion
Mastering a tire machine requires methodical execution, proper lubrication, and strict adherence to safety limits during the bead-seating phase. According to verified research and automotive equipment standards, following manufacturer operating protocols eliminates the vast majority of rim damage and inflation failures. As an actionable next step, inspect your tire changer’s air-water separator and lubricator levels before your next mounting job to ensure peak mechanical performance through 2026.
❓ Frequently Asked Questions
What are the primary safety precautions when operating a tire changer?
Always wear safety glasses, ensure the tire is 100% deflated before breaking beads, and keep limbs away from moving mechanical parts and the turntable.
How do you properly break the bead on a stubborn tire?
Align the bead breaker shovel against the sidewall just above the rim edge, press the pedal to apply pressure, and repeat at multiple spots around both sides of the tire.
How do you clamp the wheel onto the turntable correctly?
Place the wheel face up or down depending on your machine type, position the clamps against the outer edge or inner hub, and activate the pneumatic foot pedal to lock it securely.
What is the proper technique for using the duckhead tool?
Adjust the duckhead so it sits a few millimeters away from the rim edge, lock it into position, and use the pry bar to lift the bead over the metal horn.
How do you mount a new tire onto the rim safely?
Lubricate both beads, push the bottom bead under the duckhead and rotate the turntable, then repeat the process for the top bead using the assist arm if necessary.
What should I do if the tire bead will not seal against the rim during inflation?
Check that the valve core is removed for maximum airflow, use a bead blaster or cheetah tank to pop the bead out, and ensure the rim flange is clean.