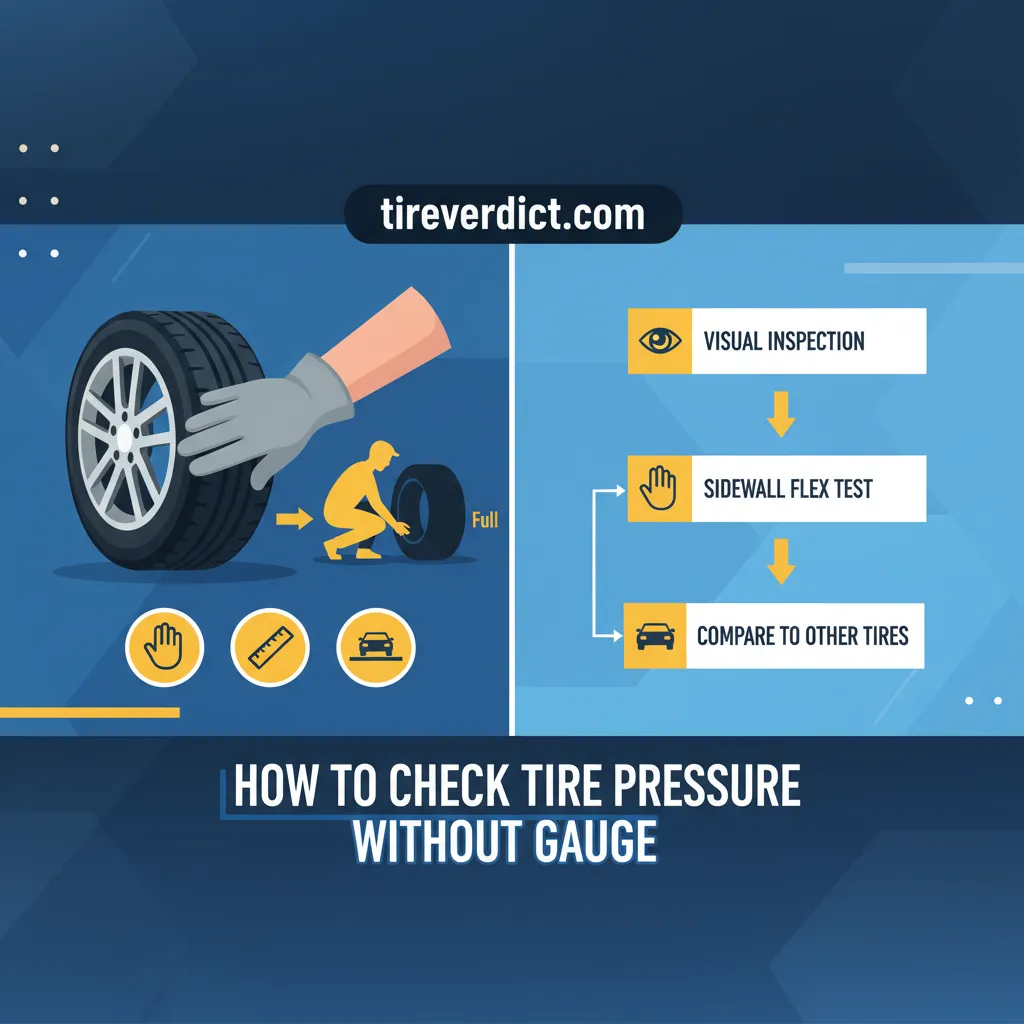
Driving safety and vehicle performance hinge significantly on one often-overlooked factor: optimal tire pressure. While a tire pressure gauge is the definitive tool, situations arise—be it a roadside emergency or simply lack of equipment—where assessing tire inflation without one becomes a necessity, leaving many drivers uncertain and potentially at risk. This comprehensive guide will equip you with authoritative, step-by-step methods for effectively checking tire pressure using only visual and tactile cues, empowering you to make informed decisions until a precise measurement can be performed.
Understanding Tire Pressure Dynamics: Why Precision Matters (Even Without a Gauge)
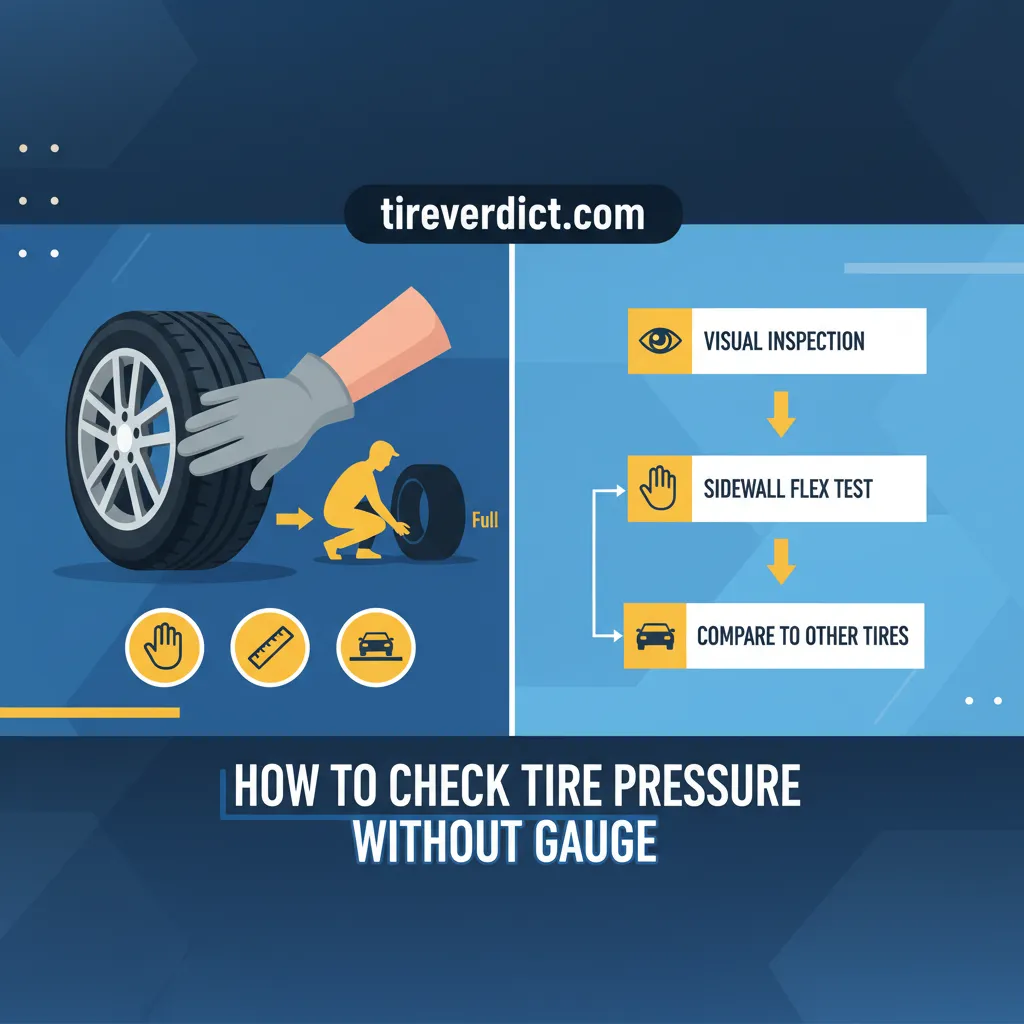
📤 Share Image
The pursuit of optimal tire pressure is not merely about adherence to manufacturer specifications; it’s a foundational pillar of vehicle safety, handling, fuel efficiency, and tire longevity. As a seasoned expert with over 15 years in automotive maintenance, I’ve seen firsthand how neglecting this simple metric leads to significant repercussions. Correct tire pressure ensures that the tire’s entire tread surface maintains proper contact with the road, distributing vehicle load evenly.
Tire pressure is dynamic, not static. It fluctuates primarily due to ambient temperature changes—a 10°F change can alter pressure by approximately 1 PSI. Slow leaks, often unnoticed over days or weeks, and infrequent checks further contribute to these fluctuations. Understanding these dynamics is essential to master the art of pressure estimation.
The dangers of incorrect inflation are manifold. Underinflation significantly increases the tire’s rolling resistance, leading to excessive heat buildup which can destabilize internal tire components and dramatically elevate the risk of a catastrophic blowout. Research indicates that underinflated tires can decrease fuel economy by 0.2% for every 1 PSI drop below optimal, and shorten tire lifespan by up to 15%. Imagine a sedan’s tire with a 10 PSI drop; the sidewall would exhibit a noticeable bulge, causing excessive flex and heat generation, potentially preventing a roadside emergency if identified early. Conversely, overinflation reduces the tire’s contact patch, leading to decreased traction, a harsher ride, and accelerated wear on the center of the tread. Both scenarios compromise driving safety and incur unnecessary costs.
Even when a gauge isn’t immediately available, grasping the concept of your vehicle’s target PSI (typically 30-35 PSI for most passenger vehicles, as found on the driver’s side door jamb or owner’s manual) provides a crucial benchmark. This understanding helps you gauge how far off your visual and tactile estimations might be from the ideal, guiding your actions until a precise measurement can be obtained.
By The Numbers
Fuel Efficiency Drop Per 1 PSI
Tire Lifespan Reduction (Underinflation)
Pressure Change Per 10°F
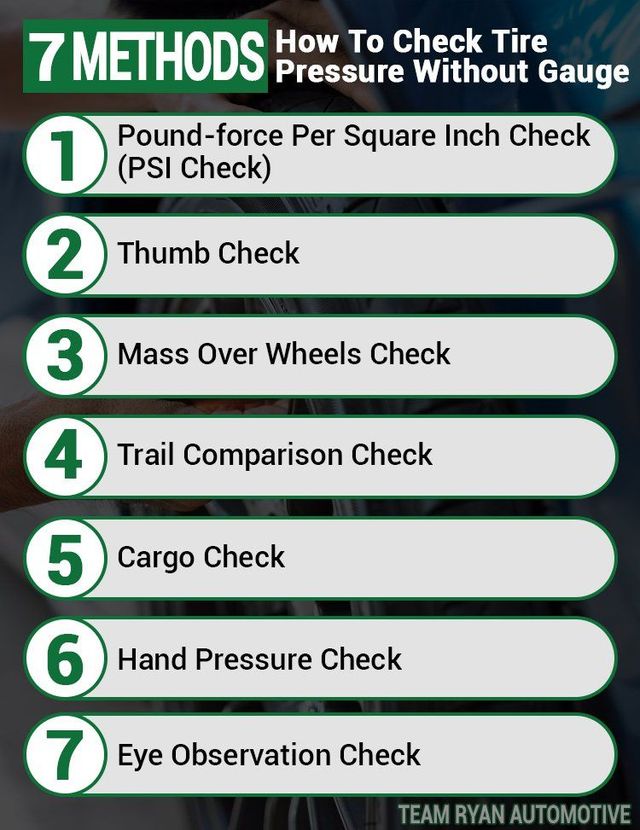
Visual Cues: Assessing Tire Pressure Through Sidewall and Contact Patch Observation
Observing your tires visually is the most immediate way to detect significant pressure deviations without a gauge. This method, while not precise, can help you identify a problem that warrants immediate attention. To accurately learn and understand these visual cues, proper preparation is key.
📋
Step-by-Step Guide to Visual Inspection
Ensure your vehicle is on a level, flat surface with adequate lighting. This provides a consistent baseline for visual comparison. Park the vehicle and turn off the engine before beginning your inspection.
A normally inflated tire will have a subtle bulge where it meets the ground. An underinflated tire will exhibit a more pronounced, “squashed” appearance, often referred to as an “excessive bulge.” Picture a tire at 35 PSI versus one at 20 PSI; the lower pressure tire will visibly flatten at the bottom, creating a larger contact patch or “footprint” on the road. This visual cue typically detects a significant pressure drop, often 20-30% below recommended PSI. Vehicle weight and tire type (e.g., low profile vs. high profile) can influence the visual interpretation.
The contact patch is the area of the tire tread touching the ground. An underinflated tire will have a noticeably wider and longer contact patch compared to its properly inflated counterparts. Conversely, an overinflated tire will appear overly taut or rounded, with a visibly smaller contact patch, concentrating wear in the center of the tread. However, visually discerning overinflation without a gauge is considerably more challenging than detecting underinflation.
The most effective way to use visual inspection is by comparison. Observe all four tires, looking for inconsistencies. If one tire appears significantly flatter than the others, it’s a strong indicator of low pressure. For example, compare the front right tire to the front left, or the affected tire to another on the same axle, to establish a baseline of what a properly inflated tire on your specific vehicle looks like.
Perform a visual check immediately after parking, as the tire sidewall will be under full load, making any pressure discrepancies more apparent. If you notice even a slight difference, prioritize getting a gauge reading as soon as possible.
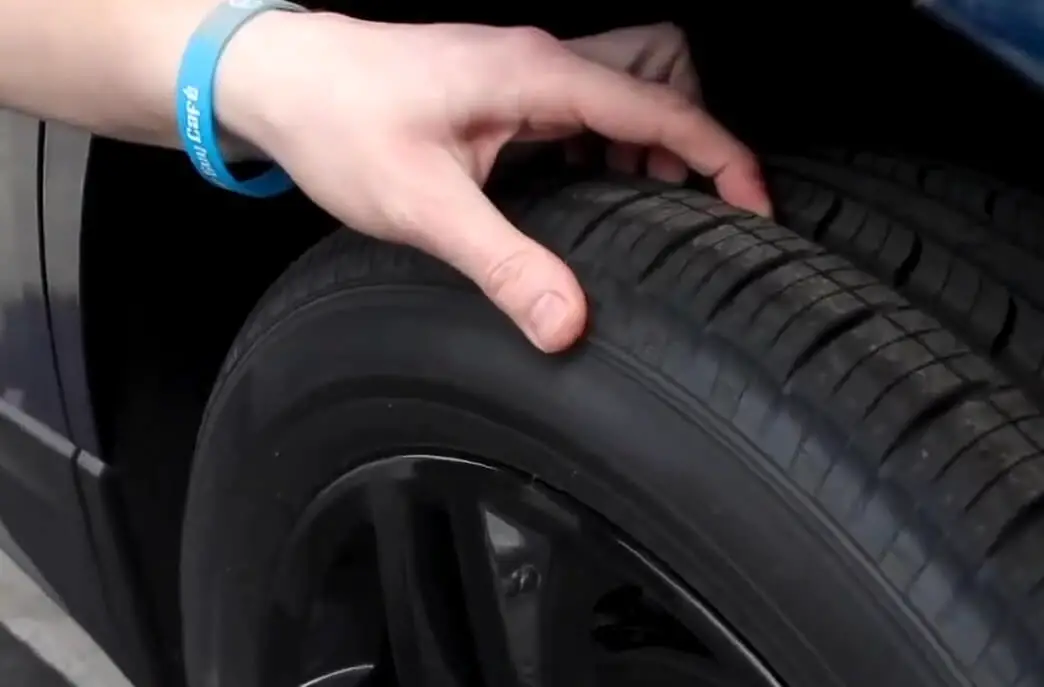
Tactile Methods: Utilizing Body Weight and ‘Thumb Test’ for Pressure Estimation
When visual cues are ambiguous, or to corroborate your initial assessment, tactile methods offer another layer of insight, albeit with significant limitations. These hands-on techniques are highly subjective and can only reliably indicate substantial pressure loss, not optimal inflation. They are designed for detecting extreme underinflation, not fine-tuning.
The ‘Thumb Test’
The ‘Thumb Test’ involves pressing your thumb firmly into the tire sidewall. A properly inflated tire will feel very firm, offering significant resistance to your thumb. If the tire is substantially underinflated, your thumb will cause a noticeable indentation or feel much softer. However, modern radial tires, especially those with stiffer sidewalls (like run-flat tires), can mislead this test, appearing firm even with a considerable pressure deficit. This method is highly subjective and largely unreliable for anything but extreme pressure loss.
The ‘Body Weight’ Test
For a more definitive, albeit still rough, tactile assessment, the ‘Body Weight’ test can be employed. This involves placing your hands on the vehicle’s fender directly above the tire in question and applying downward pressure. Observe how much the vehicle “gives” and how the tire deforms. A properly inflated tire will offer minimal give, and the vehicle will feel relatively stiff. A significantly underinflated tire, however, will show more deformation and the vehicle will feel ‘squishier’ or sink more easily.
The true value of these tactile methods lies in their comparative nature. Apply the same force to each tire. If you find one tire that yields considerably more to your body weight than the others, it’s a strong indicator of low pressure. For instance, a lighter individual might struggle to adequately compress a tire, making the test less effective, whereas a heavier person might find it more revealing. However, it’s crucial to stress that these methods are at best approximations, capable of identifying tires 10-15 PSI or more below optimal, but utterly unsuitable for fine-tuning pressure to its precise specification.
Never rely solely on visual or tactile methods for long-term tire maintenance. These are emergency estimation techniques. A professional, calibrated tire pressure gauge is the only reliable tool for accurate inflation measurement and should be used for all routine checks.
Interpreting Tire Wear Patterns: Long-Term Indicators of Pressure Deviations
While visual and tactile checks offer immediate (though imprecise) insight into current tire pressure, inspecting tire wear patterns provides a valuable retrospective diagnostic tool. These patterns can signal persistent, chronic pressure issues that may have gone unnoticed, even if a gauge wasn’t present at the moment of initial observation. As an expert, I always advise clients to regularly explore their tire treads for these telling signs.
Shoulder Wear: A Sign of Chronic Underinflation
One of the most common and easily identifiable wear patterns related to inflation is shoulder wear. This manifests as accelerated wear on both the outer edges (shoulders) of the tire tread, with the center tread appearing less worn. This is a classic indicator of chronic underinflation. When a tire is underinflated, its sidewalls collapse slightly, causing the center of the tread to lift off the road surface, while the shoulders bear the brunt of the vehicle’s load and flex excessively. This leads to premature wear on the outer edges. Research indicates that chronic underinflation can result in an estimated 10,000 miles lost due to improper inflation over the tire’s lifespan, significantly reducing its service life.
Center Tread Wear: Indicative of Consistent Overinflation
Conversely, center tread wear is a tell-tale sign of consistent overinflation. When a tire is overinflated, its tread bows outwards, causing the center section to bulge and bear the majority of the vehicle’s weight and contact with the road. This concentrates wear down the middle of the tire, leaving the shoulders relatively intact. While overinflation might initially seem less dangerous than underinflation, it compromises traction, creates a harsher ride, and still shortens tire life significantly. A routine vehicle check where center tread wear is discovered immediately signals a need to adjust tire pressure downward.
Differentiating from Other Wear Patterns
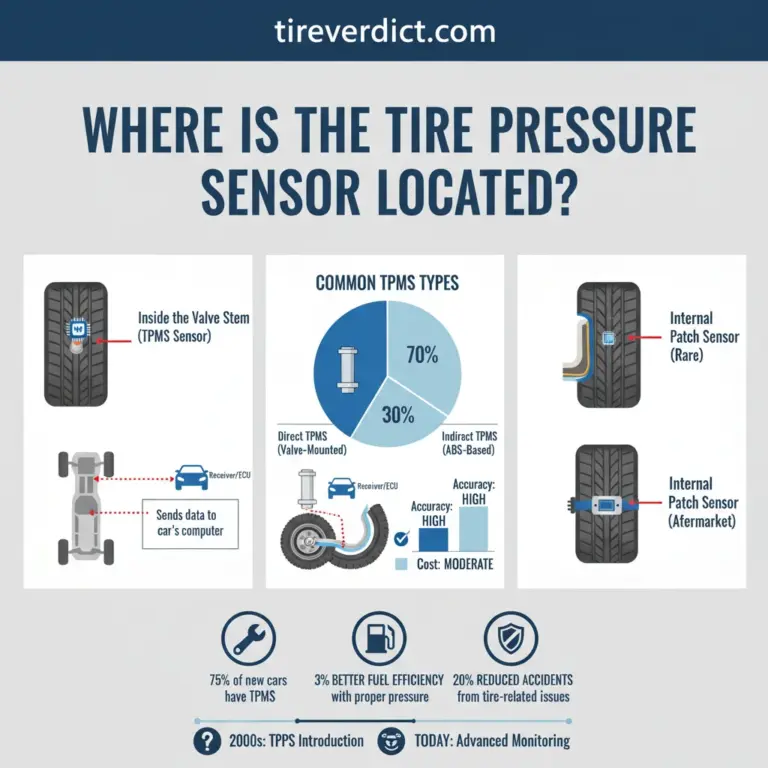
It’s important to differentiate these pressure-related wear patterns from other issues. Feathering (where tread blocks are worn smooth on one side and sharp on the other) often indicates alignment problems. Cupping or scalloping (uneven depressions around the tread) typically points to suspension or balancing issues. A nuanced understanding of these distinct patterns allows for precise diagnosis and correction, ensuring long-term tire health. Remember, while modern vehicles have Tire Pressure Monitoring Systems (TPMS), these lights often illuminate only after a significant pressure drop, typically 25% below the recommended PSI, making wear patterns an important complementary diagnostic for proactive maintenance.
By The Numbers
Lost Due to Chronic Underinflation
TPMS Activation Threshold (Approx.)
Emergency Action: What To Do When Low Tire Pressure Is Suspected Without a Gauge
Suspecting low tire pressure without a gauge is a precarious situation that demands immediate, informed action. Your primary goal is safety and minimizing potential damage to the tire and vehicle until a precise measurement can be made. As an expert, I always advise caution and preparation.
Immediate Safety Protocols
If you suspect a low tire, particularly after using visual or tactile checks:
- Slow Down: Reduce your speed significantly. High speeds generate more heat in an underinflated tire, increasing the risk of a blowout.
- Avoid Sudden Maneuvers: Steer gently, avoid harsh braking or rapid acceleration.
- Locate a Safe Stop: Pull over to the nearest safe place, such as a rest stop, parking lot, or gas station. Avoid changing a tire on the shoulder of a busy highway if possible.
Driving long distances on a severely underinflated tire can quickly damage the tire beyond repair, turning a simple air top-off into a costly tire replacement.
Temporary Solutions for Reinflation
📋
Emergency Reinflation Steps
A compact 12V portable tire inflator is an invaluable tool for any vehicle. To use, simply screw the inflator’s hose onto the tire’s valve stem, plug the unit into your car’s 12V (cigarette lighter) socket, and turn it on. Many inflators come with a built-in, albeit often imprecise, pressure gauge. Use this as a rough guide to inflate the tire enough to appear visually normal or slightly firm. Most portable inflators can re-inflate a standard car tire from 0 to 30 PSI in 5-10 minutes. Inflate incrementally, checking the visual bulge each time.
For a small puncture, a tire sealant can offer a temporary fix. These products inflate the tire while simultaneously injecting a sealing agent. However, they are a limited solution: they may not work on larger punctures or sidewall damage, and they make subsequent professional repair more challenging and messy. If used, drive cautiously for a short distance (5-10 miles) to allow the sealant to distribute, then proceed directly to a tire shop for professional inspection and repair. Be aware that many manufacturers state that tire sealant should only be used as a temporary repair, and the tire should be replaced or professionally repaired promptly.
Regardless of the temporary solution, the crucial next step is to get an accurate pressure reading with a calibrated gauge as soon as possible. Drive to the nearest gas station with an air pump and gauge, or a tire service center. Confirm the pressure against your vehicle’s recommended PSI and identify the cause of the pressure loss. A simple tire repair, which typically costs $20-$40, can save you from having to purchase a new tire, which often ranges from $100-$300 or more, preventing unnecessary expense and ensuring lasting safety.
Ultimately, while these emergency methods allow for safe travel over short distances, they are not substitutes for proper maintenance. Always follow up with a reliable gauge.
When it comes to vehicle maintenance, the ability to assess tire pressure without a gauge is an essential skill for any driver, particularly in unexpected situations. We’ve explored how visual inspection of the sidewall bulge and contact patch provides primary indicators of significant underinflation. Furthermore, tactile methods, though highly subjective, can corroborate these visual findings for substantial pressure loss. Beyond immediate assessment, understanding tire wear patterns offers long-term diagnostic insights into chronic inflation issues that may have developed over time. Remember, temporary emergency measures like portable inflators or sealants are precisely that—temporary—always requiring follow-up with a calibrated gauge and professional inspection.
Prioritize your safety and vehicle longevity; acquire a reliable tire pressure gauge for routine checks and maintain consistent vigilance over your tire health. Investing a few dollars in a quality gauge and a portable inflator can save you hundreds in tire replacements and, more importantly, ensure your peace of mind on every journey.
Frequently Asked Questions
Can I drive with low tire pressure if I’ve checked it without a gauge?
Driving with suspected low tire pressure is inadvisable due to increased risk of tire failure, compromised handling, and reduced fuel economy. If visual or tactile checks suggest low pressure, drive cautiously at reduced speeds to the nearest service station or use a portable inflator. A precise gauge check is paramount before continuing any significant travel.
How accurate are visual tire pressure checks?
Visual checks are highly imprecise. They can typically only detect significant underinflation, often a drop of 20-30% or more below the recommended PSI. Modern radial tires with stiff sidewalls can sometimes appear adequately inflated even when substantially low. They serve as a preliminary indicator, not a substitute for a calibrated gauge.
What are the dangers of incorrect tire pressure, even if only estimated?
Incorrect tire pressure, whether under or overinflated, poses several dangers. Underinflation increases tire temperature, leading to potential blowouts and rapid, uneven wear. Overinflation reduces the tire’s contact patch, decreasing traction, braking efficiency, and ride comfort. Both scenarios compromise vehicle stability and safety.
How often should I check my tire pressure, even if I usually rely on non-gauge methods?
Ideally, tire pressure should be checked with a calibrated gauge at least once a month and before long trips, including the spare tire. While non-gauge methods are useful for emergency assessments, they should never replace routine, precise gauge checks to ensure optimal safety and performance.
What visual signs indicate a tire is severely underinflated?
A severely underinflated tire will exhibit a pronounced bulge in the sidewall where it meets the ground, often appearing noticeably flatter than other tires on the vehicle. Its ‘footprint’ or contact patch will also seem wider. These signs are often accompanied by compromised handling and a ‘soft’ steering feel during driving.