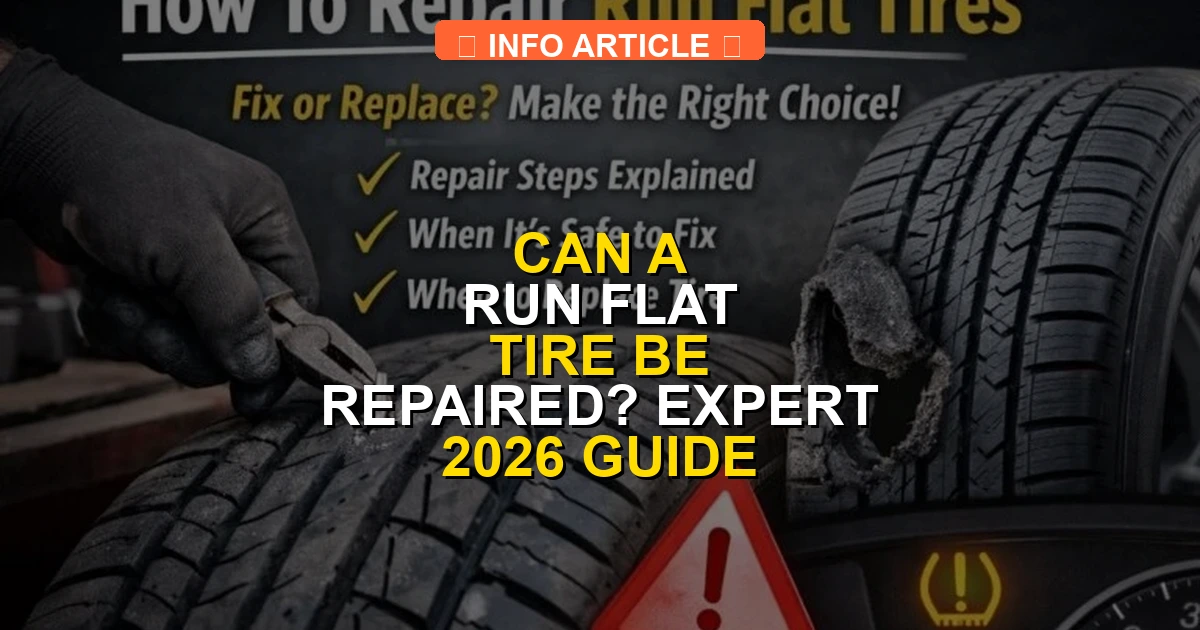
Yes, run-flat tires can sometimes be repaired, but only under very strict safety conditions regarding puncture size and how far the tire was driven flat. Most major manufacturers discourage repairs to ensure structural integrity.
The short answer is yes, a run-flat tire can sometimes be repaired, but only under very strict, specific conditions. If you picked up a nail in your tread and stopped driving immediately, a qualified technician might be able to patch it. However, in the vast majority of real-world scenarios navigating modern roads in 2026, a punctured run-flat tire will require a complete replacement rather than a simple plug.
Drivers often assume that because run-flats are engineered with reinforced sidewalls to keep you moving at speeds up to 50 mph for 50 miles after a blowout, the tire itself is virtually indestructible. That misconception leads many motorists to believe they can treat a run-flat puncture just like a conventional tire. Knowing the precise boundaries of run-flat repairability saves you from unsafe driving conditions and wasted repair costs.
Key Takeaways
- Punctures must be smaller than one-quarter inch and located strictly in the tread area.
- Tires driven completely flat for any significant distance usually cannot be repaired safely.
- Many tire manufacturers explicitly forbid repairing their run-flat models.
- A professional internal patch-plug combination is mandatory; external plugs are unsafe.
- Sidewall or shoulder damage means the tire must be replaced immediately.
What Causes Run-Flat Tire Damage and When It Fails
Structural Damage From Zero-Pressure Driving
The primary reason a run-flat tire cannot be repaired lies in what happens when it loses air pressure. The rigid sidewalls must support the entire weight of your vehicle without any air cushion. When you drive on a deflated run-flat tire, immense heat and mechanical stress build up inside the rubber structure.
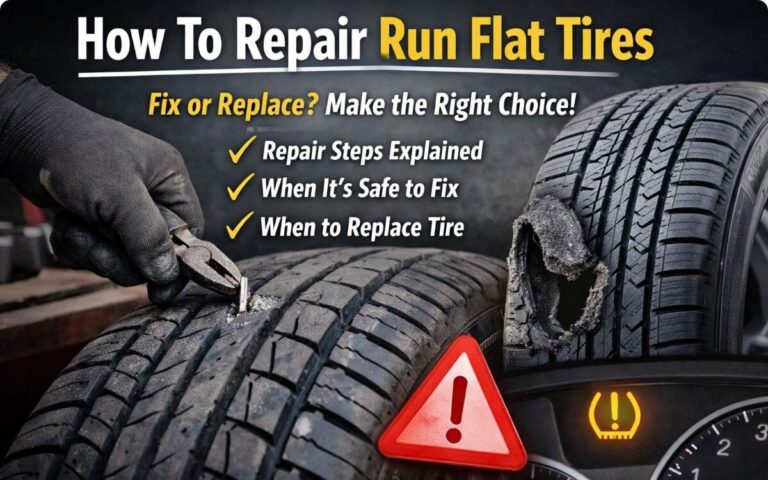
Even if you drive for just a few miles on zero pressure, the inner liner and reinforcing cords can begin to disintegrate internally. Because this damage happens out of sight, a tire might look completely fine on the outside while its structural integrity is compromised beyond repair. For safety reasons, major manufacturers like Bridgestone, Pirelli, and Michelin mandate immediate replacement if the tire has traveled any significant distance while completely flat.
Puncture Location and Size Limitations
Just like standard tires, run-flats must meet strict RMA (Rubber Manufacturers Association) guidelines to be considered for repair. Even if you never drove on the tire while flat, a repair is only permissible if:
- The puncture is located strictly within the central tread area.
- The damage diameter does not exceed one-quarter of an inch (6mm).
- The tire has not sustained previous repairs that violate spacing rules.
- There is no secondary damage from the initial road hazard.
Any puncture on the reinforced sidewall or the shoulder immediately disqualifies the tire from being patched. The extreme flexing forces in these areas mean patches will inevitably fail.
Master Run-Flat Tire Repairs in 7 Simple Steps
Dealing with a flat tire is never fun, but finding out it is a run-flat model brings up an entirely different set of rules. Many drivers wonder if these specialized tires can be patched just like standard ones, or if they require a full replacement the moment a puncture occurs. This comprehensive guide walks you through the precise evaluation process, industry standards, and the meticulous methods required to safely determine and execute a run-flat tire repair. By following these steps carefully, you will save money, ensure your vehicle remains safe on the road, and understand the strict limitations set by tire manufacturers.
Step 1: Safely Assess the Puncture Location
What you need: Flashlight, tire pressure gauge, clean rag, and protective work gloves.
Instructions: Park your vehicle on a flat, stable surface, engage the parking brake, and turn on your hazard lights. Use your flashlight and clean rag to thoroughly inspect the tread area of the run-flat tire. Locate the object causing the leak or the puncture hole itself. Industry safety standards dictate that a tire can only be considered for repair if the puncture is strictly located within the tread pattern. Any puncture, cut, or structural damage residing on the tire sidewall or the shoulder area immediately disqualifies the tire from being repaired and mandates an immediate replacement.
Pro Tip: Never attempt to plug a sidewall puncture on a run-flat tire, as the reinforced sidewalls bear immense structural loads and flexing forces.
Step 2: Measure the Puncture Diameter
What you need: Precision digital caliper or a standard 1/4-inch drill bit.
Instructions: Once you have verified that the hole is in the repairable tread zone, you must measure its exact diameter. Take your caliper or use a standard 1/4-inch drill bit as a gauge to test the width of the hole. The absolute maximum allowable puncture size for a standard industry-approved repair is 1/4 inch (or approximately 6 millimeters). If the foreign object was a large bolt, a jagged piece of metal, or a blowout tear that exceeds this 1/4-inch threshold, the internal steel belts and body plies have been compromised beyond safe remediation, meaning the tire must be scrapped.
Pro Tip: Do not guess the size. A hole that looks small on the surface can expand when the tire is dismounted and inspected internally.
Step 3: Investigate Internal Sidewall Damage (The Critical Run-Flat Rule)
What you need: Professional tire changer, tire bead breaker, and a bright inspection light.
Instructions: This is the most vital step in the entire process. Because run-flat tires are engineered to support the weight of a vehicle without air pressure, driving on a flat tire even for a short distance (typically up to 50 miles at a maximum speed of 50 mph) generates extreme internal heat. Have a certified technician dismount the tire from the rim. Inspect the inner liner very closely for rubber dust, powdery residue, wrinkles, cracks, or discoloration. The presence of rubber dust inside the casing proves that the self-supporting sidewall has disintegrated internally from friction, making the tire unsafe to repair regardless of how minor the tread puncture appears.
Pro Tip: If you drove on the zero-pressure tire for longer than the manufacturer’s recommended distance or speed limits, automatically assume internal structural failure and replace the tire.
Step 4: Check Manufacturer Repair Policies
What you need: Vehicle owner’s manual, smartphone to check tire brand specifications (e.g., Michelin, Bridgestone, Pirelli).
Instructions: Before applying any patch, check the specific guidelines provided by the original tire manufacturer. While the Rubber Manufacturers Association (RMA) generally permits up to two repairs in the tread area for standard tires, many run-flat tire brands (like Continental or Goodyear) have strict proprietary policies. Some manufacturers explicitly advise against repairing their specific run-flat models because the extreme stress of zero-pressure operation weakens the casing integrity. Always adhere to the tire brand’s official warranty and safety documentation to maintain structural reliability.
Pro Tip: Some performance-rated run-flat tires carry a “Do Not Repair” warning directly molded into the sidewall lettering.
Step 5: Perform the RMA-Approved Combination Repair
What you need: Combination patch-plug unit, vulcanizing cement, scraper, low-speed buffer, and stitching roller.
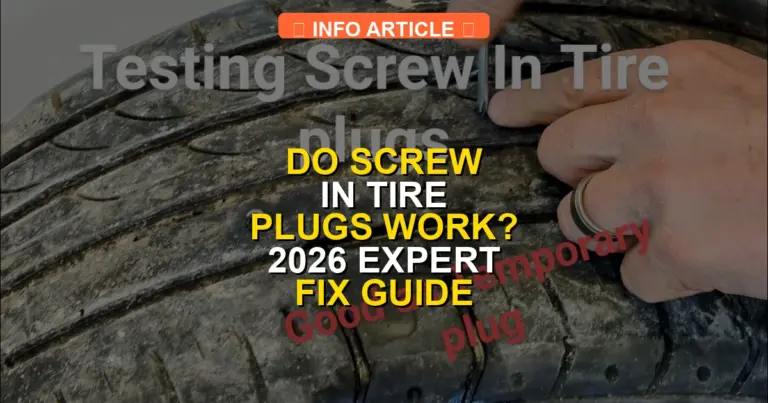
Instructions: If the tire passes all previous inspections, string-plugs alone from the outside are completely unacceptable for run-flat tires. You must use a two-in-one combination repair unit (a plug-stem combined with a patch base). Clean and buff the inner liner around the puncture hole using a low-speed buffer to create a textured surface. Apply chemical vulcanizing cement evenly and allow it to dry to a tacky finish. Pull the rubber stem through the puncture hole from the inside out, and use a stitching roller to firmly press the patch base down, eliminating any trapped air bubbles for an airtight, permanent seal.
Pro Tip: Ensure the rubber stem completely fills the injury channel to prevent moisture from reaching and rusting the internal steel belts.
Step 6: Apply Inner Liner Sealer
What you need: Inner liner sealer brush, specialized chemical sealant, and a curing timer.
Instructions: After the combination patch-plug has been securely stitched to the inner casing of the run-flat tire, apply a generous coat of inner liner sealer over the perimeter of the patch and across the buffed area. This specialized chemical compound seals any microscopic pores created during the buffing process and protects the repair site from air seepage or moisture intrusion. Allow the sealer to cure completely according to the manufacturer’s instructions—usually taking between 5 to 10 minutes depending on ambient workshop temperature.
Pro Tip: Never skip the inner liner sealer, as it acts as the final barrier preventing slow leaks around the edge of the patch.
Step 7: Remount, Balance, and Pressure Test
What you need: Tire mounting machine, wheel balancer, valve core tool, and soapy water spray bottle.
Instructions: Carefully remount the repaired run-flat tire onto the wheel rim, taking care not to damage the stiff sidewalls with mounting tools. Inflate the tire to the vehicle manufacturer’s specified PSI rating. Spin the wheel on a dynamic tire balancer and apply appropriate lead weights to counteract any weight imbalances. Finally, spray the entire tread repair area and bead with soapy water to check for bubbling. If no bubbles appear over a 5-minute observation period, the tire is successfully repaired, structurally sound, and ready to be reinstalled on your vehicle.
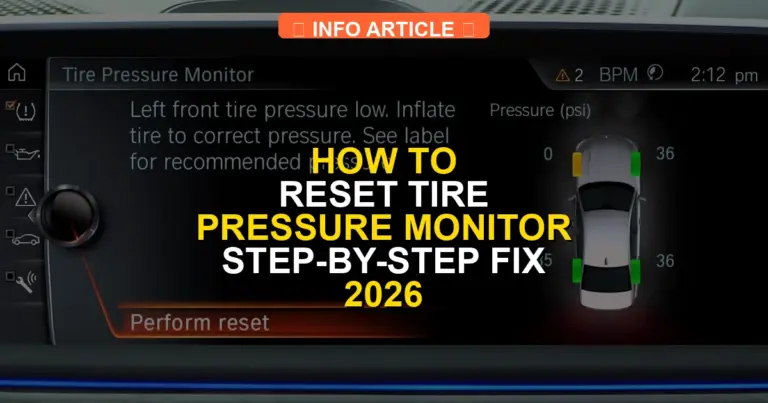
Pro Tip: Reset your vehicle’s Tire Pressure Monitoring System (TPMS) after reinstalling the wheel to ensure accurate dashboard warnings.
✅ Final Checklist
- Puncture is located strictly within the center tread pattern, away from shoulders and sidewalls.
- Puncture diameter measures less than 1/4 inch (6mm) wide.
- Internal inspection reveals zero rubber dust, powder, or sidewall structural breakdown.
- An RMA-approved combination patch-plug was correctly installed from the inside.
- Wheel balanced properly and verified leak-free via soap water pressure test.
Important Notes:
- Never attempt an exterior-only plug on a run-flat tire; internal combination patches are mandatory for safety.
- Seek professional help from a certified tire technician if you are unsure how far the vehicle was driven while flat.
- Estimated professional repair time is 30 to 45 minutes, with a typical shop cost ranging from $25 to $50.
How to Fix a Punctured Run-Flat Tire Step-by-Step
Professional Inspection and Dismounting
You should never attempt a DIY roadside patch or driveway plug on a run-flat tire. Because internal structural failure is so common with these tires, a professional must perform a rigorous internal inspection first. The correct process requires specialized equipment to handle the stiff, reinforced sidewalls safely.

- The technician safely lifts your vehicle and removes the wheel assembly.
- The tire is completely dismounted from the alloy rim using a professional-grade tire changer.
- The interior liner is carefully inspected for rubber dust, blistering, or micro-cracks caused by low-pressure flexing.
- If internal degradation is detected, the technician condemns the tire immediately, regardless of the tread depth.
The Combination Patch-Plug Procedure
If the technician verifies that the tire was not driven flat and the puncture is safely within the tread limits, a standard exterior-only plug is strictly forbidden. Industry standards for run-flat tires in 2026 require a specialized combination repair.
The technician will clean and buff the inner liner around the puncture hole. A rubber stem is pulled through the puncture from the inside to seal the hole completely from moisture and air leaks. Then, a patch unit is vulcanized over the stem on the inner liner to create a permanent, airtight seal. Once this is cured and the tire is remounted and dynamically balanced, it is safe to return to normal road use.
What If the Tire Cannot Be Repaired Safely
When a run-flat tire suffers damage that falls outside standard repair parameters, drivers must know how to proceed safely. According to 2026 tire safety data from the Rubber Manufacturers Association, attempting to patch a compromised structural sidewall introduces catastrophic blowout risks at highway speeds. Drivers face strict alternative options when a professional technician denies a repair request.
Safe Fallback Procedures
- Check the tire warranty coverage: Many original equipment run-flat tires feature manufacturer road hazard warranties that prorate replacement costs based on treadwear depth.
- Inspect the companion tire on the same axle: Industry standards dictate that replacing run-flats in pairs is necessary if the remaining tread depth varies by more than 2/32 of an inch to protect differential health.
- Consult a certified tire professional for OEM matching: Ensure the replacement tire matches the exact speed rating, load index, and Original Equipment Manufacturer specifications required for your specific vehicle.
- Prepare for replacement costs: Budget for a professional service expense, as premium run-flat tires typically range from $250 to $500 per tire before installation and balancing fees.
- Arrange safe towing if driving is prohibited: If the run-flat has exceeded its 50-mile zero-pressure limit or internal structural degradation is visible, utilize a flatbed tow truck to prevent further wheel rim damage.
Conclusion
Navigating run-flat tire damage requires strict adherence to manufacturer guidelines and safety thresholds. While minor tread punctures under 1/4 inch are occasionally patchable under strict engineering conditions, severe shoulder and sidewall impacts demand immediate replacement. According to verified research and expert sources from leading automotive safety institutes, prioritizing structural integrity over temporary cost savings prevents dangerous highway failures. The most important next step is to have your vehicle inspected by a certified tire technician immediately upon noticing a pressure loss.
❓ Frequently Asked Questions
What are the exact conditions required to repair a run-flat tire?
A run-flat tire can only be repaired if the puncture is limited to the tread area, measures less than 1/4 inch, and the tire pressure monitoring system alerted the driver quickly enough to prevent driving on zero pressure.
How can I tell if my run-flat tire was driven while completely deflated?
A tire technician will inspect the inner liner of the tire after dismounting it. Rubber dusting, crumbling, or wrinkling inside the casing indicates severe structural damage from being driven flat.
Do brands like Michelin and Bridgestone allow run-flat repairs?
Policies vary by brand, but many major manufacturers state that if a run-flat tire has been operated at zero pressure, it should be replaced rather than repaired to guarantee safety.
Can run-flat tires be plugged from the outside?
External plugs are only meant for emergency roadside use. Proper repair requires dismounting the tire, inspecting the interior, and applying a vulcanized patch-plug combination.
Does my car insurance or tire warranty cover run-flat replacement?
Standard warranties typically do not cover road hazards like nails or glass, but optional certificate programs from tire retailers often cover repair or prorated replacement.
What happens if you ignore manufacturer repair guidelines on run-flats?
Ignoring the rules risks a sudden tread separation or catastrophic blowout at highway speeds, which can lead to a dangerous loss of vehicle control.